
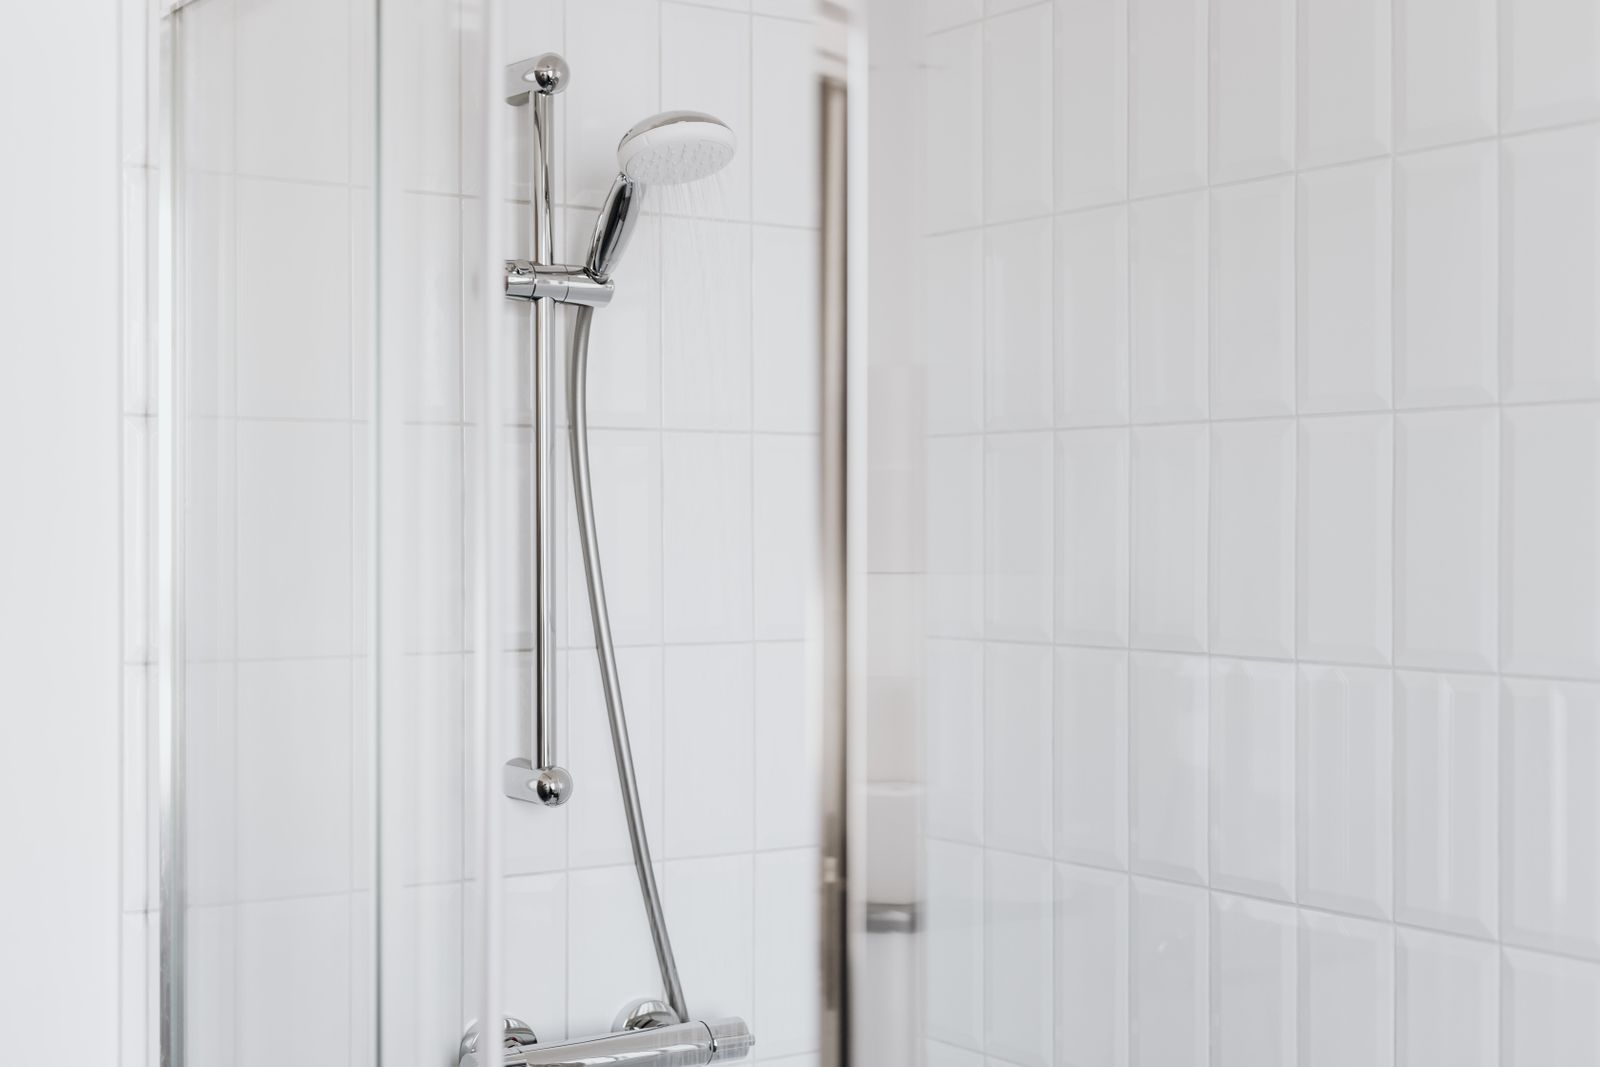
When Pamela reached out about the guest bathroom in her Pflugerville home, the room had barely changed since the house was built. The tub was worn, the wall surround was dated, and guests had started to notice. She wanted the space rebuilt around a new tub and fully tiled shower walls. Nothing flashy, just a clean room done correctly. It was exactly the kind of bathroom remodel Pflugerville TX homeowners call us about every week, so we documented the project from the first sheet of floor protection to the final coat of sealer. Here is how it went. Key Takeaways The Scope of the Project Every project we take on starts with a written estimate that spells out exactly what will happen and in what order. Pamela’s covered demolition, site protection, plumbing, waterproofing, tile, and fixtures. It is the same structure we use across our bathroom remodeling service, whether the project is a guest bath or a large primary suite. Here is what each stage looked like in her home. Project Detail Specification Location Pflugerville, TX Project Guest bathroom remodel for our client Pamela Scope New tub with a left side drain and fully tiled shower walls Wall tile Roughly 90 square feet of white tile with Schluter edge profiles Waterproofing Mold block paper, waterproofing board, and liquid membrane Fixtures New shower head, handheld faucet, and shower curtain kit Typical cost range $8,000 to $15,000 for this kind of project in the area Working timeline About 2 to 3 weeks from demolition to final fixtures Demolition and Haul Away The old tub, the surround, and the existing finishes all came out, and we handled the full debris haul away ourselves. Nothing sat in the driveway waiting on a dumpster. We will be honest about this stage because not every contractor is. Demolition is loud and it makes dust. There is no quiet way to break tile off a wall. What a good crew can do is contain the mess, work in focused stretches, and move through it fast. That is what we did here, and the noisy part of the project was over within days. Protecting the Rest of the House Before a single hammer swung, the covering package went in. Ram board protected the floors along the work path. Sticky nylon held down coverage where regular sheeting slips. Moisture resistant paper and 6 mil plastic covered nearby surfaces, and zipper walls held up with tape and painter’s poles sealed the bathroom off from the rest of the home. Pamela lived her normal routine on the other side of that plastic for the entire project. This setup takes a few hours and it earns back every minute. Plumbing Brought Up to Code With the room open to the studs, the plumbing was prepared and adjusted to meet current code. The shower valve was relocated, and the hot and cold supply lines were moved to match the new layout. The new tub then went in with a left side drain to suit the room. Getting rough plumbing right at this stage is what keeps the rest of the project simple. It gets inspected, we photograph it, and it only disappears behind the wall once it is correct. Tile, Grout, and Fixtures Pamela chose a white wall tile herself, and we installed roughly 90 square feet of it across the shower walls. Schluter edge profiles finished the exposed edges, which gives every corner a crisp metal line instead of a row of raw tile cuts. All of it was grouted with mold resistant grout and sealed. For fixtures, she received a new shower head and a handheld faucet, plus a complete shower curtain kit so the bathroom was ready to use the day we wrapped up. Pamela wanted to keep her tub, but a tub to shower conversion follows these same stages if you would rather have a walk in shower. If you are picking fixtures for your own project, the EPA WaterSense program is worth a look. Certified shower heads use about 20 percent less water without feeling weak. Why Shower Waterproofing Matters More Than the Tile Here is something that surprises most homeowners: tile and grout are not waterproof. Water vapor passes through grout lines, and over the years even hairline gaps let moisture reach whatever sits behind the tile. Shower waterproofing is the work that decides whether your new bathroom lasts for decades or fails quietly in a few years, and it is completely invisible the day the project wraps up. That is exactly why we build it in layers and photograph every one of them before tile goes on. The first layer in Pamela’s shower was mold block with moisture resistant paper, applied over the framing. Think of it as defense in depth. If moisture ever gets past everything above it, this layer shields the wood studs and gives mold nothing to feed on. Skip it and any future leak soaks straight into the framing, where it can rot structural lumber for years before anyone notices a smell or a stain. Waterproofing board went on next. It replaces ordinary drywall inside the wet area with a rigid, water resistant surface that tile can bond to for the long haul. Plain drywall behind a shower is one of the most common failures we open up in older homes. It wicks water like a sponge, swells, and slowly releases the tile bond until whole sections crack loose along the grout lines. The final layer was a liquid waterproofing membrane rolled across the entire shower wall area and the shampoo niche. Boards resist water, but the seams, screw heads, and corners between them do not. The membrane ties the whole assembly into one continuous barrier. The niche matters most here. A shampoo niche is a box cut into a wet wall, which makes it the most leak prone spot in the entire shower. When a niche fails, it is almost always because someone treated the membrane over it as optional.