
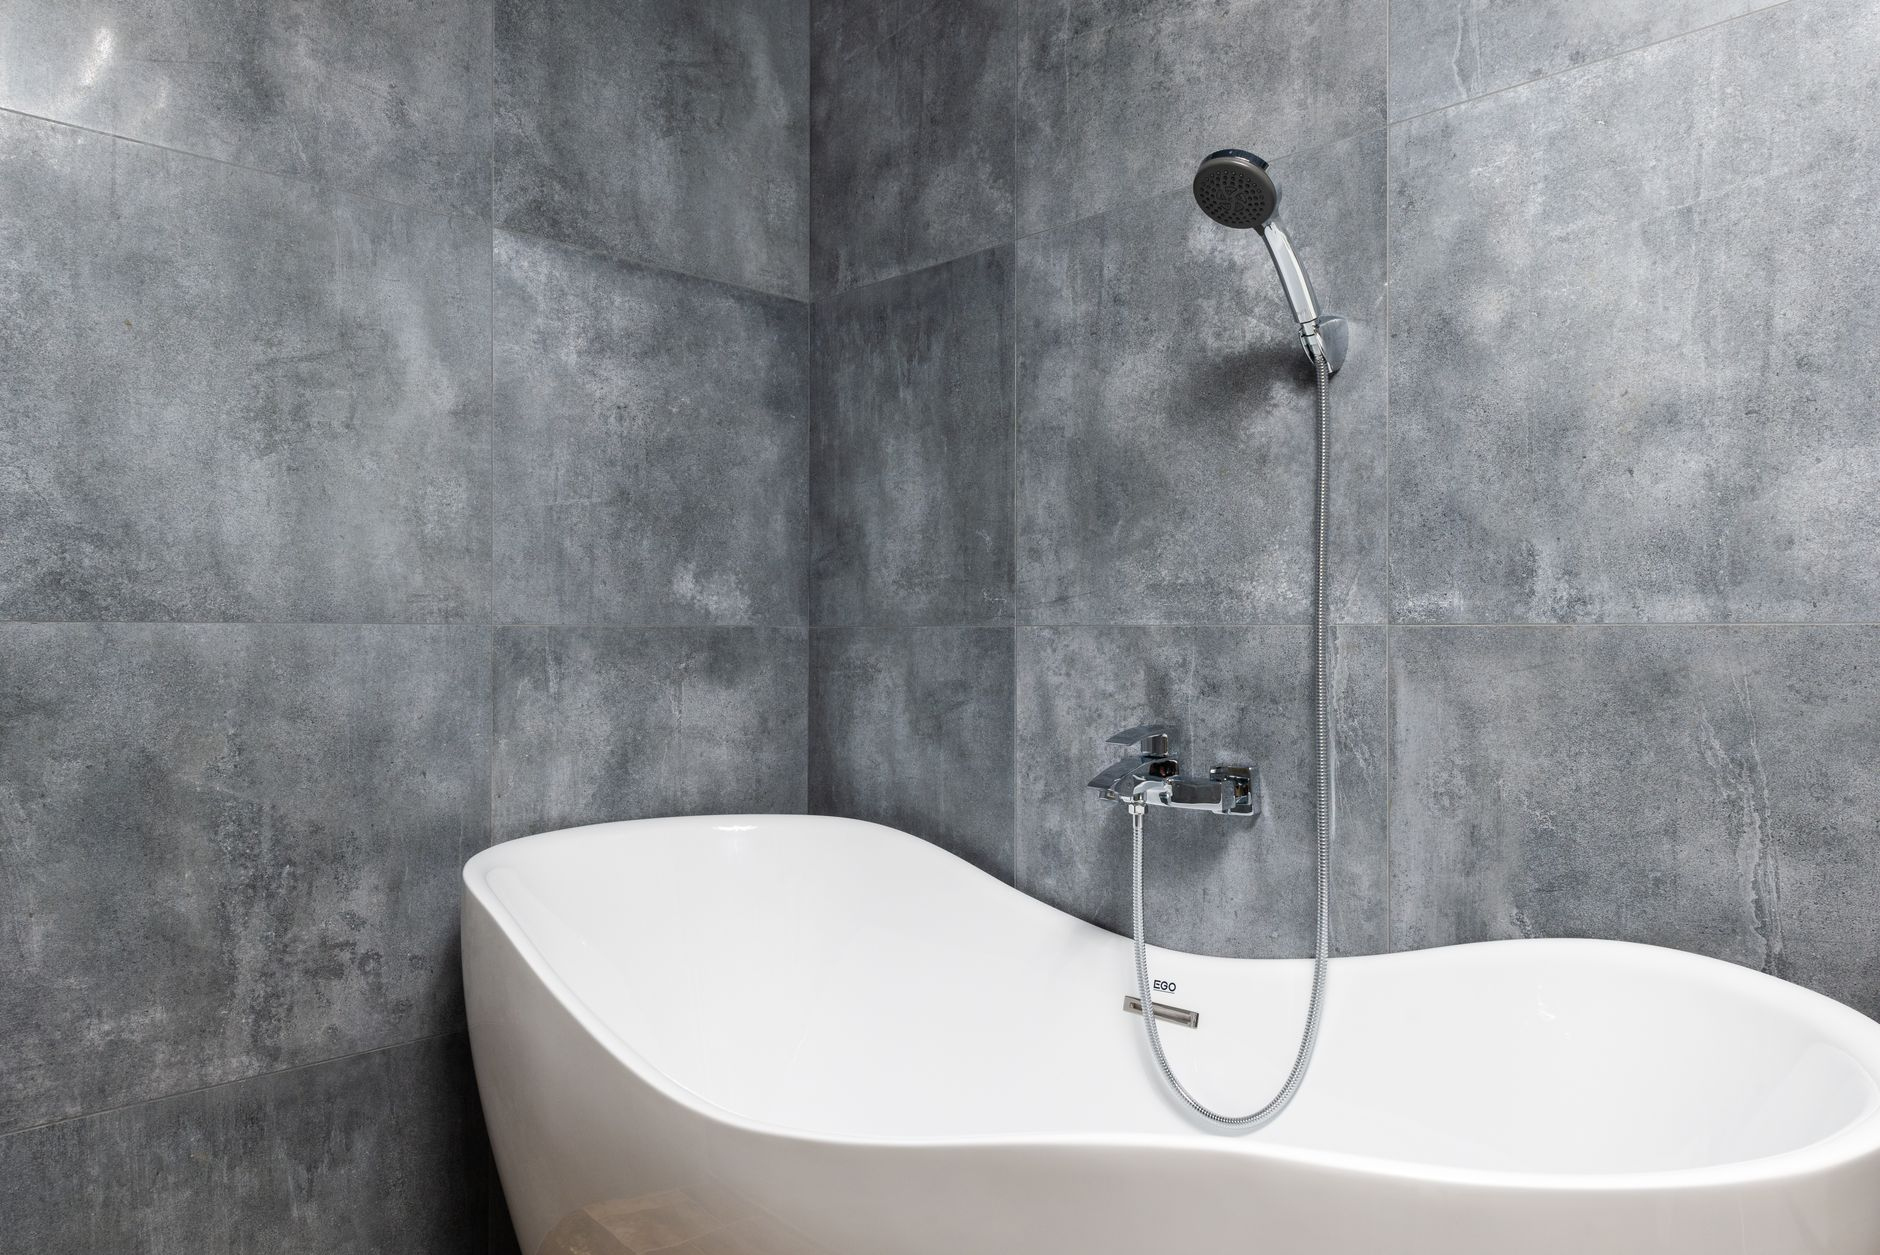
If you are planning a bathtub replacement, understanding what actually happens during the process helps you prepare your home, set realistic expectations, and avoid surprises once work begins. At B&H Remodeling, we have handled bathtub replacements across Austin, Round Rock, Cedar Park, Pflugerville, Georgetown, and Lakeway, and the question we hear most often is: what does this actually look like from start to finish? This walkthrough answers that question in plain terms. Key Takeaways Bathtub replacement is a multi-phase project that requires careful demolition, plumbing coordination, and proper waterproofing before a new tub ever gets installed. Choosing the right tub for your space and plumbing configuration matters as much as the installation itself. Skipping steps like substrate preparation or cement board installation leads to leaks and mold down the road. In Austin and surrounding cities, some bathtub replacement projects require a plumbing permit, especially when drain locations change. A licensed, insured crew handles the work safely and to code, which protects your home and its resale value. Step 1: Assessment and Planning Before the Bathtub Replacement Every successful bathtub replacement starts well before anyone picks up a pry bar. Our crew begins by assessing the existing tub, surround, plumbing access, and subfloor condition. This is where we catch issues that are invisible until tile and drywall come down: rotted subfloor from a slow drain leak, outdated galvanized supply lines, or a drain rough-in that does not align with the new tub’s drain location. During planning, we help homeowners decide between a drop-in tub, an alcove tub, a freestanding soaker, or a walk-in model. Each type carries different rough-in requirements and may or may not work with your existing plumbing layout without modification. Alcove tubs, for example, are the most common replacement in Austin homes because the three-wall configuration makes waterproofing straightforward. Freestanding models require a floor-mounted drain and supply lines, which adds plumbing work but creates a dramatically different look. If you are also considering converting the tub space into a walk-in shower, our shower remodeling service covers that option in detail. Step 2: Permits and Code Requirements in Austin Many homeowners are surprised to learn that a straight tub swap, where the new tub sits in the same location with no drain relocation, often does not require a permit. However, once you move the drain, add new supply lines, or alter structural elements like the subfloor, a plumbing permit becomes necessary in most Austin-area municipalities. Cedar Park, Round Rock, and Georgetown each have their own inspection processes, and we handle that coordination as part of our project management. Pulling the correct permit is not bureaucratic overkill. It protects you at resale when buyers and inspectors check permit history. Unpermitted plumbing work is one of the most common red flags that surfaces during a home inspection. Our team is licensed and insured, so we pull permits where the work requires them and keep you in the loop at every stage. You can also read our broader guidance on bathroom remodeling in Austin if you are weighing how this project fits into a larger renovation plan. Step 3: Demolition and What the Walls Reveal With planning done and permits in hand where needed, demolition begins. This phase involves removing the tile surround, any wall board behind the tile, the existing tub, and sometimes sections of the subfloor depending on condition. Demolition is loud and dusty, and our crew protects adjacent flooring and fixtures with drop cloths and temporary barriers so the rest of your bathroom stays usable as long as possible. What the walls reveal at this stage often shapes the rest of the project timeline. We regularly find: Moisture-damaged drywall that was used as a tile backer, which is a code violation and a mold risk. Soft or delaminating subfloor around the drain area from years of slow water intrusion. Galvanized or corroded supply lines that should be replaced while the walls are already open. Out-of-level floor framing that requires shimming before the new tub will sit flat. None of these are reasons to panic. They are exactly why an experienced crew does a thorough inspection before quoting and why access during demolition matters. Addressing each issue before the new tub goes in is far less expensive than fixing them after installation. How Bathtub Replacement Fits Into Your Overall Bathroom Timeline A standalone bathtub replacement typically takes two to four days depending on plumbing complexity and whether wall tile is part of the scope. If you are replacing tile surround, adding a new valve or shower fixture, or repairing the subfloor, budget a few extra days. Projects that combine a tub replacement with a full bathroom refresh, including new flooring, vanity, and paint, run longer but allow all the disruption to happen in one coordinated sequence rather than spread across multiple separate projects. One thing we emphasize to every homeowner: do not rush the mortar bed or the waterproofing membrane. These are the foundation of a long-lasting installation. A tub set in a properly mixed mortar bed with complete coverage will not flex, creak, or crack the surrounding grout. A tub set without one often develops hairline grout fractures within a year, which let moisture migrate behind the tile. Step 4: Substrate Preparation and Waterproofing Once demolition is complete and any subfloor repairs are finished, the space is ready for substrate installation. In a tub surround, this means replacing any moisture-damaged backer with cement board, which is a rigid, non-organic panel that does not rot or support mold growth. Cement board is fastened with appropriate screws, seams are taped with alkali-resistant mesh tape, and corners are treated with a waterproofing membrane before tile ever goes up. The tub ledge, where the tile meets the tub flange, is one of the most failure-prone points in any installation. Our team pays close attention to this transition because it is where grout cracks first appear and where water finds a path into the wall cavity. A properly detailed tub flange, covered by
Safe Bathroom Remodeling: The Safety Details Most Homeowners Overlook
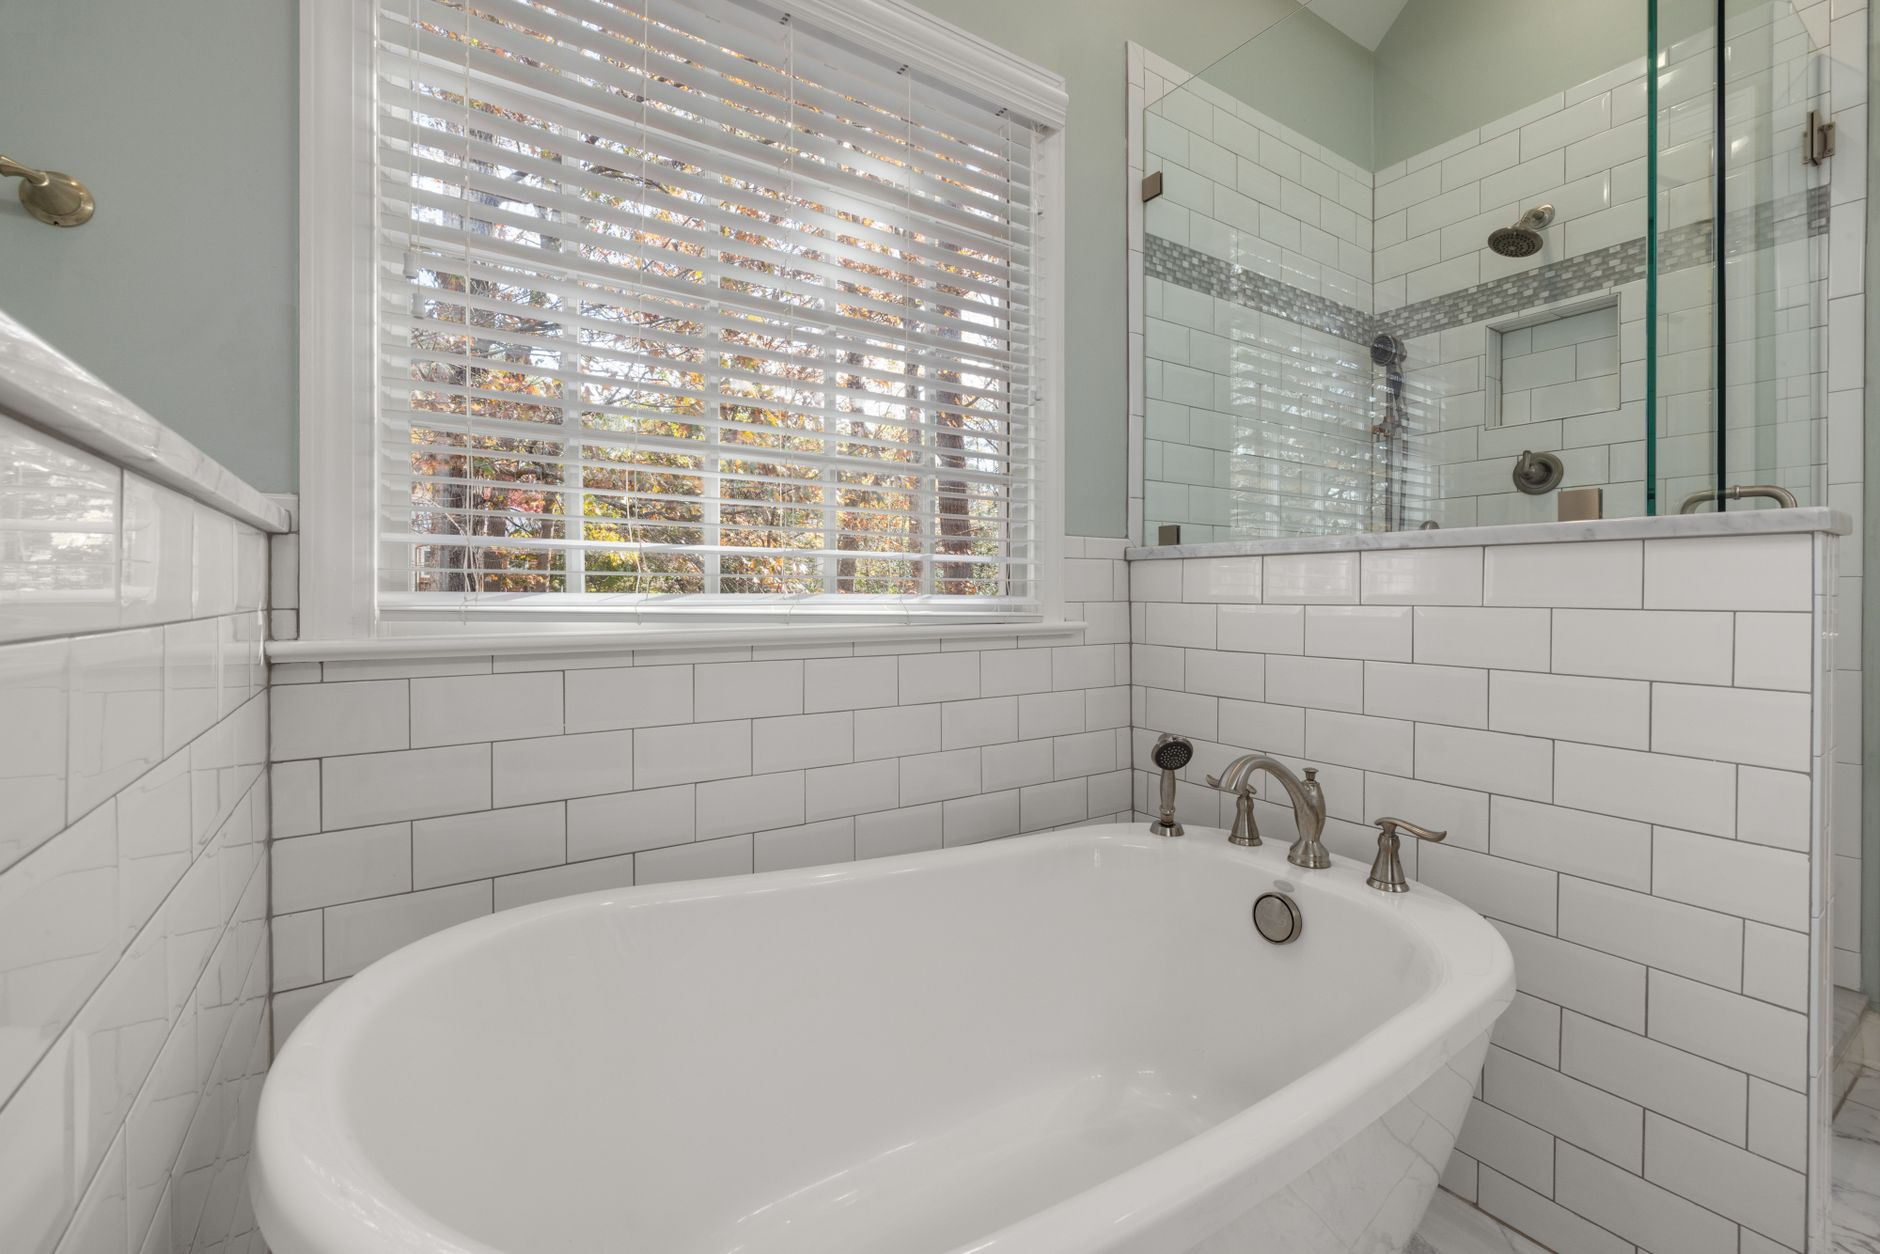
Safe bathroom remodeling is more than choosing the right tile or picking a vanity finish. The bathroom is statistically one of the most hazardous rooms in any home, and a renovation that ignores the structural, electrical, and ventilation realities of the space can create problems that show up months or years after the last contractor has left. At B&H Remodeling, we work with Austin-area homeowners every week who are surprised to learn how many genuine safety considerations are baked into even a straightforward bathroom update. Key Takeaways Waterproofing failures are the leading hidden danger in bathroom remodels, and they are invisible until serious damage has already occurred. Bathroom electrical work must meet GFCI requirements and Austin building code, not just pass a visual inspection. Ventilation is a health issue, not just a comfort issue, and most bathrooms are under-ventilated long before a remodel begins. Slip resistance on flooring and shower surfaces needs to be specified before materials are ordered, not reconsidered at the end. Load-bearing and plumbing considerations require a licensed professional’s eye, especially in older Austin homes. Permits protect you legally and financially, and skipping them in the City of Austin or surrounding jurisdictions is a liability that follows the house. Why Safe Bathroom Remodeling Deserves More Attention Than It Gets Most homeowners come to us with a clear picture of what they want their bathroom to look like. Fewer have thought carefully about what their bathroom needs to be safe. That gap is completely understandable. Design decisions are visible and exciting. Safety decisions happen behind the wall and under the floor, where no one thinks to look once the project is done. The bathroom combines water, electricity, steam, and hard surfaces in a small enclosed space. That combination makes every trade involved, from tile to electrical to plumbing, more consequential here than almost anywhere else in the house. Getting one of them wrong does not just look bad. It can cause structural rot, electrical shock, mold-related illness, or a fall that leads to serious injury. Our crews have worked in homes across Austin, Round Rock, Cedar Park, Pflugerville, Georgetown, and Lakeway, and the pattern we see repeatedly is the same: the safety issues that surface during a remodel were planted by whoever did the previous renovation. The homeowner had no idea anything was wrong, because everything looked fine on the surface. Addressing these properly the first time is the only way to break that cycle. Waterproofing: The Safety System Hidden Behind Your Walls Waterproofing is the most critical and most frequently mishandled element in any shower or tub surround renovation. A shower tile that looks beautiful on day one can be hiding a waterproofing membrane that was applied incorrectly, skipped entirely, or simply was not the right product for the substrate beneath it. Water that gets behind tile does not evaporate. It migrates into the wall assembly, saturates the substrate, and begins growing mold within 24 to 48 hours of getting wet. Over weeks and months, that moisture degrades drywall, weakens wood framing, and can travel into adjacent rooms or the floor below. By the time a homeowner sees a stain on the ceiling of the room underneath their bathroom, the damage is already extensive. What Proper Waterproofing Actually Involves A correctly waterproofed shower or wet area includes several distinct layers. The substrate behind the tile must be a cement board, foam board, or another moisture-resistant backer, not standard drywall. A waterproofing membrane, whether liquid-applied or sheet-based, is then applied to the backer and allowed to cure before any tile is set. Corners, niches, and the transition at the shower pan floor are the most failure-prone spots, and they require fabric reinforcement embedded in the membrane. The shower pan itself, whether a liner system or a solid surface, must be properly sloped to the drain and tested for leaks before the floor tile goes down. If you are considering a shower remodeling project in Austin, ask your contractor specifically about their waterproofing process and which products they use. A confident, detailed answer is a good sign. Vagueness is a red flag. Electrical Safety in the Bathroom: What Code Actually Requires Electricity and water do not mix, and the bathroom is the room where they come closest together. The National Electrical Code and Austin’s local adoption of it require ground fault circuit interrupter (GFCI) protection on all receptacles within a certain distance of a water source. GFCI outlets and breakers are designed to cut power in milliseconds if a fault is detected, which is the difference between a shock and a fatality. A remodel is the right moment to verify that your bathroom’s electrical system actually meets current requirements, not just the requirements that were in effect when the house was built. Older homes throughout the Austin area were wired to older standards, and a bathroom that passed inspection twenty years ago may have receptacles or circuits that are non-compliant today. Common Electrical Issues We Find During Bathroom Remodels Standard outlets installed where GFCI protection is required by current code. Exhaust fans wired to the same circuit as the light switch, which limits their usability. Light fixtures above the shower or tub that are not rated for damp or wet locations. Undersized circuits that cannot support the load of a modern bathroom with heated floors, a towel warmer, and high-wattage lighting. Junction boxes buried inside walls during a previous renovation and now inaccessible. Any electrical work in a permitted bathroom remodel must be inspected by the city. This is not a formality. It is the independent check that protects your household from problems a visual inspection would miss entirely. Ventilation: A Health Issue Disguised as a Comfort Issue An under-powered or improperly installed exhaust fan does more than leave the mirror fogged up. Chronic moisture buildup from inadequate ventilation creates the exact conditions mold needs to colonize walls, ceilings, and the spaces behind cabinets. Mold exposure is a genuine health concern, particularly for people with respiratory conditions or
Signs You Need Shower Remodeling Sooner Rather Than Later
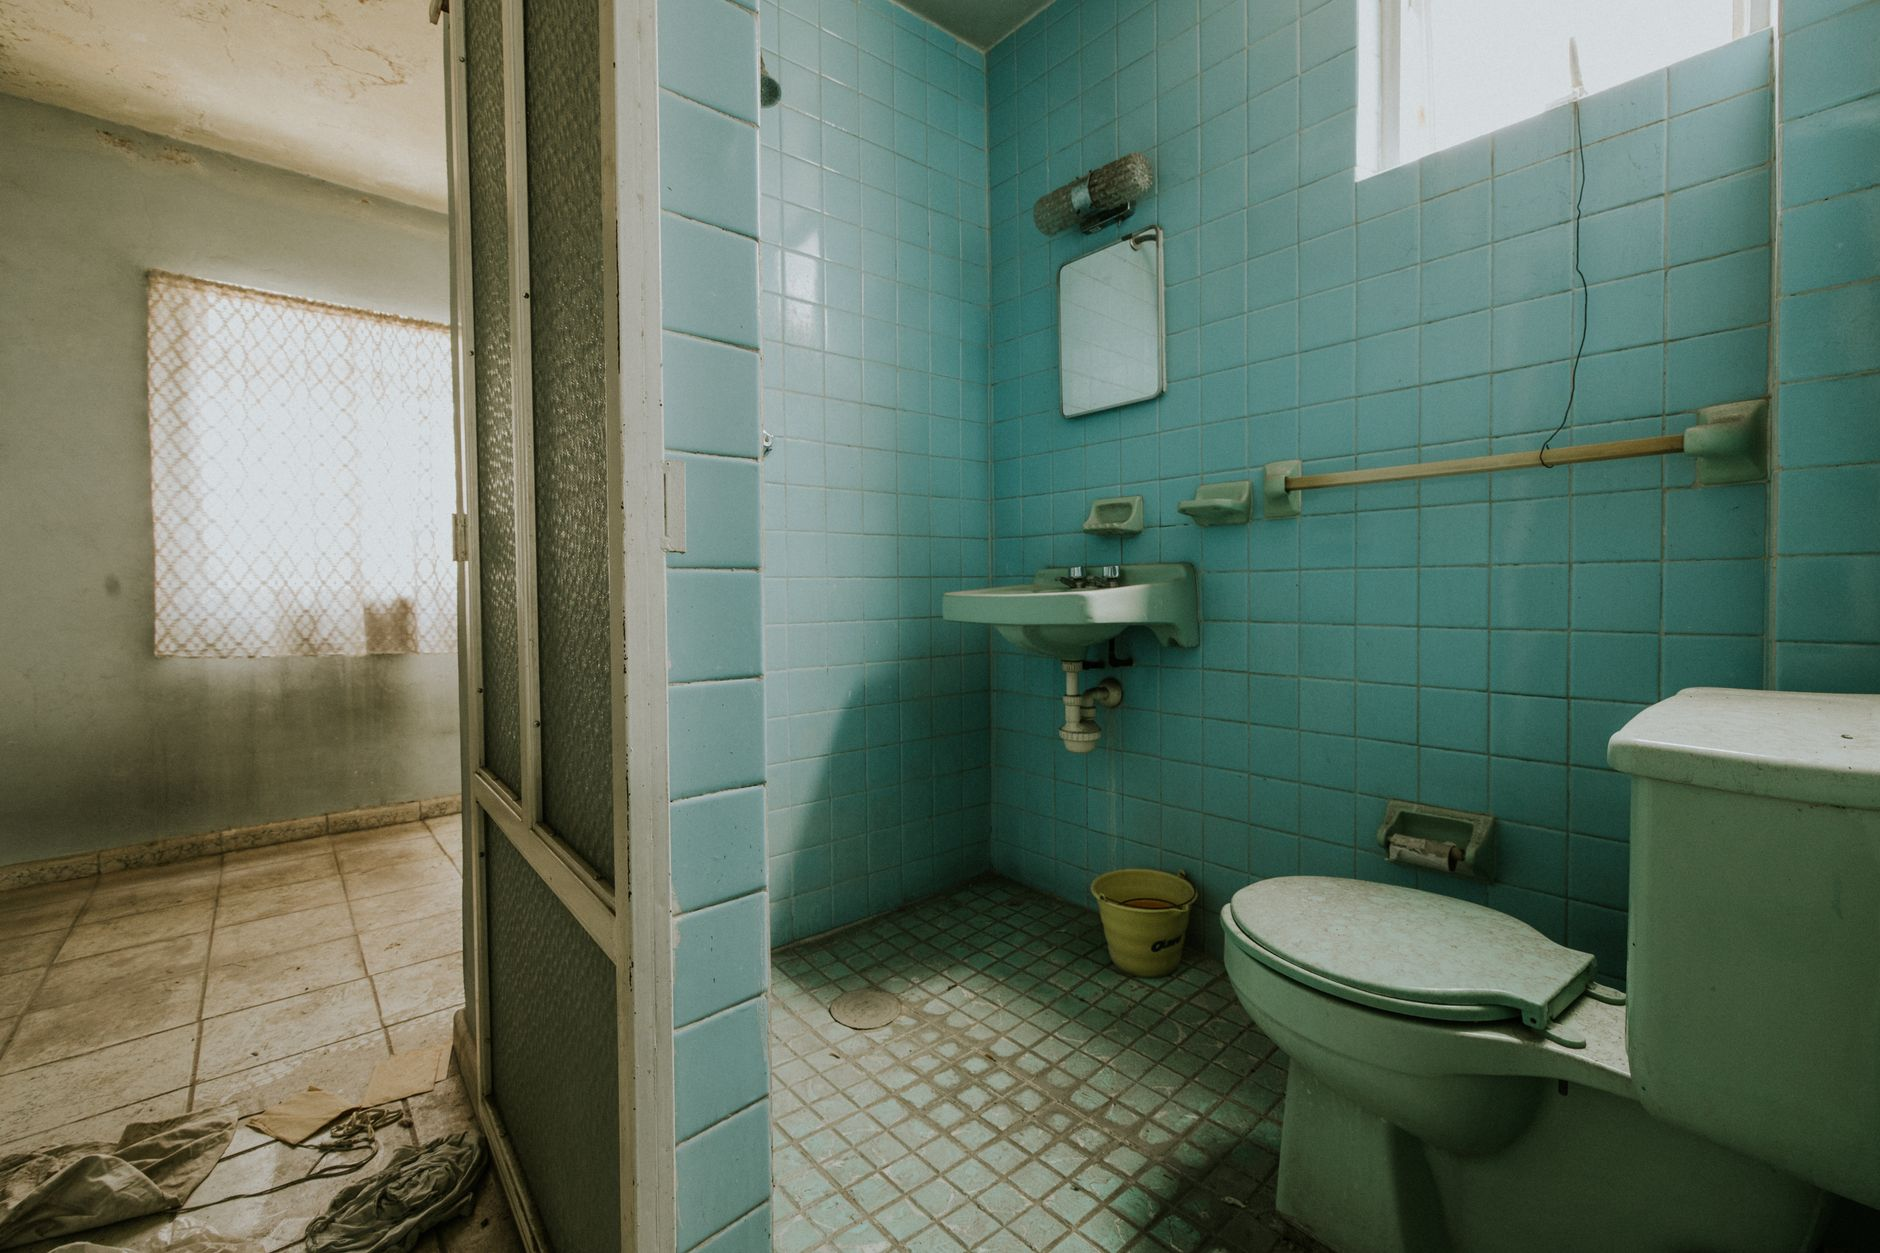
Shower remodeling is one of those projects homeowners tend to put off until the problem becomes impossible to ignore. But in our experience working with homeowners across Austin, Round Rock, Cedar Park, and Pflugerville, waiting too long almost always means a bigger job and a more disruptive process. If you have been second-guessing whether your shower is overdue for attention, this post lays out the clearest warning signs so you can make a confident, informed call. Key Takeaways Grout and caulk failure are the earliest and most actionable warning signs of a shower that needs attention. Persistent leaks and soft subfloor material beneath tile point to water damage that will not resolve on its own. Mold behind the wall surface and chronic drainage problems are urgent, not cosmetic. An outdated or undersized shower can limit your home’s resale appeal and daily comfort in equal measure. Catching problems early typically means a focused scope of work rather than tearing out walls and subfloor. When Shower Remodeling Is the Right Call: Reading the Signals Early Most showers do not fail overnight. They give you months of quiet hints before a real problem announces itself. The homeowners who get ahead of it usually noticed something small, asked a question, and acted before water found its way into the structure. The ones who wait often end up dealing with subfloor replacement, mold remediation, or both. Knowing what to look for puts you firmly in the first group. Grout and Caulk That Has Stopped Doing Its Job Grout lines in a shower are not purely decorative. They are a barrier between surface water and the substrate beneath your tile. When grout cracks, crumbles, or develops dark staining that does not clean away, water is already finding a path it should not have. The same is true for the caulk lines at corners, the base of the curb, and anywhere two surfaces meet at an angle. Silicone and sanded caulk both have a finite lifespan, especially in a wet environment with daily temperature swings. When that material shrinks, peels, or pulls away from the surface, even a small gap allows moisture to wick behind the tile. In our work on shower remodels in Georgetown and Cedar Park, we frequently pull tile and find that the underlying cement board or drywall has been damp for far longer than the homeowner realized, all because a caulk line that looked minor from the outside had been open for months. Re-grouting or re-caulking a shower that is otherwise structurally sound is a reasonable maintenance task. But when grout failure is widespread, or when you see the tile itself shifting or loosening, that is a sign the substrate beneath has already been compromised. At that point, you are looking at shower remodeling rather than a weekend patch job. Soft Spots, Flexing Tile, and What They Mean for Your Subfloor Press lightly on the tile in the floor of your shower or on the lower wall panels around the base. Tile that moves, flexes, or produces a hollow sound when tapped is tile that has lost its bond to the substrate beneath it. That bond breaks when moisture gets under the tile and stays there long enough to degrade the mortar bed or the cement board it was set into. A soft spot in the shower floor, particularly near the drain or along the curb, often signals that the subfloor material below the tile layer has taken on enough moisture to weaken. In older homes across Austin and Pflugerville, we sometimes find that previous owners used standard drywall in a wet area rather than a moisture-resistant backer. Once that material gets saturated, no amount of resealing the surface will fix the underlying problem. This is one of the clearest signals that shower remodeling cannot wait. The longer water has unrestricted access to wood framing or an organic subfloor material, the greater the risk of structural damage that extends well beyond the shower pan itself. A remodel that addresses this early involves replacing the liner or pre-sloped shower pan, installing a proper backer board system, and retiling. A remodel that waits too long can involve framing repair and subfloor replacement in adjacent floor areas as well. Mold You Can See and Mold You Cannot Surface mold on grout is common and, in most cases, manageable with the right cleaner and some elbow grease. What is not manageable, and what tells you a remodel is overdue, is mold that keeps returning within days of cleaning, mold that appears on the wall surface above or beside the tile, or any soft, spongy, or discolored section of drywall adjacent to the shower enclosure. When mold reappears quickly after cleaning, it almost always means there is a moisture source behind the tile that the surface cleaning does not reach. The grout surface you scrubbed is clean; the paper facing of the drywall behind it is not. In humid climates like Austin’s, where summers are long and bathrooms without proper exhaust ventilation stay damp, this cycle accelerates faster than it would in a drier region. A bathroom exhaust fan that vents properly is one line of defense. But if the shower enclosure itself is not waterproofed correctly behind the tile, ventilation alone will not stop water intrusion. Our team has opened walls during shower remodeling projects to find black mold growth on framing that the homeowner had no idea was there. At that stage, the project appropriately expands to include mold remediation before any new tile goes up. Addressing it at the first signs on the surface is always preferable to discovering it during demo. Drainage Problems That Never Seem to Resolve Slow drainage in a shower is easy to dismiss as a clog. And sometimes it is, a straightforward hair clog in the p-trap that clears with a drain tool or an enzyme-based cleaner. But persistent slow drainage, especially when the drain itself appears clear, can point to something more significant: an improperly sloped shower floor.
Bathtub Replacement Safety: What Most Homeowners Miss
Bathtub replacement safety is one of those topics that gets buried under conversations about tile colors and faucet finishes, yet it deserves just as much attention as the design decisions. After years of completing bathroom remodels across Austin, Round Rock, Cedar Park, and the surrounding communities, our team at BH Remodeling has seen what happens when the structural and safety layers of a tub swap get skipped or rushed. The results range from a slow leak that quietly rots the subfloor to a finished tub that shifts underfoot. This post covers what those risks actually look like and how a properly managed replacement avoids them. Key Takeaways Subfloor and floor joist condition must be inspected before a new tub is ever set in place. Waterproofing behind the surround is a structural necessity, not a cosmetic upgrade. Drain and supply connections need to meet current plumbing code, which sometimes means updating older fittings. Proper tub support and leveling prevent flex, cracking, and premature seal failure. Permits may be required depending on the scope, and skipping them can create problems when you sell. Anti-scald valves and slip resistance are fall and burn prevention measures worth planning for during a replacement. Why Bathtub Replacement Safety Starts Below the Tub Most homeowners focus on what they can see: the tub field, the surround, the fixtures. The part of a replacement that actually determines long-term safety is what lies beneath. Before a new tub goes in, the subfloor needs a thorough assessment. Older homes, particularly those built before current building codes standardized moisture barriers, are especially prone to subfloor deterioration near the tub area. Water migrates through grout, around drain flanges, and along any unsealed penetration. By the time a homeowner notices soft spots in the floor or a tub that flexes when stepped into, the damage is often already widespread. Our crew checks the condition of the subfloor and the floor joists underneath before any new fixture is set. If there is rot, the compromised material gets replaced, not covered. Installing a new acrylic or cast iron tub over a weakened subfloor transfers your full body weight onto a surface that was not designed to hold it. That creates flex, which breaks caulk seals, which invites more water, which accelerates the damage in a cycle that is expensive to interrupt later. Tub weight is also something people underestimate. A cast iron unit can weigh several hundred pounds before water is added. The floor framing has to be capable of supporting that load. In some cases, sistering a joist (adding a parallel member alongside a weakened one) is the right correction before the new tub goes in. Waterproofing and Backer Material: The Hidden Line of Defense Once the subfloor is sound, the walls around the tub area require just as much care. The surround, whether tile, a prefabricated panel, or cultured stone, is a finish layer. It is not what keeps water from reaching the framing. What keeps the framing dry is the waterproof membrane and backer material installed behind the finish layer. Standard drywall, even moisture-resistant varieties, is not appropriate in a wet zone. Cement board or a dedicated waterproofing membrane system is the correct approach in the area directly surrounding the tub. We see bathrooms where previous contractors used regular green board (moisture-resistant drywall) in direct contact with tile in the shower or tub surround. Over time, the paper facing on that board absorbs moisture, the board degrades, and the tile field loses its bond. By the time tiles start popping off, there is often active mold behind the wall. A proper installation uses cement board or a comparable substrate, sealed at seams and penetrations, with a continuous waterproof membrane applied before any tile or panel goes up. This is the layer that actually protects your home’s structure. If you are comparing bids for a bathroom remodel in Austin and one is significantly lower, ask specifically what waterproofing system is being used and where it stops. That question alone often explains the price difference. Plumbing Connections and Code Compliance During Bathtub Replacement Swapping a tub is also a plumbing job, and that part carries real safety implications. The drain assembly, the overflow plate, and the supply connections all need to be properly seated and tested before the surround is closed in. A drain connection that is even slightly misaligned creates a slow leak at the P-trap (the curved pipe segment that holds water to block sewer gases). That leak may not surface as a visible puddle for months, all while moisture accumulates in the wall cavity or subfloor. Older homes in Austin and the surrounding areas sometimes have supply lines in materials that are now outside current code, or that have simply reached the end of their service life. A tub replacement is a logical moment to address those while access is open. Replacing a failing supply line is straightforward when the wall is already open. It becomes a much larger project if it fails six months after a finished surround is tiled and grouted. Permits matter here too. Depending on the scope of work, the City of Austin and surrounding municipalities may require a permit for plumbing work involved in a tub replacement. A permitted job gets inspected, which means an independent set of eyes confirms the connections meet current standards. We walk our customers through whether a permit is needed for their specific project before work begins. If you want a broader picture of how the permit process works locally, our FAQ page covers some of those questions. Proper Support and Leveling: More Than a Comfort Issue A tub that is not properly supported and leveled is not just a comfort issue; it is a structural and safety issue. Acrylic and fiberglass tubs require a mortar bed or a foam support system beneath the basin to distribute weight evenly. Without it, the tub flexes every time someone steps in. That flex cycles the caulk joint at the tub-to-wall seam through
Guest Bathroom Remodel in Pflugerville TX: A Tub and Tile Shower Makeover
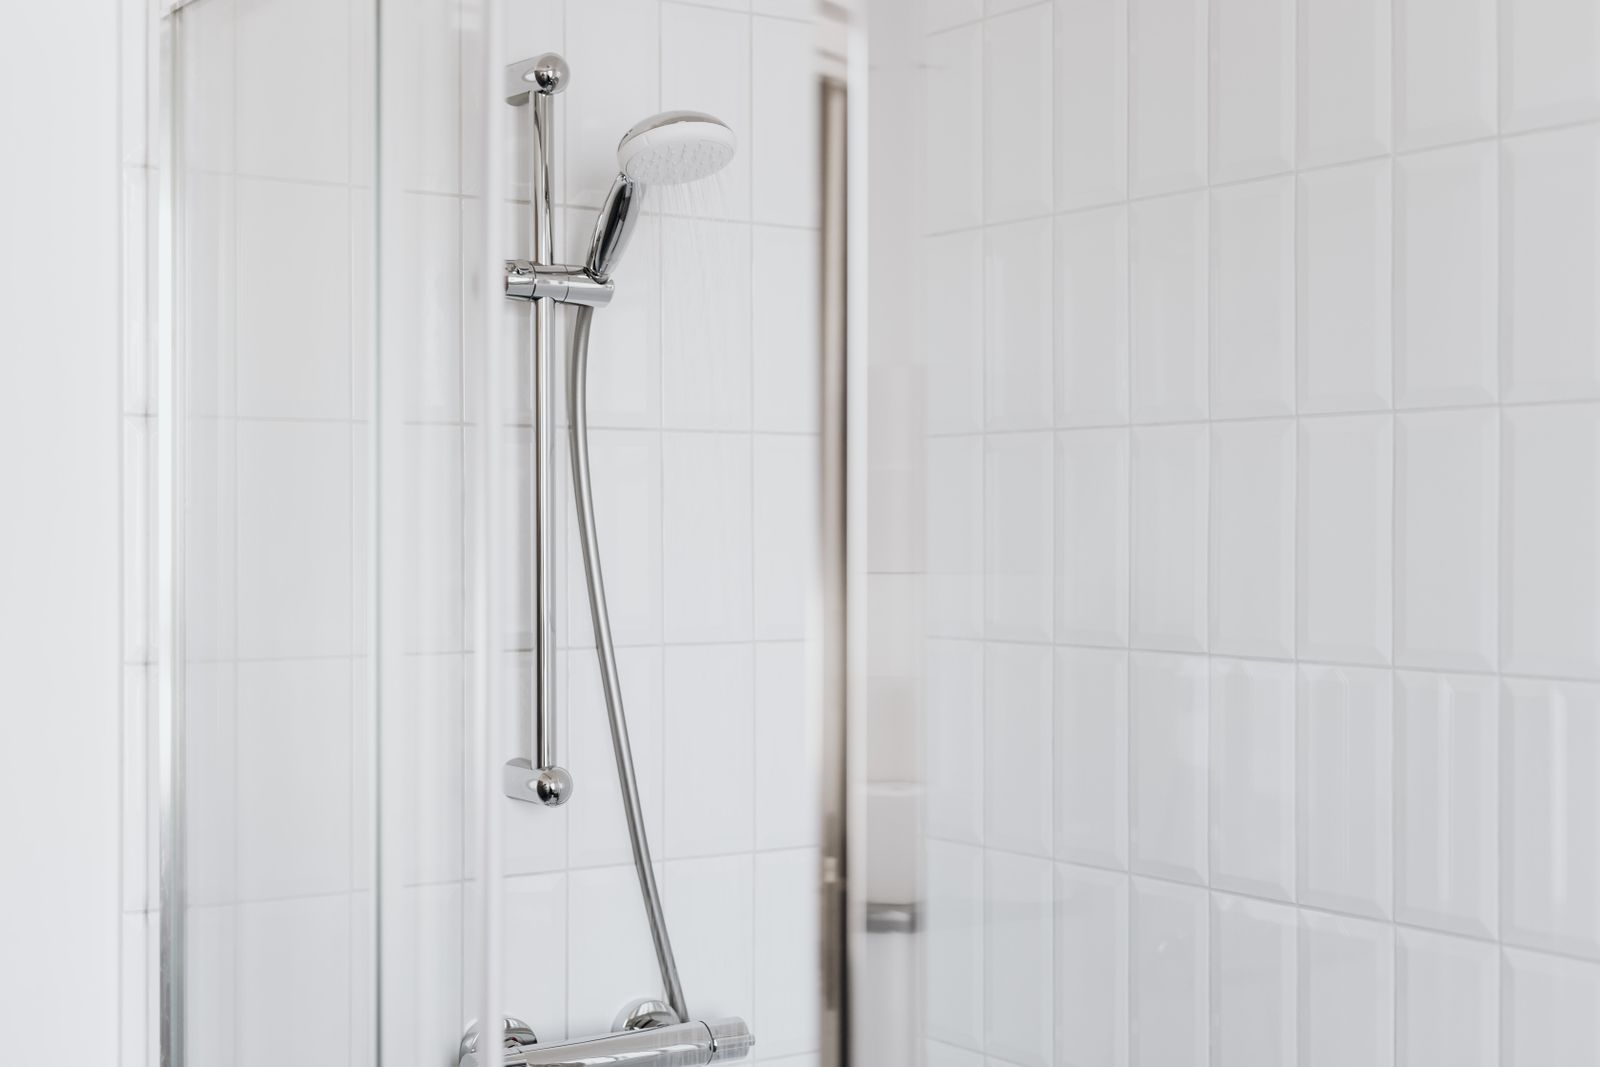
When Pamela reached out about the guest bathroom in her Pflugerville home, the room had barely changed since the house was built. The tub was worn, the wall surround was dated, and guests had started to notice. She wanted the space rebuilt around a new tub and fully tiled shower walls. Nothing flashy, just a clean room done correctly. It was exactly the kind of bathroom remodel Pflugerville TX homeowners call us about every week, so we documented the project from the first sheet of floor protection to the final coat of sealer. Here is how it went. Key Takeaways The Scope of the Project Every project we take on starts with a written estimate that spells out exactly what will happen and in what order. Pamela’s covered demolition, site protection, plumbing, waterproofing, tile, and fixtures. It is the same structure we use across our bathroom remodeling service, whether the project is a guest bath or a large primary suite. Here is what each stage looked like in her home. Project Detail Specification Location Pflugerville, TX Project Guest bathroom remodel for our client Pamela Scope New tub with a left side drain and fully tiled shower walls Wall tile Roughly 90 square feet of white tile with Schluter edge profiles Waterproofing Mold block paper, waterproofing board, and liquid membrane Fixtures New shower head, handheld faucet, and shower curtain kit Typical cost range $8,000 to $15,000 for this kind of project in the area Working timeline About 2 to 3 weeks from demolition to final fixtures Demolition and Haul Away The old tub, the surround, and the existing finishes all came out, and we handled the full debris haul away ourselves. Nothing sat in the driveway waiting on a dumpster. We will be honest about this stage because not every contractor is. Demolition is loud and it makes dust. There is no quiet way to break tile off a wall. What a good crew can do is contain the mess, work in focused stretches, and move through it fast. That is what we did here, and the noisy part of the project was over within days. Protecting the Rest of the House Before a single hammer swung, the covering package went in. Ram board protected the floors along the work path. Sticky nylon held down coverage where regular sheeting slips. Moisture resistant paper and 6 mil plastic covered nearby surfaces, and zipper walls held up with tape and painter’s poles sealed the bathroom off from the rest of the home. Pamela lived her normal routine on the other side of that plastic for the entire project. This setup takes a few hours and it earns back every minute. Plumbing Brought Up to Code With the room open to the studs, the plumbing was prepared and adjusted to meet current code. The shower valve was relocated, and the hot and cold supply lines were moved to match the new layout. The new tub then went in with a left side drain to suit the room. Getting rough plumbing right at this stage is what keeps the rest of the project simple. It gets inspected, we photograph it, and it only disappears behind the wall once it is correct. Tile, Grout, and Fixtures Pamela chose a white wall tile herself, and we installed roughly 90 square feet of it across the shower walls. Schluter edge profiles finished the exposed edges, which gives every corner a crisp metal line instead of a row of raw tile cuts. All of it was grouted with mold resistant grout and sealed. For fixtures, she received a new shower head and a handheld faucet, plus a complete shower curtain kit so the bathroom was ready to use the day we wrapped up. Pamela wanted to keep her tub, but a tub to shower conversion follows these same stages if you would rather have a walk in shower. If you are picking fixtures for your own project, the EPA WaterSense program is worth a look. Certified shower heads use about 20 percent less water without feeling weak. Why Shower Waterproofing Matters More Than the Tile Here is something that surprises most homeowners: tile and grout are not waterproof. Water vapor passes through grout lines, and over the years even hairline gaps let moisture reach whatever sits behind the tile. Shower waterproofing is the work that decides whether your new bathroom lasts for decades or fails quietly in a few years, and it is completely invisible the day the project wraps up. That is exactly why we build it in layers and photograph every one of them before tile goes on. The first layer in Pamela’s shower was mold block with moisture resistant paper, applied over the framing. Think of it as defense in depth. If moisture ever gets past everything above it, this layer shields the wood studs and gives mold nothing to feed on. Skip it and any future leak soaks straight into the framing, where it can rot structural lumber for years before anyone notices a smell or a stain. Waterproofing board went on next. It replaces ordinary drywall inside the wet area with a rigid, water resistant surface that tile can bond to for the long haul. Plain drywall behind a shower is one of the most common failures we open up in older homes. It wicks water like a sponge, swells, and slowly releases the tile bond until whole sections crack loose along the grout lines. The final layer was a liquid waterproofing membrane rolled across the entire shower wall area and the shampoo niche. Boards resist water, but the seams, screw heads, and corners between them do not. The membrane ties the whole assembly into one continuous barrier. The niche matters most here. A shampoo niche is a box cut into a wet wall, which makes it the most leak prone spot in the entire shower. When a niche fails, it is almost always because someone treated the membrane over it as optional.
How Much Does a Bathroom Remodel Cost in Austin? (2026)
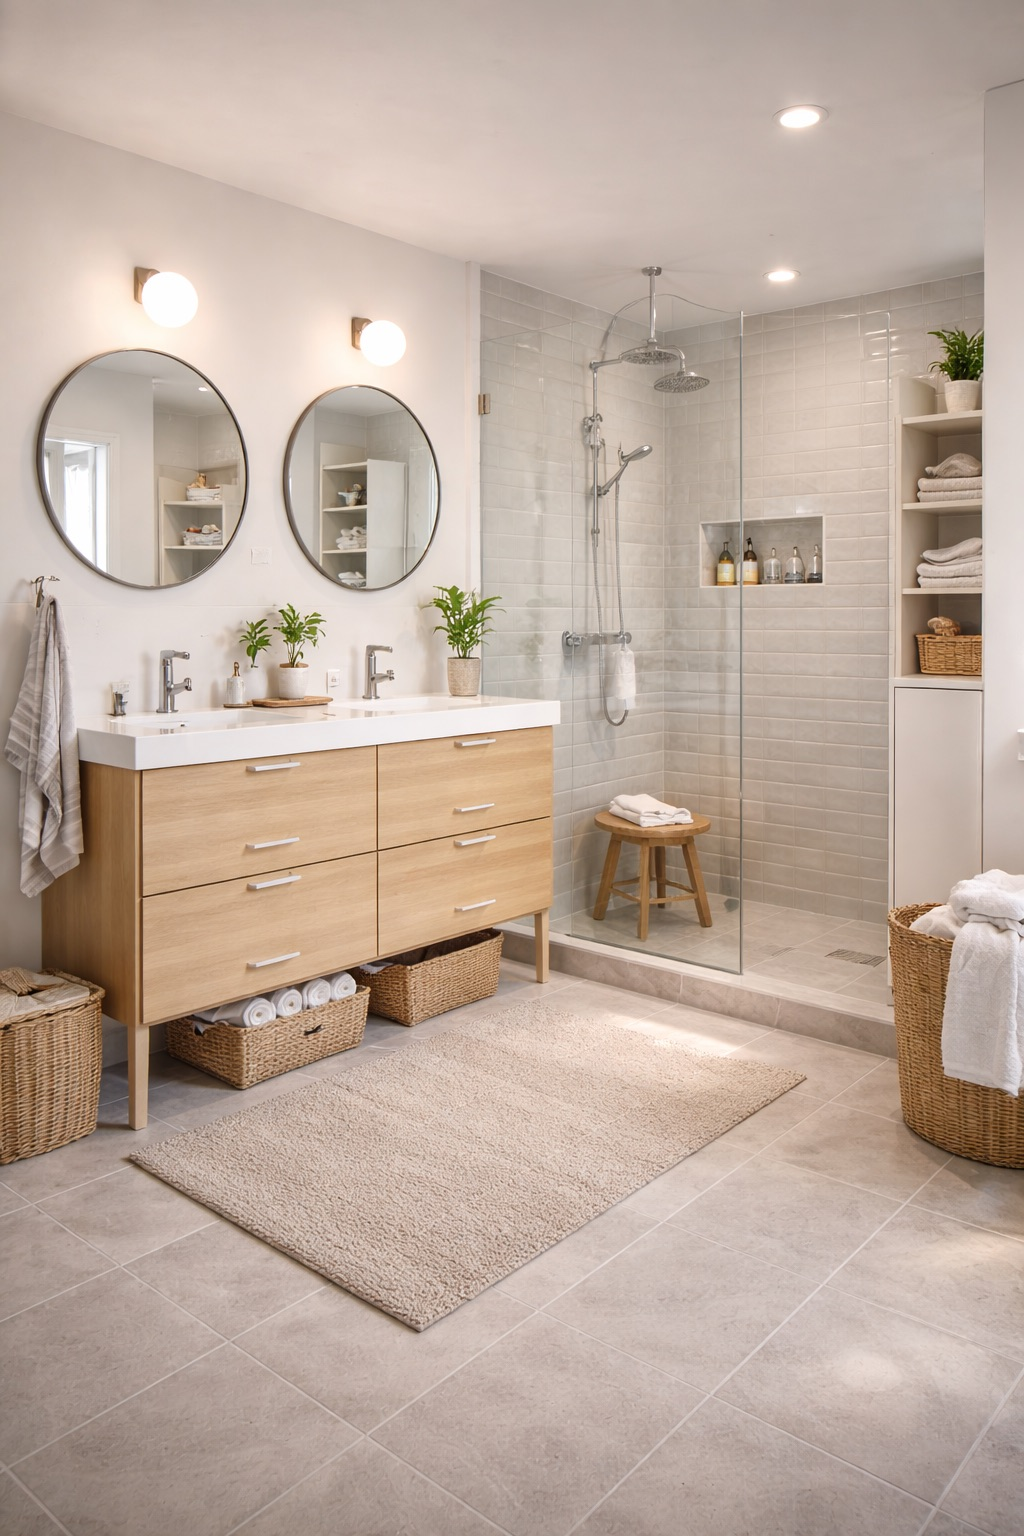
Curious about bathroom remodel cost in Austin? See real 2026 price ranges, budget tips, and what changes the final number for your project.