
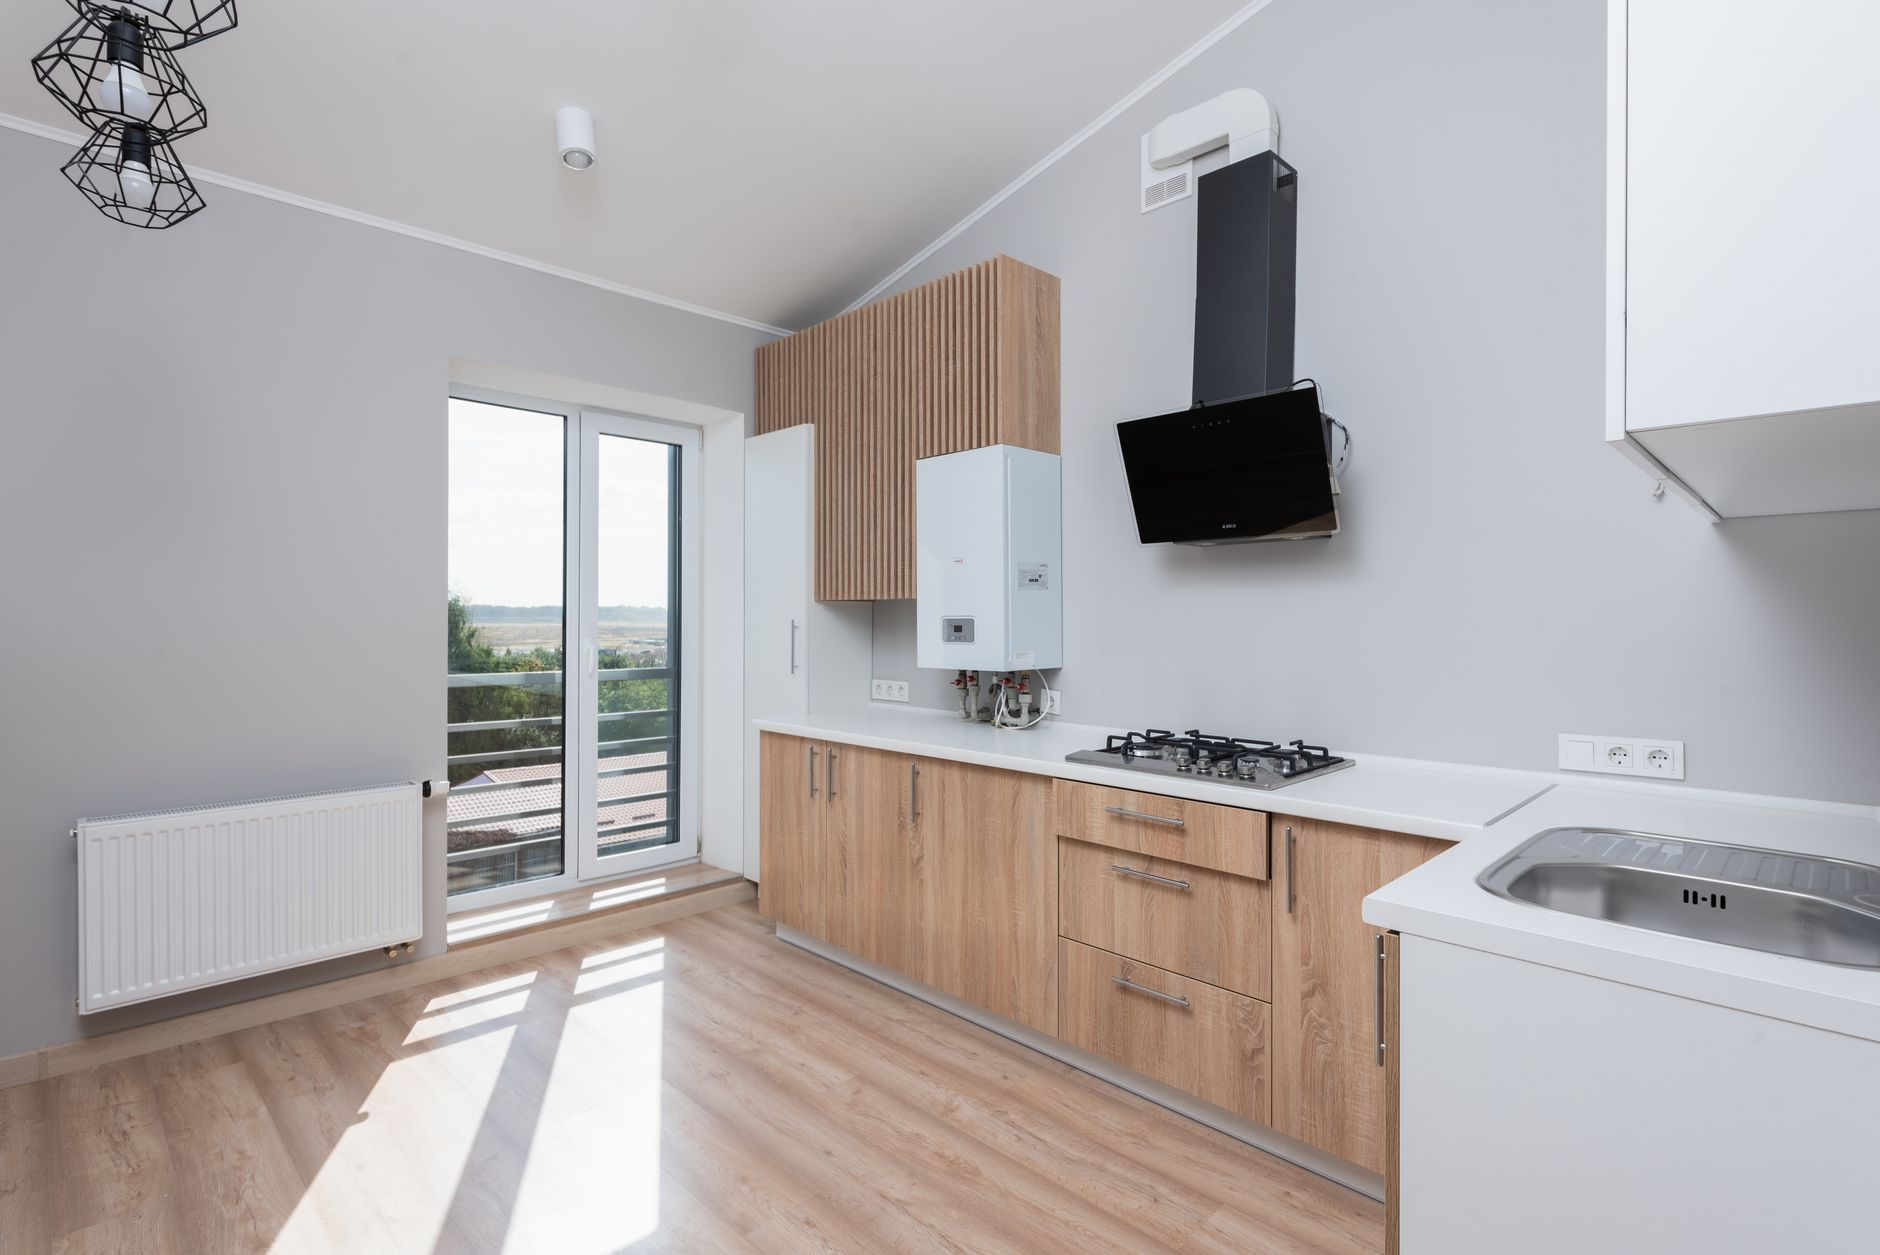
Cabinet installation is one of the highest-impact upgrades you can make to a kitchen or bathroom, and it is also one of the most misunderstood. Whether you are replacing tired, worn-out boxes or starting fresh in a remodel, the choices you make before a single cabinet leaves the factory will shape how your space looks and functions for years to come. At B&H Remodeling, we have worked through cabinet projects across Austin, Round Rock, Cedar Park, Pflugerville, Georgetown, and Lakeway, and this guide collects everything we wish every buyer knew before they started shopping.
Key Takeaways
- Cabinet type (stock, semi-custom, or custom) determines your timeline, flexibility, and quality ceiling.
- Box construction and hardware quality matter more than door style for long-term durability.
- Measuring and planning the layout before ordering prevents expensive surprises on installation day.
- Professional installation protects your investment and ensures cabinets are plumb, level, and properly anchored.
- Finish and hardware selections should be locked in before any demo begins.
- Working with a licensed, insured contractor reduces your liability if something goes wrong.
Understanding Your Options: Stock, Semi-Custom, and Custom Cabinets
The first real decision in any cabinet installation project is choosing which tier of cabinetry fits your goals. Each tier has a distinct profile of trade-offs, and picking the wrong one for your situation can cost you time or leave you disappointed with the result.
Stock Cabinets
Stock cabinets are pre-built in fixed sizes and shipped from a warehouse. They are the fastest path from decision to delivery, which makes them appealing when a timeline is tight. The trade-off is limited sizing options. Standard widths jump in three-inch increments, so kitchens with unusual dimensions often require filler strips to close gaps. The box construction on lower-end stock lines can also be thin, meaning the shelves may sag under heavy loads over time. That said, mid-grade stock lines from reputable manufacturers have improved significantly, and for a rental property or a secondary bathroom, they can perform well.
Semi-Custom Cabinets
Semi-custom cabinets are built to order within a manufacturer’s existing framework. You get more sizing flexibility, more door styles, more interior accessories, and generally thicker box construction than stock. Lead times typically run several weeks, so planning ahead matters. For most homeowners doing a primary kitchen remodel, semi-custom hits the right balance between quality and reasonable delivery windows.
Custom Cabinets
Fully custom cabinets are built from scratch to your exact specifications. They suit unusual floor plans, high-end design visions, or spaces where nothing off the shelf will work. Lead times are longer, and the investment is higher, but the result fits the room precisely and is built the way you specify. If your kitchen has a bump-out, a sloped ceiling, or an unusual island shape, custom may be the only clean solution.
What to Look for in Cabinet Construction
Door style is what most people notice in a showroom, but box construction is what determines whether your cabinets are still solid a decade from now. Here is what to evaluate before you buy.
Box Material
Cabinet boxes are typically built from plywood or particleboard. Plywood boxes are stronger, hold screws better over time, and resist moisture far more effectively than particleboard. In Austin kitchens, where temperature and humidity fluctuate, plywood is the choice we consistently recommend. Particleboard boxes can work in low-moisture areas, but they are susceptible to swelling if they ever get wet near a sink or dishwasher.
Joinery and Finishing
Look at how the box corners are joined. Dado joints (where a groove is cut into one piece and the other panel sits inside it) are more durable than simple butt joints held only by staples or nails. Interior finishes matter too. An unfinished interior absorbs moisture and stains; a fully finished or melamine interior is easier to clean and more resistant to humidity.
Drawer Boxes and Slides
Drawer boxes take a beating. Dovetail-jointed solid wood or plywood drawer boxes hold up far longer than stapled particleboard. Equally important are the drawer slides. Undermount, soft-close slides are the current standard for good reason: they support the drawer from below (keeping it level under load), close quietly, and last through tens of thousands of cycles without adjustment.
Door Hinges
Six-way adjustable concealed hinges (often called European hinges) allow you to fine-tune door alignment long after installation. Cheap hinges loosen and sag. This is a detail worth asking about explicitly when you compare cabinet lines.
Planning Your Cabinet Installation Layout
Even beautiful cabinets will frustrate you every day if the layout is not thought through. This section covers the planning steps that matter most before anything is ordered or demolished.
Measure Twice, Then Measure Again
Wall-to-wall dimensions, ceiling height, window and door locations, and the positions of plumbing, electrical, and gas lines all need to be documented before a cabinet order goes in. Walls in older Austin homes are rarely perfectly square or plumb, and ceiling heights can vary by an inch or more across a room. Accurate field measurements prevent gaps, misaligned appliance openings, and costly reorders.
Upper vs. Lower Cabinet Ratios
Standard upper cabinets hang with their bottom edge 54 inches above the finished floor (18 inches above a 36-inch-tall base cabinet). That number is adjustable based on the ceiling height and the height of the people using the kitchen most. Taller ceilings open up the possibility of cabinets that run to the ceiling, eliminating the top-of-cabinet dust shelf that most homeowners dislike.
Work Triangle and Workflow
The classic kitchen work triangle connects the refrigerator, the sink, and the range. Cabinet layout should support movement between those three points without bottlenecks. Peninsula and island configurations change the dynamics, and a thoughtful layout plan should account for how multiple people move through the space at once.
Interior Accessories and Storage Logic
Pull-out shelves, lazy Susans, drawer organizers, spice pull-outs, and trash cabinet inserts are all easier to plan before the order than to retrofit afterward. Think through what you currently store and where it is most convenient to reach it. This step is where a good kitchen designer or experienced contractor adds real value.
The Cabinet Installation Process Step by Step
Understanding what professional cabinet installation actually involves helps you ask better questions and set realistic expectations for your project timeline.
Demo and Prep
Existing cabinets come out first. This is also when plumbing, electrical, and any drywall repairs are completed. If you are moving a sink or adding outlets inside the cabinet run, that work happens before the new boxes go in. Our team at B&H Remodeling coordinates these trades so that everything is ready before the first cabinet touches the wall.
Finding the High Point
The installer locates the highest point on the floor, because all base cabinet heights are set from that reference. A level layout line is snapped across the wall for the upper cabinets, and another for the base cabinets. Getting these lines right is the foundation of a clean installation. If they are off, doors will not hang straight and countertops will not sit flat.
Uppers First
Upper cabinets are hung before base cabinets because working without the base units in place gives the installer better access and movement. Each box is screwed through its hanging rail directly into wall studs. Cabinets are then clamped and screwed together at the face frames or box sides to create a unified run.
Base Cabinets and Leveling
Base cabinets are set along the layout line, shimmed level front to back and side to side, and fastened to studs. Corner cabinets go in first, then the run builds out from there. Scribe molding and filler strips are fitted where the cabinet run meets a wall or an appliance opening that does not land on a standard cabinet width.
Doors, Drawers, and Hardware
Once the boxes are secured, doors are hung and adjusted, drawer boxes are set on their slides, and hardware is drilled and installed. This is the stage where the space starts to look finished. Soft-close adjustments are made, and every door and drawer is checked for alignment before the crew leaves.
Choosing Finishes and Hardware That Will Last
Finish and hardware selections are design decisions, but they are also durability decisions. A few principles help narrow the field.
Painted finishes show fingerprints less on matte sheens but are more susceptible to chipping near high-traffic areas like sink corners and edge pulls. Stained finishes on natural wood hide minor wear more gracefully over time. Thermofoil doors are a budget-friendly option but can peel at the edges in high-heat environments like next to an oven or a dishwasher vent.
For hardware, solid brass and stainless steel hold up better than zinc alloys, which tend to pit and tarnish. Brushed finishes hide water spots and scratches better than polished ones. Choose a hardware style you can see yourself living with for at least a decade, because swapping it out means patching or re-drilling every single door and drawer.
Why Professional Cabinet Installation Protects Your Investment
Cabinets that are not properly anchored are a safety hazard. A full upper run loaded with dishes can weigh several hundred pounds, and if the screws miss the studs or the boxes are not cross-tied to each other, the whole run can fail. Beyond safety, a poorly leveled installation will cause doors to drift open, drawers to bind, and countertops to sit unevenly over base cabinets.
Working with a licensed and insured contractor like B&H Remodeling means the work is backed by real accountability. We pull the permits that Austin and surrounding municipalities require, we coordinate the trades, and we stand behind the finished product. Our family-owned approach means you deal with the same people from the first conversation through the final walkthrough. That is the kind of continuity that keeps a project on track and on scope.
If you are also considering a broader kitchen overhaul, our kitchen remodeling services in Austin integrate cabinet work with countertop, backsplash, and appliance coordination so nothing falls through the cracks. And if your bathroom storage needs the same attention, our cabinet installation services cover both spaces. You can also browse completed projects to see how cabinet work looks in real Austin homes, or visit our FAQ page for answers to the questions we hear most often.
Frequently Asked Questions About Cabinet Installation
How long does cabinet installation typically take?
A standard kitchen cabinet installation usually runs two to four days for the installation itself, not counting the lead time for cabinet delivery. More complex kitchens with islands, specialty storage, or custom configurations can take longer. The demo and prep phase adds time if plumbing or electrical work is part of the scope.
Do I need a permit for cabinet installation in Austin?
In most cases, a straightforward cabinet replacement (same footprint, no plumbing or electrical changes) does not require a permit in Austin. However, if you are moving a sink, adding outlets inside the cabinet run, or making structural changes, permits are required. Your contractor should be able to tell you exactly what applies to your project scope.
Can I keep my existing layout and just replace the cabinets?
Yes, and it is a common approach for homeowners who are happy with the workflow but want updated look and feel. It simplifies the project because plumbing and electrical stay in place. The one caveat is that new cabinets rarely match the footprint of old ones exactly, so expect minor adjustments.
How do I know if my walls can support upper cabinets?
Standard framed walls with studs on 16-inch centers can support upper cabinets when the cabinets are screwed through their hanging rail into at least two studs per box. An experienced installer will locate the studs before hanging anything. Tile or concrete walls require different anchoring hardware and a bit more planning.
What is the best way to prepare for installation day?
Clear the room of everything you can. Empty existing cabinets, move small appliances off the countertops, and make sure the installer has clear access to the walls. If there are pets or children in the home, plan for them to be elsewhere on installation days since power tools and open cabinet boxes create real hazards.
Ready to Plan Your Cabinet Installation in Austin?
A well-executed cabinet project transforms a kitchen or bathroom from frustrating to functional and genuinely enjoyable to use every day. The decisions you make upfront, about cabinet type, construction quality, layout, and finishes, determine whether that transformation lasts five years or twenty-five.
At B&H Remodeling, we take the time to understand what you actually want from the space before we ever pick up a tool. That is what “First We Listen. Then We Build.” means in practice. If you are ready to talk through your project or want a clear-eyed assessment of what your space needs, reach out to our team and we will get the conversation started.
Photo by Max Vakhtbovych on Pexels.