
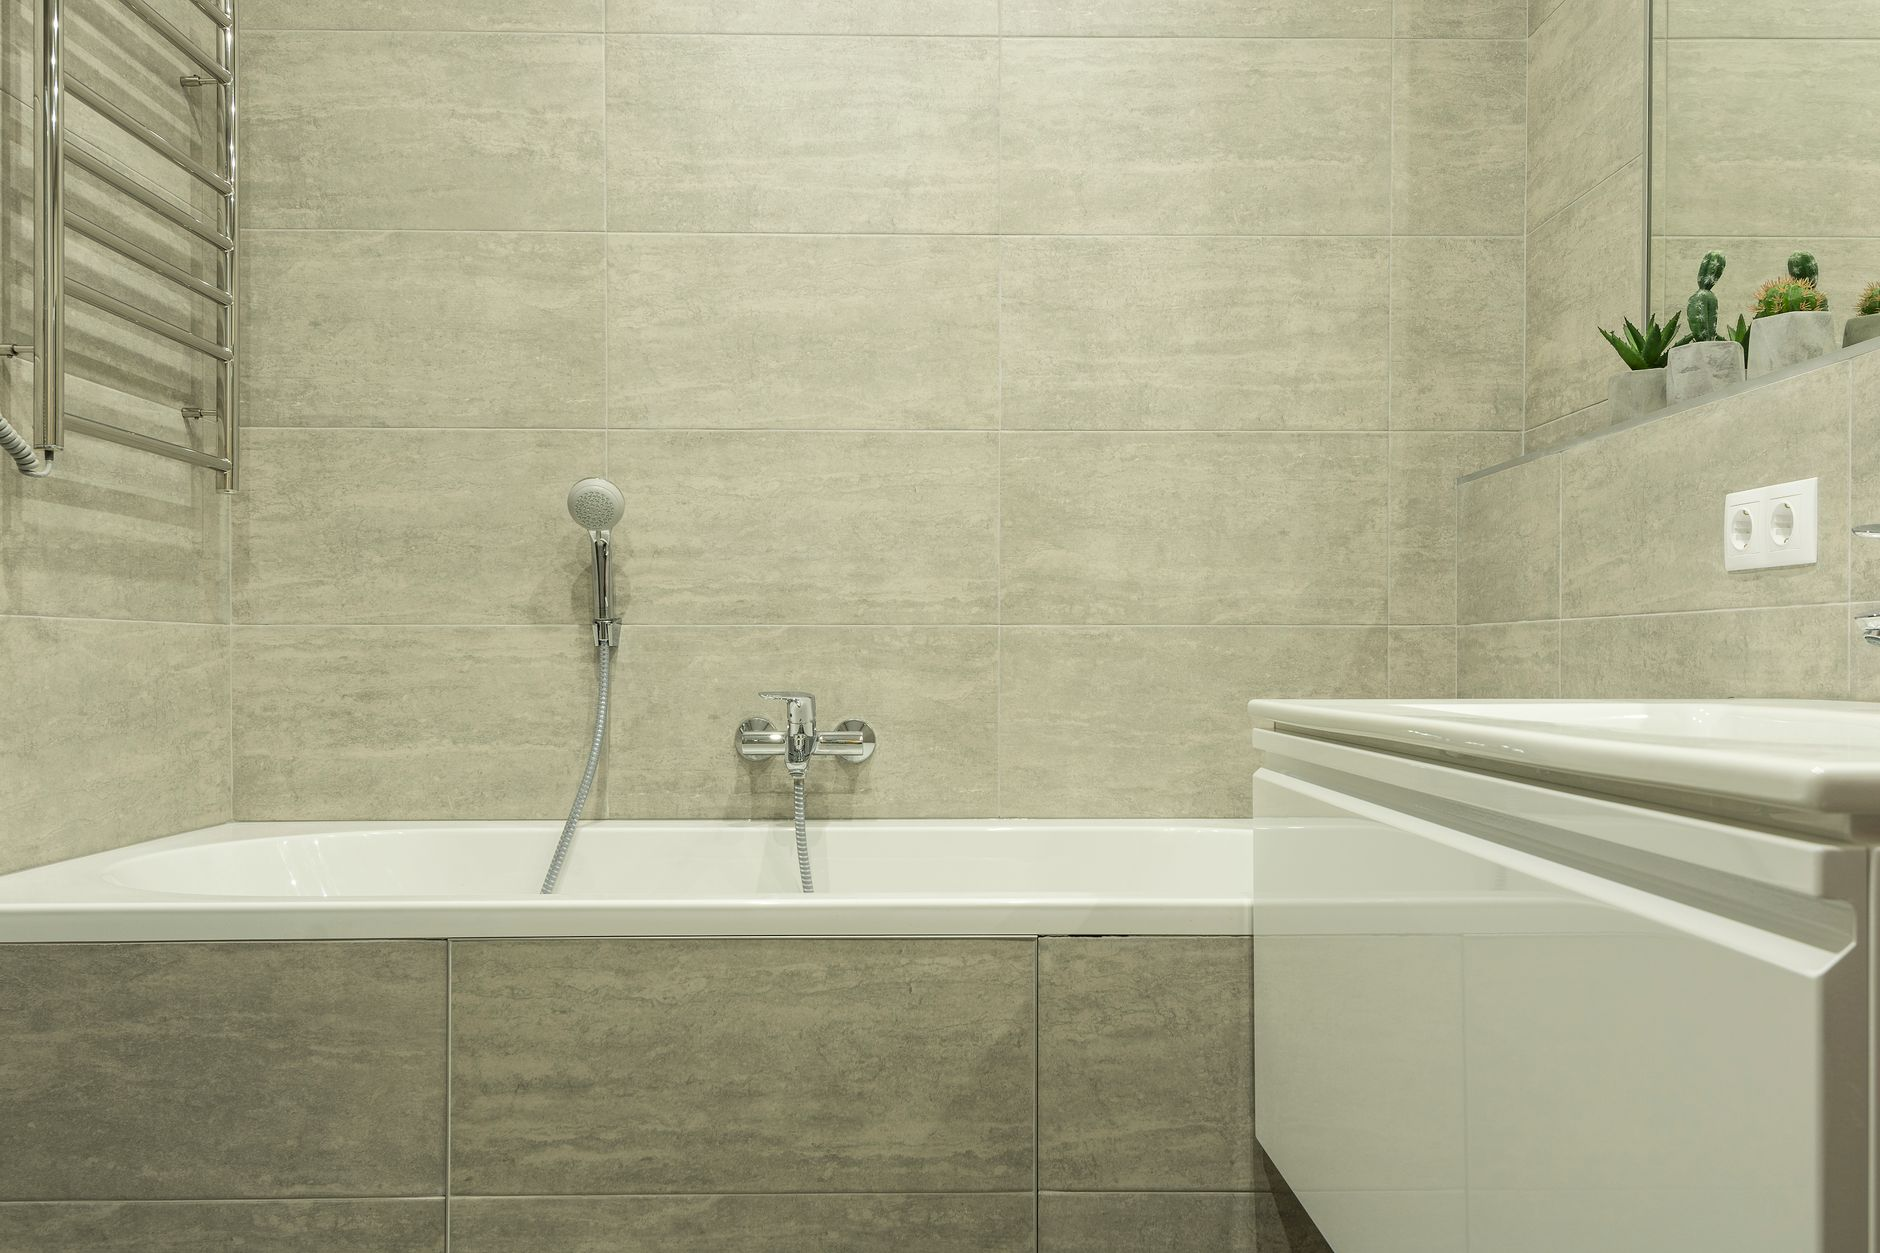
If you are researching bathtub replacement in Austin, the question we hear most often is a simple one: what exactly happens during the job? Not a vague overview, but a real, honest account of each phase, from the moment a crew arrives to the moment you run your first bath in the new tub. This post walks through that process the way we actually do it, so you know what to expect and how to tell whether the work is being done right.
Key Takeaways
- A proper replacement involves more than swapping one tub for another. Plumbing, waterproofing, and wall condition all factor in.
- The existing surround and drain assembly must be fully evaluated before any new fixture goes in.
- Moisture damage hidden behind old tubs is common in older Austin homes and must be addressed before installation begins.
- The finish work around the tub, including caulking and trim, determines whether the installation holds up for years or starts failing in months.
- Drying and curing time is not optional. Rushing it is one of the most common reasons an otherwise solid tub job leaks later.
What Bathtub Replacement in Austin Involves Before Anyone Picks Up a Tool
Every bathtub replacement in Austin that our team completes starts with a proper assessment, not an assumption. The existing tub, surround, drain location, and plumbing rough-in are all reviewed before a fixture is ordered. This matters more than most homeowners realize. Austin homes span a wide range of ages and construction styles. A bathroom in a Georgetown craftsman built in the 1960s has a very different rough-in configuration than a Pflugerville build from the last decade. Getting that right before the fixture arrives is what keeps the schedule from unraveling.
During the planning phase, we confirm the drain location and whether a new tub’s drain aligns with the existing one. If the drain position differs by even a few inches, the subfloor needs to be opened and the trap repositioned, which is a legitimate part of the job, not a surprise upsell. We also confirm the tub deck dimensions and wall alcove width, because even modest variances between the old fixture and the new one affect how the surround panels or tile will land.
Material selection happens during this phase too. Acrylic and fiberglass tubs are lighter, easier to maneuver through tight hallways, and well-suited to most residential bathrooms. Cast iron holds heat longer and has a denser, quieter feel but requires structural confirmation of floor support, especially on upper-level bathrooms. We talk through these trade-offs with homeowners before anything is ordered so the choice is informed, not just aesthetic.
Removal: Getting the Old Tub Out Without Damaging What Stays
Removal sounds simple. It is not. The goal is to get the old fixture and surround out cleanly while preserving the plumbing stub-outs, the subfloor, and as much of the surrounding wall as possible. The alternative, cutting recklessly or prying aggressively, creates additional repair work that extends the schedule and the scope.
The process typically goes like this:
- Water supply lines to the tub spout and shower valve are shut off and the valve is removed or protected.
- The drain stopper and overflow plate are removed and the drain shoe is disconnected from below, which usually requires access through a small panel in an adjacent wall or ceiling.
- Surround panels or tile are carefully removed from the walls. If the surround tile is set directly in a mortar bed, this step involves more demo than a panel surround. Loose or hollow-sounding tiles near the tub edge are a signal of water infiltration behind the wall.
- The tub flange, the lip that tucks under the drywall on three sides, is cut free and the tub is worked forward and out. Acrylic and fiberglass tubs can often be cut into sections if the hallway or doorway does not allow full removal in one piece.
Once the tub is out, the exposed area is thoroughly inspected. Soft subfloor, blackened framing, or visibly deteriorated backer material is not unusual, particularly in older Central Austin homes where the original tile work was set over standard drywall rather than cement board or a proper mortar bed. Any damage found here needs to be repaired before anything else moves forward. Setting a new tub over a compromised subfloor or installing tile over damaged backer is how a bathroom ends up back in demo two or three years later.
Subfloor and Wall Prep: The Work That Makes Everything Else Last
This is the phase homeowners are least likely to see but most likely to feel the absence of if it is skipped. Proper prep at this stage is what separates a tub replacement that holds up for fifteen years from one that starts leaking at the caulk line within eighteen months.
Subfloor repairs involve sistering damaged joists, replacing sections of compromised plywood, and ensuring the tub support area is level and structurally sound. Some tub manufacturers void their warranty if the floor deflects beyond a certain threshold under load. Leveling the support surface matters for both the fixture’s integrity and the longevity of the drain seal.
Wall prep in the alcove follows a specific sequence. The wall framing is confirmed plumb and square. If cement board is being installed as the backer for tile, it goes up with appropriate fasteners, properly gapped at seams, and taped with alkaline-resistant mesh tape and thinset. The seams and fastener heads are then skim-coated with thinset before the waterproofing membrane is applied. A brushed-on or sheet-applied membrane at the tub surround area is the layer that actually stops water from reaching the framing. It is not optional in a wet installation, and yet it is one of the first things skipped when a job is being rushed.
Setting the New Tub and Connecting the Drain
With a clean, level, structurally sound surface ready, the new tub goes in. For an acrylic alcove tub, this typically means sliding the fixture into position, checking that the flange sits flat against the studs on all three sides, and securing the flange with appropriate fasteners, usually roofing nails or screws driven through the flange into the stud, not through the tub body itself. Penetrating the tub body for fasteners is a common mistake that creates long-term leak paths.
The drain assembly is next. This involves connecting the drain shoe to the overflow tube through the overflow plate, threading the drain basket into the shoe, and tightening with plumber’s putty or the gasket supplied with the drain kit depending on the fixture design. The drain then connects to the trap and the existing drain line below the floor. At this stage, the drain is tested for leaks before any wall work closes it in. Finding a weeping connection after the surround tile is set is a painful and expensive problem.
The valve trim and tub spout are installed or reused depending on condition and whether the valve body itself was part of the scope. Many bathroom remodeling projects in Austin we handle use the tub replacement as the right moment to upgrade an aging pressure-balance valve to a thermostatic cartridge valve, which offers better temperature control and meets current code requirements in Texas.
Surround Installation: Tile or Panel, Done Correctly
The surround is the most visible part of the installation and also the most consequential for water management. Whether the choice is tile or a solid acrylic or composite panel system, the installation method matters as much as the material itself.
For tile surrounds, the sequence is: waterproofing membrane fully cured, layout lines snapped to establish the reference grid, adhesive thinset applied and combed with the correct notch trowel size for the tile being set, tiles pressed and beat in with a rubber mallet to achieve full coverage. Lippage, the slight offset between adjacent tile edges, is controlled through proper substrate flatness and tile spacers. Grout goes in only after the thinset has had adequate cure time, typically at least 24 hours for most polymer-modified thinsets. Grouting too early disturbs the bond. The grout selected for a wet area like a tub surround should be a high-density, low-absorption type, and the final step is a penetrating sealer applied after the grout fully cures.
Panel surround systems have their own requirements. Panels need to be cut precisely to size, dry-fit first to confirm, and then installed with the manufacturer-specified adhesive. Seams between panels receive a matching color sealant. No gaps, no improvised silicone substitutes, no shortcuts at the inside corners where the surround meets the tub deck. Those inside corners are the most leak-prone point of any surround and deserve careful attention with 100% silicone caulk that remains flexible under temperature cycling.
Our team handles tile installation and panel surrounds regularly across the Austin area, and in our experience, the inside corner and the tub-to-surround caulk joint are the two spots that determine whether the installation stays watertight long-term.
Final Connections, Inspection, and the Details That Finish the Job
The final phase is not just cosmetic cleanup. It includes real functional verification.
The tub is filled completely with water and held for a period to load the drain seal fully under realistic weight before the drain plug is pulled. Any seep at the shoe or at the connection to the trap shows up under this test in a way that a dry inspection does not catch. The overflow is tested separately. The tub spout and valve trim are confirmed secure and the escutcheon plates sit flush without gaps that could allow moisture intrusion behind the wall.
Transition details between the bathroom floor and the tub deck are addressed at this stage too. If new flooring installation was part of the scope, the transition strip or threshold tile is set and grouted to meet the tub deck cleanly. If the existing floor is staying, any disturbed tile or flooring is repaired and matched as closely as possible.
The final caulk bead at the tub-to-surround joint and the tub-to-floor joint is applied only after all of this is confirmed. This is a 100% silicone product, not a paintable latex caulk, applied in a smooth, unbroken line and tooled into the joint without voids. It needs a minimum cure window before the tub is put into service. Rushing this step is one of the most common reasons an otherwise competent installation develops a leak within the first year.
Frequently Asked Questions About Bathtub Replacement
How long does a bathtub replacement typically take?
A straightforward swap in an accessible bathroom, with no significant substrate damage and a tile panel surround rather than full tile work, is usually a two-to-three-day job. Full tile surrounds, subfloor repairs, or valve replacement add time. Tile grout and caulk require cure windows that cannot be compressed, so scheduling at least one day of downtime after tile work is complete is realistic and necessary.
Can a bathtub be replaced without replacing the tile surround?
Sometimes. It depends on how the original surround was installed and whether the tile extends below the tub flange. In many cases the bottom row of tile must come off to free the tub, which means replacing at least that portion of the surround. Attempting to slide a tub out from under intact tile usually damages the tile. We assess this clearly during the initial walkthrough so there are no surprises on demo day.
What is the difference between a liner and a full replacement?
A tub liner is an acrylic shell that fits over the existing tub. It is faster to install but introduces a gap between the original tub surface and the liner where moisture can accumulate if any leak develops in the sealant. A full replacement removes the old fixture entirely and addresses any substrate issues underneath. For most homeowners who want a durable, long-term result, a full replacement is the more reliable choice, particularly if the existing tub has cracks, chips through to the material, or the surrounding substrate has had any moisture exposure.
Do I need a permit for a bathtub replacement in Austin?
Most like-for-like bathtub replacements that do not involve moving plumbing do not require a permit in Austin. However, if the drain is being relocated, the valve is being replaced, or the scope expands into structural work, permit requirements change. We confirm permit requirements at the outset for every project we take on. You can also review general guidance on our FAQ page.
Ready to Get Your Bathroom Back in Shape
If your tub is cracked, stained beyond cleaning, or simply due for a proper upgrade, the work is worth doing right the first time. B&H Remodeling serves homeowners in Austin, Round Rock, Cedar Park, Pflugerville, Georgetown, and Lakeway. Our crews are licensed and insured, and we build a detailed scope before anything starts so you know exactly what the job covers. We also handle the full picture when needed, from tile and flooring to complete bathroom remodeling, so the finished space comes together without gaps between trades.
If you would like to talk through your project before committing to anything, reach out and we will give you a straight answer about what your specific bathroom actually needs. First We Listen. Then We Build.
Photo by Max Vakhtbovych on Pexels.