
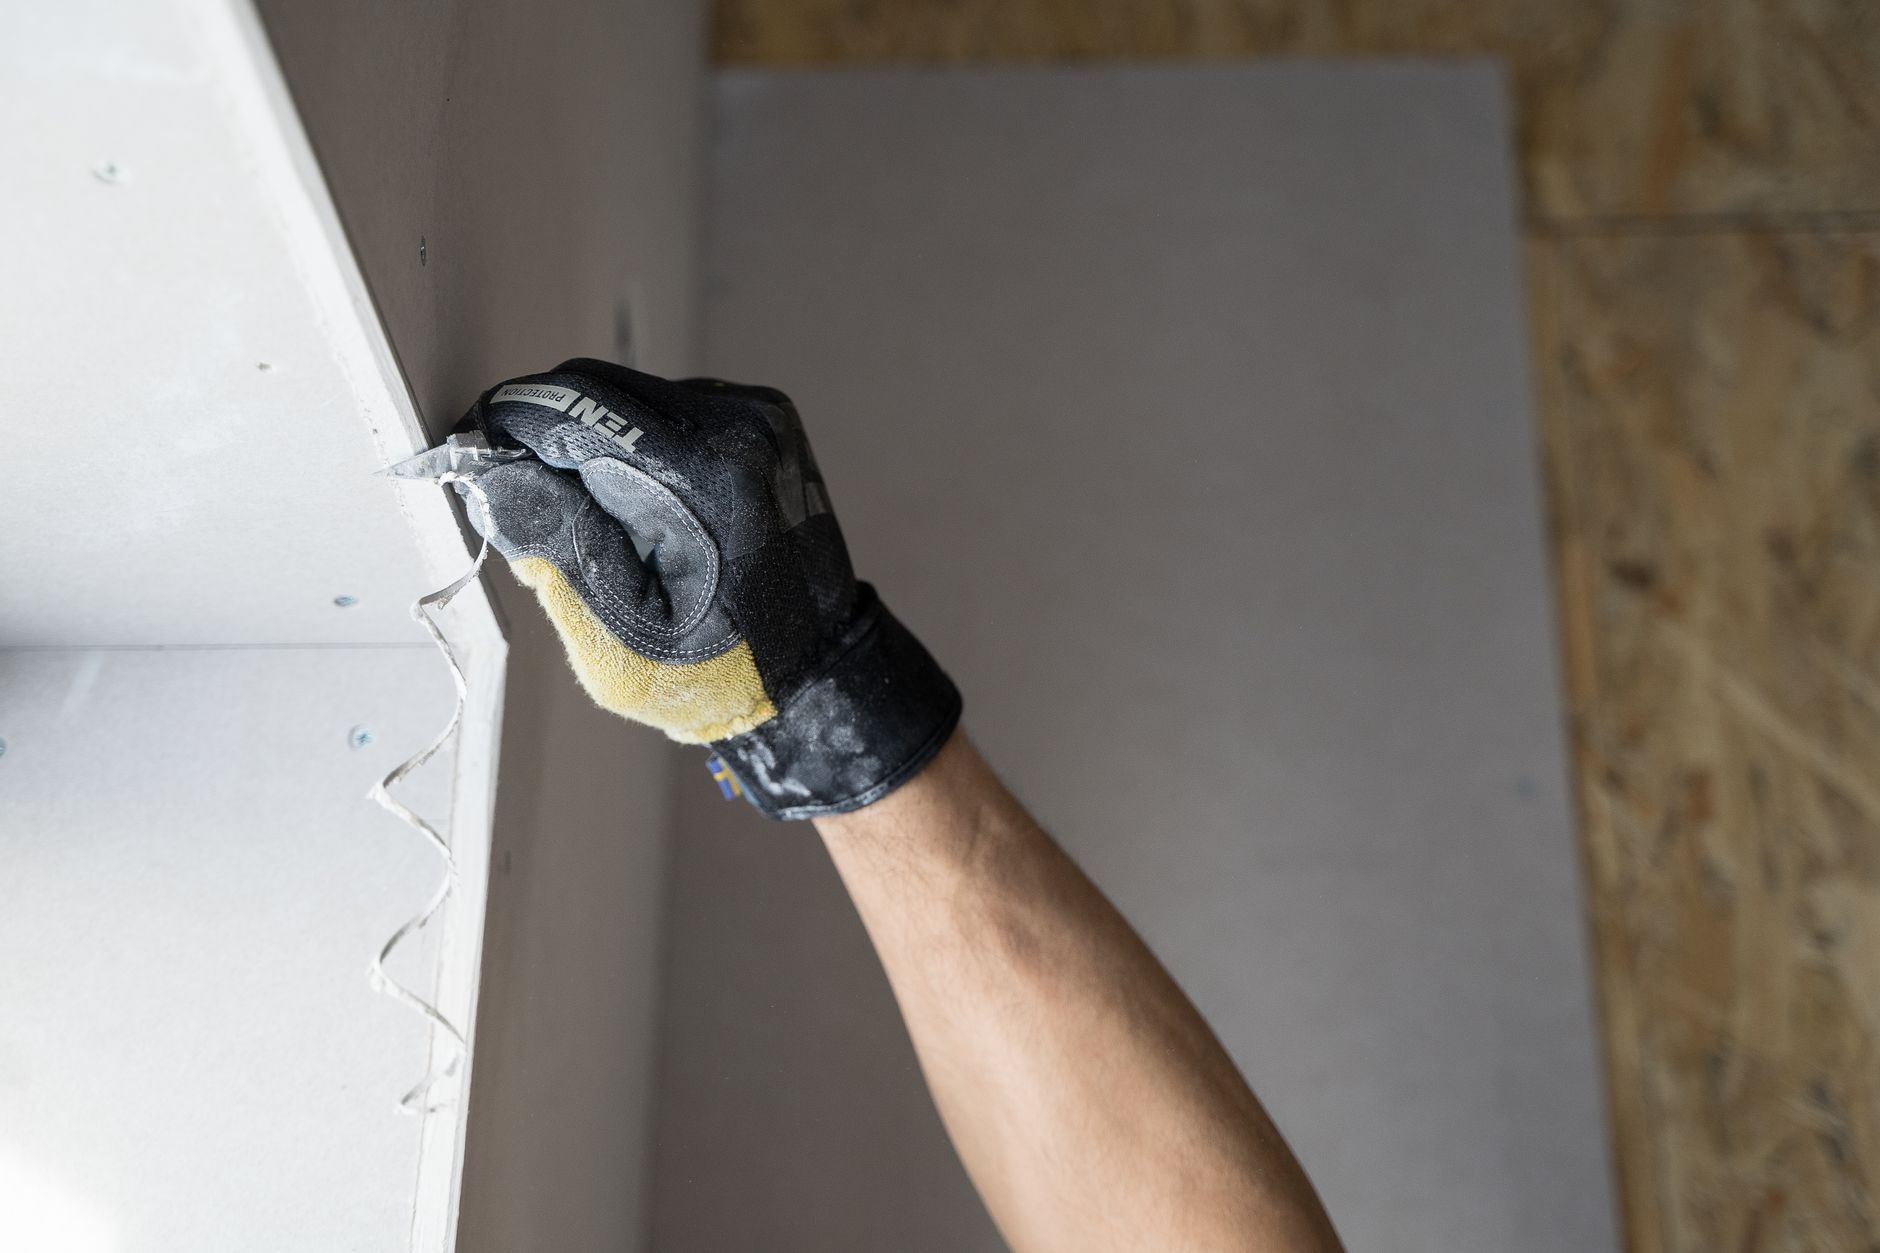
Drywall repair approaches compared side by side is exactly what most homeowners need before they pick up a putty knife or call a contractor. The right method depends on the size of the damage, the finish already on the wall, and how much disruption you can tolerate. At B&H Remodeling, we handle drywall repair across Austin, Round Rock, Cedar Park, Pflugerville, Georgetown, and Lakeway, and we see the same pattern repeatedly: homeowners choose a method that does not match the scope of the damage and end up redoing the work twice. Key Takeaways Small holes and surface dings call for joint compound and sanding, not full patches. Medium holes need a backing method so the filler has something solid to grip. Large or structurally compromised sections require a proper drywall patch cut to fit. Texture matching is often the hardest step, regardless of repair size. A professional finish is almost always necessary when the damaged area sits near natural light or in a high-visibility room. Skipping the primer coat before painting is the most common reason a repair stays visible after the job is done. Drywall Repair Approaches Compared: The Core Methods There are three principal repair approaches used on residential walls and ceilings: the joint compound fill, the California patch (also called the butterfly patch), and the full drywall patch. Each serves a different damage profile. Choosing the wrong one does not just waste time and materials; it can leave a repair that looks worse than the original damage once the paint goes on. Joint Compound Fill Joint compound fill is the right call for surface-level damage: nail pops, small dents, hairline cracks, and holes smaller than about a half inch. The process involves cleaning the edges of the damage, pressing joint compound into the void in thin coats, letting each coat dry fully, sanding smooth between coats, and then priming before painting. The trade-off here is patience. Joint compound shrinks as it dries, which means one thick coat will crack or leave a visible depression. Two or three thin coats applied over a day or two produce a flat, invisible result. Rushing it is the leading cause of repairs that look fine in the morning and develop a ring or a shadow once the paint dries. This method requires very little skill for small imperfections, which is why it is a reasonable DIY option for minor touch-ups. The difficulty scales quickly, though, as the hole gets larger or as the existing wall surface has a heavy texture that needs to be replicated. California Patch The California patch, sometimes called the hot patch or butterfly patch, is the preferred approach for holes roughly the size of a doorknob up to about six inches. Instead of using a separate backer board, this method uses the paper face of a slightly larger piece of drywall as the feathering surface, which helps blend the repair into the surrounding wall without visible seams. Here is how it works: cut a piece of drywall a few inches larger than the hole on all sides, then score and snap away the gypsum core from the border, leaving just the paper facing. That paper border becomes the tape layer that feathers out onto the existing wall surface. Set the patch into the hole, press the paper borders flat with joint compound, and coat in the same thin-coat sequence used for a joint compound fill. The advantage of this approach is speed and minimal disruption. No backer boards to screw in, no stud hunting. The trade-off is that it works best when the existing wall surface is relatively flat. If the wall has a heavy knockdown or orange-peel texture, matching that texture over the feathered paper edges takes real skill. Without careful texture work, the patch boundary will telegraph through the paint as a circular shadow. Full Drywall Patch For holes larger than six inches, damage near a corner bead, water-damaged sections that have lost structural integrity, or any area where the drywall has separated from the studs, the full patch is the only approach that holds up over time. A section of the damaged drywall is cut back to the nearest studs on both sides, a new piece of drywall is measured and cut to fit, and the seams are taped and mudded with joint compound before sanding and finishing. This method produces the most durable result and the smoothest foundation for painting, but it requires more tools and more steps. The seams need mesh or paper tape bedded in joint compound, followed by at least two finish coats, feathered wide enough to hide the tape edges. On ceilings or in areas with raking light, even a well-executed patch can show if the feathering is not wide enough or the texture does not match precisely. The full patch is also the appropriate method when the damage is caused by moisture. Cutting back to dry, sound drywall and addressing the source of the moisture before patching is the only way to prevent the repair from failing again within months. We see this frequently in homes across the Austin area, where plumbing leaks behind walls or roof intrusions can saturate drywall over a wide area before anyone notices. The Variable That Changes Everything: Texture Matching All three methods converge on the same final challenge: making the repaired area look like it was never touched. In a room with flat-painted walls and consistent lighting, this is manageable. In a room with orange-peel texture, heavy knockdown, or skip-trowel finish, it is genuinely difficult. Texture is applied during construction using specific spray equipment, specific compound mixes, and specific timing. Replicating that by hand or with a consumer spray can almost always produces a slightly different result that becomes obvious once the paint goes on. Professionals match texture by testing on scrap board first, adjusting compound viscosity, and sometimes blending the textured area into a wider zone to make the transition less abrupt. If texture matching is the step that concerns
Cabinet Installation: A Complete Buyer Guide for Austin Homeowners
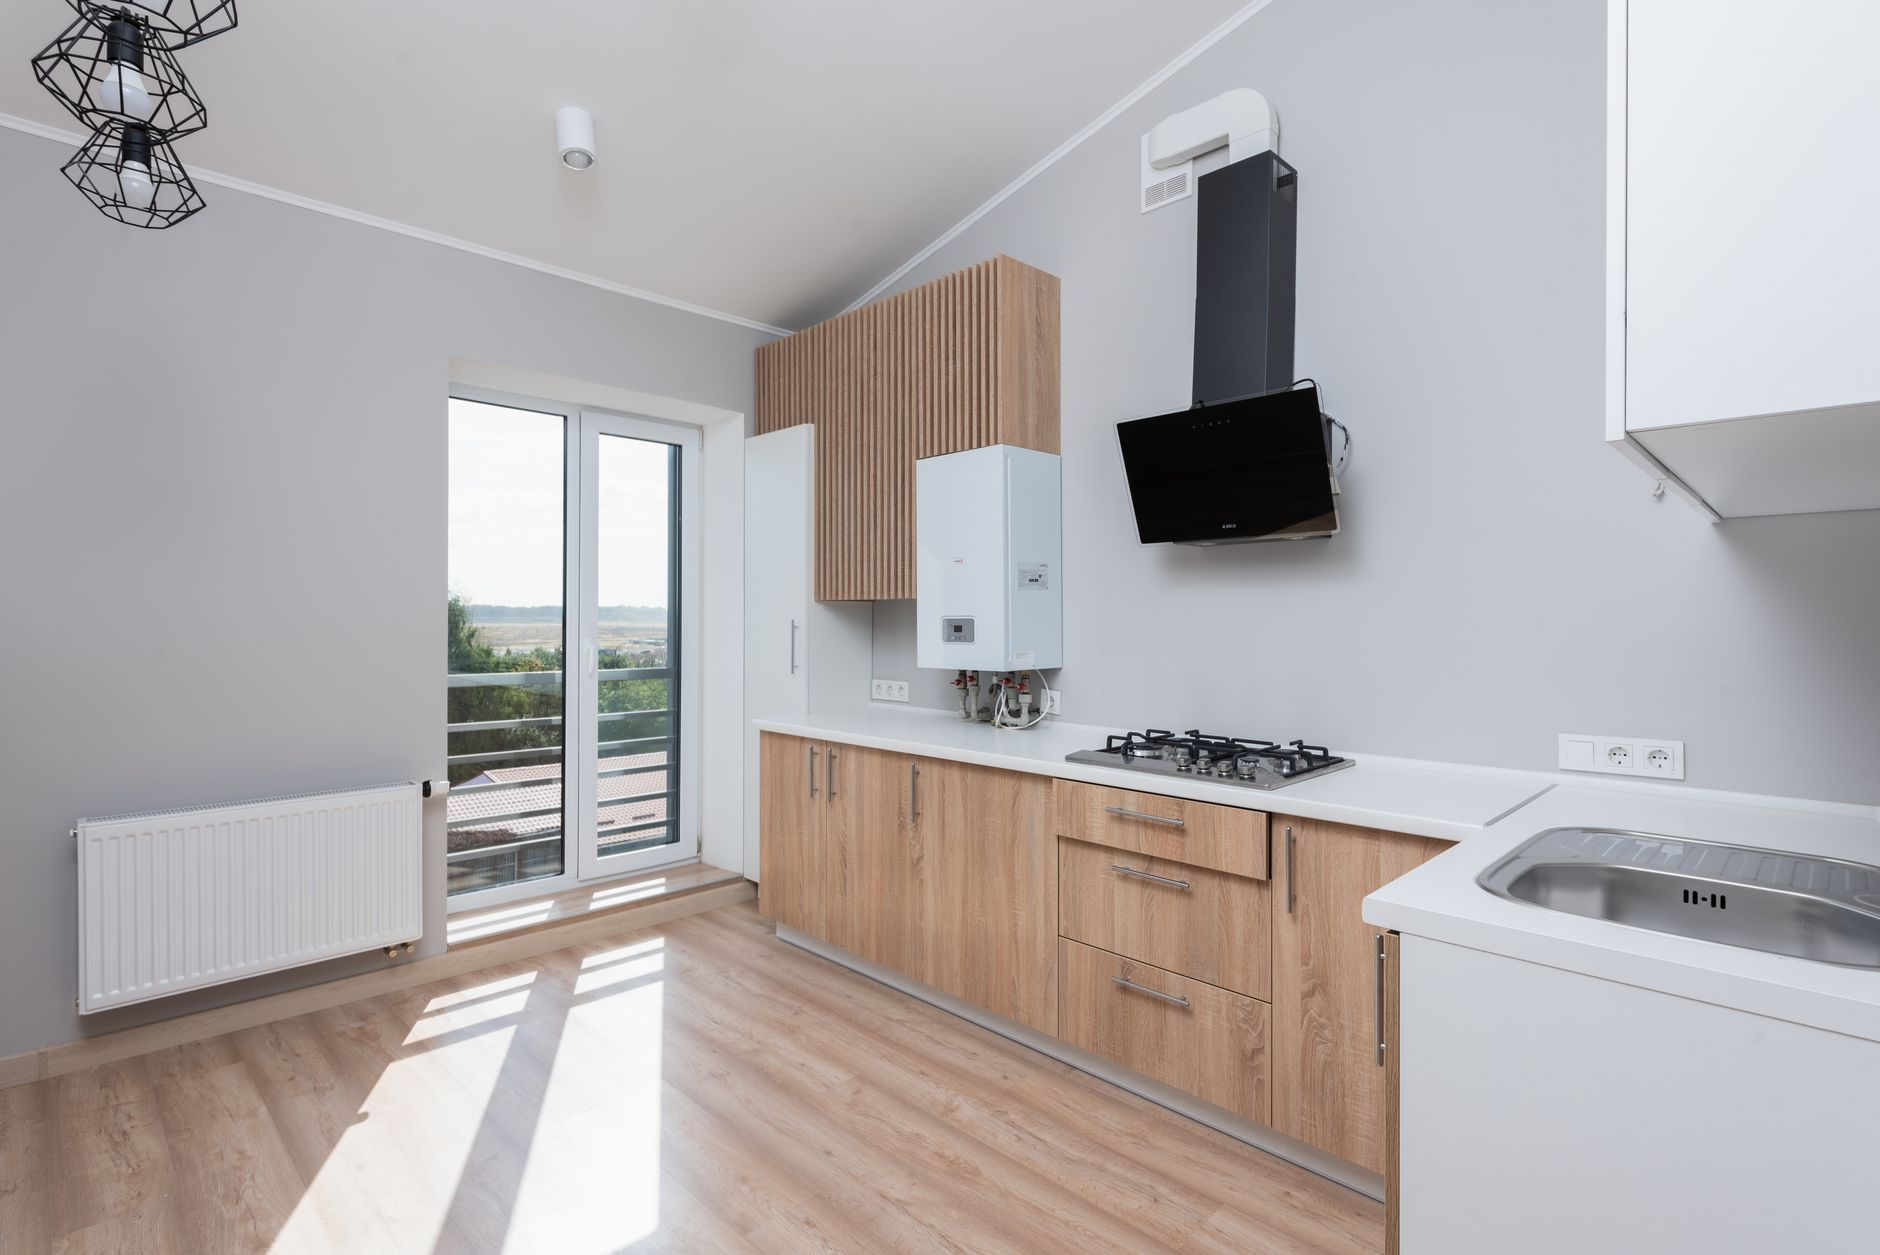
Cabinet installation is one of the highest-impact upgrades you can make to a kitchen or bathroom, and it is also one of the most misunderstood. Whether you are replacing tired, worn-out boxes or starting fresh in a remodel, the choices you make before a single cabinet leaves the factory will shape how your space looks and functions for years to come. At B&H Remodeling, we have worked through cabinet projects across Austin, Round Rock, Cedar Park, Pflugerville, Georgetown, and Lakeway, and this guide collects everything we wish every buyer knew before they started shopping. Key Takeaways Cabinet type (stock, semi-custom, or custom) determines your timeline, flexibility, and quality ceiling. Box construction and hardware quality matter more than door style for long-term durability. Measuring and planning the layout before ordering prevents expensive surprises on installation day. Professional installation protects your investment and ensures cabinets are plumb, level, and properly anchored. Finish and hardware selections should be locked in before any demo begins. Working with a licensed, insured contractor reduces your liability if something goes wrong. Understanding Your Options: Stock, Semi-Custom, and Custom Cabinets The first real decision in any cabinet installation project is choosing which tier of cabinetry fits your goals. Each tier has a distinct profile of trade-offs, and picking the wrong one for your situation can cost you time or leave you disappointed with the result. Stock Cabinets Stock cabinets are pre-built in fixed sizes and shipped from a warehouse. They are the fastest path from decision to delivery, which makes them appealing when a timeline is tight. The trade-off is limited sizing options. Standard widths jump in three-inch increments, so kitchens with unusual dimensions often require filler strips to close gaps. The box construction on lower-end stock lines can also be thin, meaning the shelves may sag under heavy loads over time. That said, mid-grade stock lines from reputable manufacturers have improved significantly, and for a rental property or a secondary bathroom, they can perform well. Semi-Custom Cabinets Semi-custom cabinets are built to order within a manufacturer’s existing framework. You get more sizing flexibility, more door styles, more interior accessories, and generally thicker box construction than stock. Lead times typically run several weeks, so planning ahead matters. For most homeowners doing a primary kitchen remodel, semi-custom hits the right balance between quality and reasonable delivery windows. Custom Cabinets Fully custom cabinets are built from scratch to your exact specifications. They suit unusual floor plans, high-end design visions, or spaces where nothing off the shelf will work. Lead times are longer, and the investment is higher, but the result fits the room precisely and is built the way you specify. If your kitchen has a bump-out, a sloped ceiling, or an unusual island shape, custom may be the only clean solution. What to Look for in Cabinet Construction Door style is what most people notice in a showroom, but box construction is what determines whether your cabinets are still solid a decade from now. Here is what to evaluate before you buy. Box Material Cabinet boxes are typically built from plywood or particleboard. Plywood boxes are stronger, hold screws better over time, and resist moisture far more effectively than particleboard. In Austin kitchens, where temperature and humidity fluctuate, plywood is the choice we consistently recommend. Particleboard boxes can work in low-moisture areas, but they are susceptible to swelling if they ever get wet near a sink or dishwasher. Joinery and Finishing Look at how the box corners are joined. Dado joints (where a groove is cut into one piece and the other panel sits inside it) are more durable than simple butt joints held only by staples or nails. Interior finishes matter too. An unfinished interior absorbs moisture and stains; a fully finished or melamine interior is easier to clean and more resistant to humidity. Drawer Boxes and Slides Drawer boxes take a beating. Dovetail-jointed solid wood or plywood drawer boxes hold up far longer than stapled particleboard. Equally important are the drawer slides. Undermount, soft-close slides are the current standard for good reason: they support the drawer from below (keeping it level under load), close quietly, and last through tens of thousands of cycles without adjustment. Door Hinges Six-way adjustable concealed hinges (often called European hinges) allow you to fine-tune door alignment long after installation. Cheap hinges loosen and sag. This is a detail worth asking about explicitly when you compare cabinet lines. Planning Your Cabinet Installation Layout Even beautiful cabinets will frustrate you every day if the layout is not thought through. This section covers the planning steps that matter most before anything is ordered or demolished. Measure Twice, Then Measure Again Wall-to-wall dimensions, ceiling height, window and door locations, and the positions of plumbing, electrical, and gas lines all need to be documented before a cabinet order goes in. Walls in older Austin homes are rarely perfectly square or plumb, and ceiling heights can vary by an inch or more across a room. Accurate field measurements prevent gaps, misaligned appliance openings, and costly reorders. Upper vs. Lower Cabinet Ratios Standard upper cabinets hang with their bottom edge 54 inches above the finished floor (18 inches above a 36-inch-tall base cabinet). That number is adjustable based on the ceiling height and the height of the people using the kitchen most. Taller ceilings open up the possibility of cabinets that run to the ceiling, eliminating the top-of-cabinet dust shelf that most homeowners dislike. Work Triangle and Workflow The classic kitchen work triangle connects the refrigerator, the sink, and the range. Cabinet layout should support movement between those three points without bottlenecks. Peninsula and island configurations change the dynamics, and a thoughtful layout plan should account for how multiple people move through the space at once. Interior Accessories and Storage Logic Pull-out shelves, lazy Susans, drawer organizers, spice pull-outs, and trash cabinet inserts are all easier to plan before the order than to retrofit afterward. Think through what you currently store and where it is most convenient to
How Long Does a Kitchen or Bathroom Remodel Take in Austin?
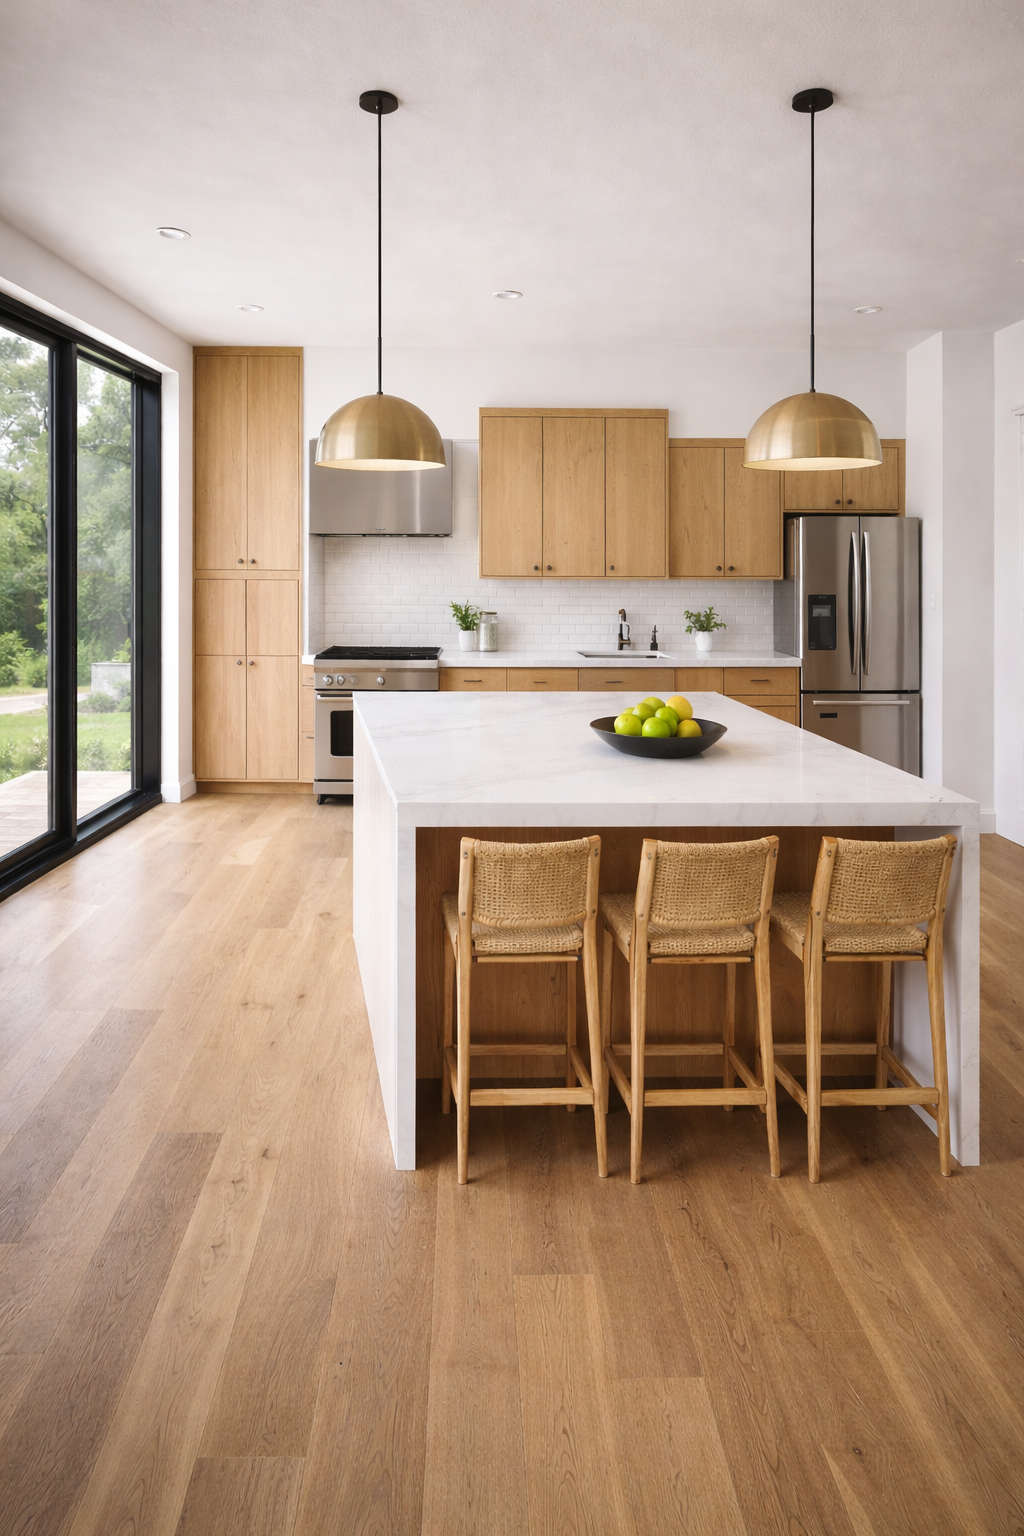
Once you decide to remodel, the next question is always how long your kitchen or bathroom will be out of commission. Timelines depend on the scope of work and a few things outside anyone’s control, but here is what to realistically expect for an Austin remodel. At BH Remodeling we have guided Austin families through kitchen and bathroom projects since 2012, and we confirm your timeline at the estimate so you know what to expect each day we are on site. Key Takeaways Most full bathroom remodels take 2 to 4 weeks; full kitchen remodels 4 to 6 weeks. Add a 2 to 6 week design and ordering phase before demolition begins. Custom cabinets can take 4 to 8 weeks to arrive, so order early. Permits, custom materials, and hidden conditions are the most common causes of delay. Typical Remodel Timelines Here is roughly how long a kitchen or bathroom remodel takes in Austin once work begins, by project type. Project Typical timeline Cosmetic bathroom update 1 – 2 weeks Full bathroom remodel 2 – 4 weeks Large or primary bathroom (structural/plumbing changes) 4 – 6 weeks Kitchen refresh (reface, counters, backsplash) 2 – 3 weeks Full kitchen remodel 4 – 6 weeks Layout-changing kitchen (moved walls/plumbing) 6 – 10 weeks Don’t Forget the Planning Phase Before any demolition, there is usually a 2 to 6 week design and ordering phase: finalizing the scope, selecting materials, and ordering cabinets or custom items. Cabinets in particular can take 4 to 8 weeks to arrive, so ordering early keeps the project on schedule. What Causes Delays Custom material lead times — cabinets, special-order tile, and stone. Permits and inspections — required for structural, plumbing, and electrical work. See do you need a permit to remodel in Austin? Hidden conditions — water damage, outdated wiring, or plumbing discovered once walls open. Change orders — adding scope mid-project extends the timeline. A good contractor sets a clear schedule up front and keeps you informed. At BH Remodeling we confirm your timeline at the estimate and tell you what to expect each day we are on site. Plan Your Budget Too Timeline and budget go hand in hand. See our kitchen remodel cost in Austin and bathroom remodel cost in Austin guides, and explore our kitchen remodeling and bathroom remodeling services. Frequently Asked Questions How long does a bathroom remodel take? Most full bathroom remodels in Austin take 2 to 4 weeks; cosmetic updates 1 to 2 weeks. How long does a kitchen remodel take? A full kitchen remodel usually runs 4 to 6 weeks, longer if the layout changes. Can I stay in my home during the remodel? In most cases yes — we keep the rest of your home livable and clean up daily. Why do cabinets take so long? Custom and semi-custom cabinets are built to order, typically 4 to 8 weeks, so we order them early. Get an exact timeline for your project BH Remodeling gives free, fixed-price estimates with a clear schedule across Austin and surrounding cities. Call (512) 827-9426 or request a free estimate online.