
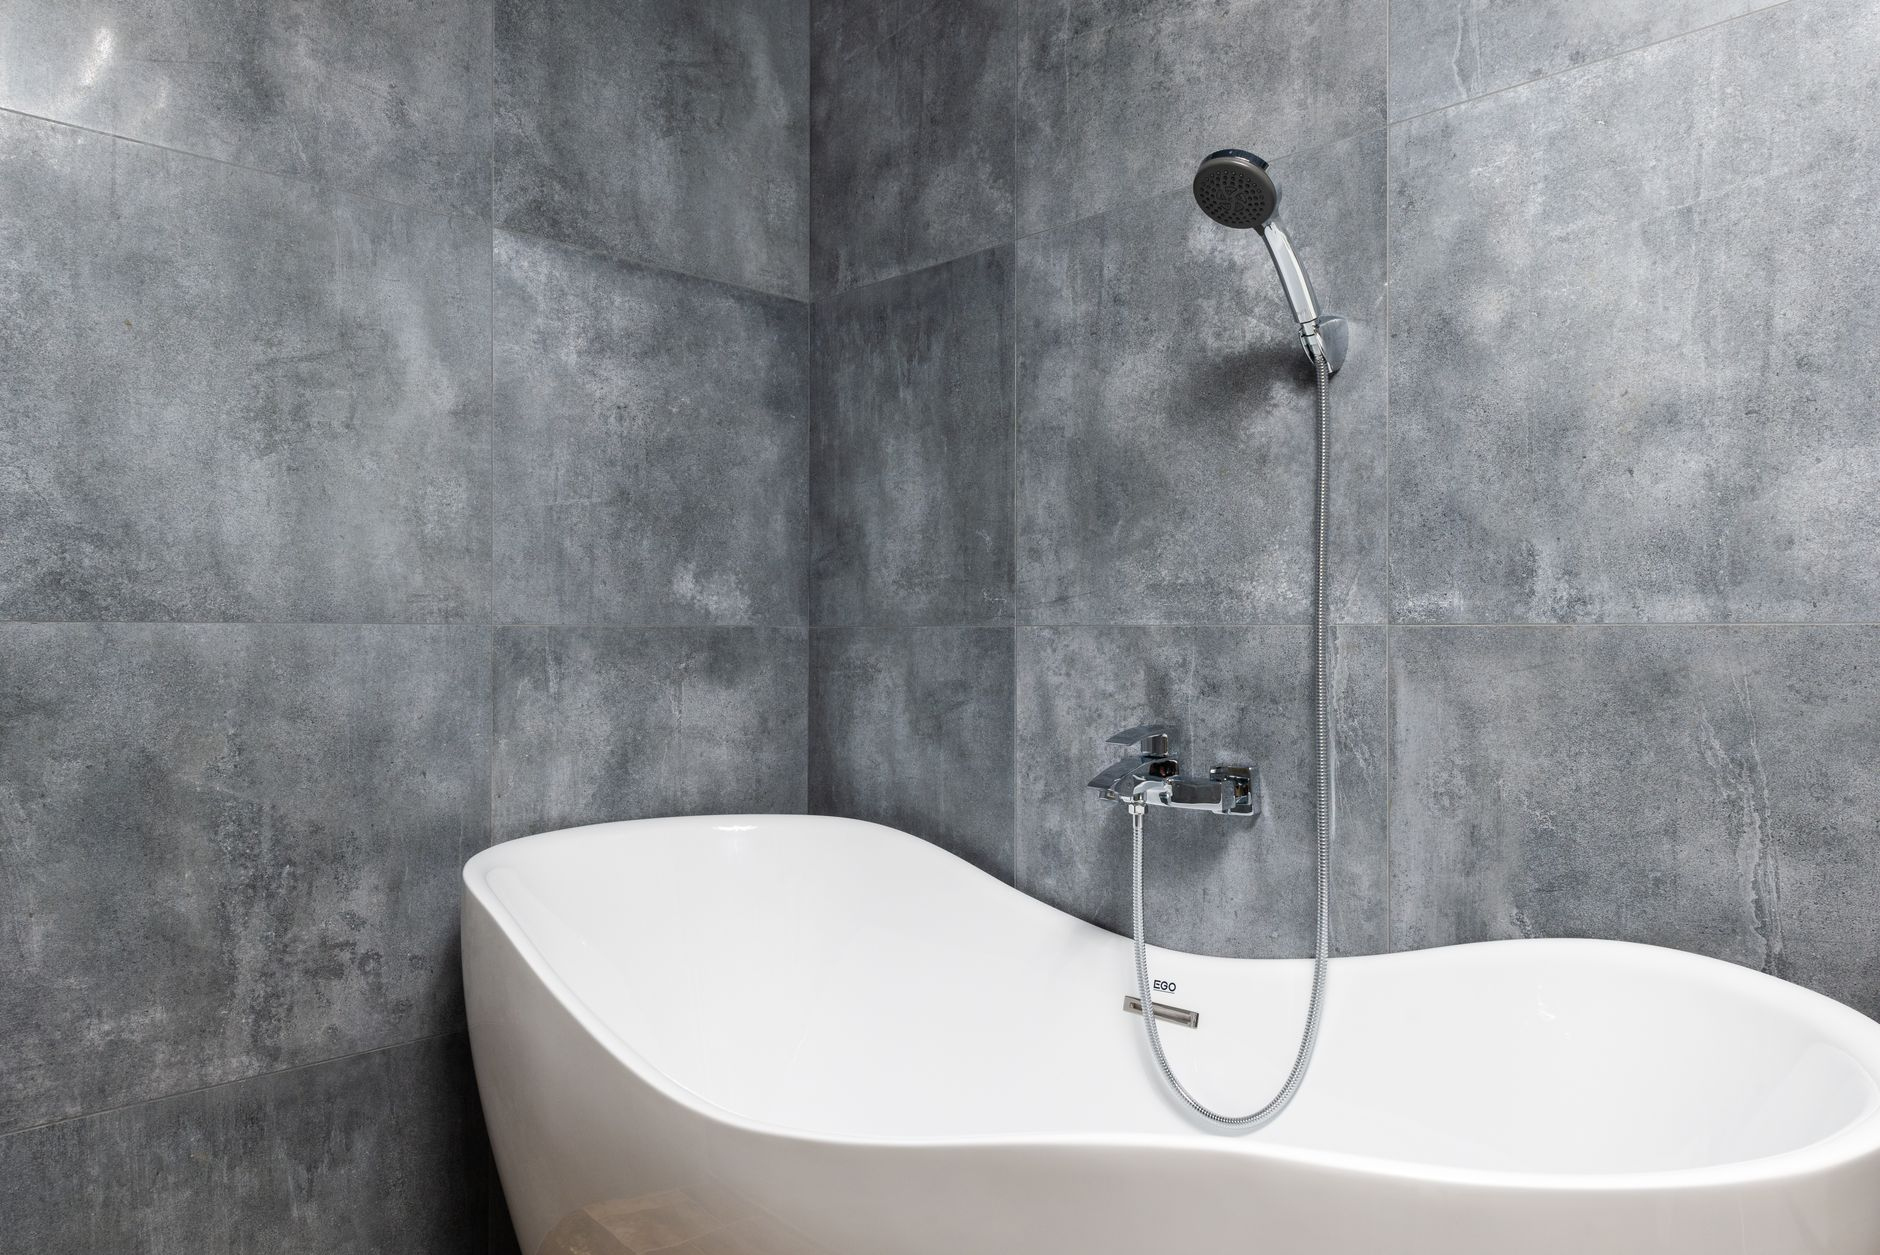
If you are planning a bathtub replacement, understanding what actually happens during the process helps you prepare your home, set realistic expectations, and avoid surprises once work begins. At B&H Remodeling, we have handled bathtub replacements across Austin, Round Rock, Cedar Park, Pflugerville, Georgetown, and Lakeway, and the question we hear most often is: what does this actually look like from start to finish? This walkthrough answers that question in plain terms.
Key Takeaways
- Bathtub replacement is a multi-phase project that requires careful demolition, plumbing coordination, and proper waterproofing before a new tub ever gets installed.
- Choosing the right tub for your space and plumbing configuration matters as much as the installation itself.
- Skipping steps like substrate preparation or cement board installation leads to leaks and mold down the road.
- In Austin and surrounding cities, some bathtub replacement projects require a plumbing permit, especially when drain locations change.
- A licensed, insured crew handles the work safely and to code, which protects your home and its resale value.
Step 1: Assessment and Planning Before the Bathtub Replacement
Every successful bathtub replacement starts well before anyone picks up a pry bar. Our crew begins by assessing the existing tub, surround, plumbing access, and subfloor condition. This is where we catch issues that are invisible until tile and drywall come down: rotted subfloor from a slow drain leak, outdated galvanized supply lines, or a drain rough-in that does not align with the new tub’s drain location.
During planning, we help homeowners decide between a drop-in tub, an alcove tub, a freestanding soaker, or a walk-in model. Each type carries different rough-in requirements and may or may not work with your existing plumbing layout without modification. Alcove tubs, for example, are the most common replacement in Austin homes because the three-wall configuration makes waterproofing straightforward. Freestanding models require a floor-mounted drain and supply lines, which adds plumbing work but creates a dramatically different look.
If you are also considering converting the tub space into a walk-in shower, our shower remodeling service covers that option in detail.
Step 2: Permits and Code Requirements in Austin
Many homeowners are surprised to learn that a straight tub swap, where the new tub sits in the same location with no drain relocation, often does not require a permit. However, once you move the drain, add new supply lines, or alter structural elements like the subfloor, a plumbing permit becomes necessary in most Austin-area municipalities. Cedar Park, Round Rock, and Georgetown each have their own inspection processes, and we handle that coordination as part of our project management.
Pulling the correct permit is not bureaucratic overkill. It protects you at resale when buyers and inspectors check permit history. Unpermitted plumbing work is one of the most common red flags that surfaces during a home inspection. Our team is licensed and insured, so we pull permits where the work requires them and keep you in the loop at every stage.
You can also read our broader guidance on bathroom remodeling in Austin if you are weighing how this project fits into a larger renovation plan.
Step 3: Demolition and What the Walls Reveal
With planning done and permits in hand where needed, demolition begins. This phase involves removing the tile surround, any wall board behind the tile, the existing tub, and sometimes sections of the subfloor depending on condition. Demolition is loud and dusty, and our crew protects adjacent flooring and fixtures with drop cloths and temporary barriers so the rest of your bathroom stays usable as long as possible.
What the walls reveal at this stage often shapes the rest of the project timeline. We regularly find:
- Moisture-damaged drywall that was used as a tile backer, which is a code violation and a mold risk.
- Soft or delaminating subfloor around the drain area from years of slow water intrusion.
- Galvanized or corroded supply lines that should be replaced while the walls are already open.
- Out-of-level floor framing that requires shimming before the new tub will sit flat.
None of these are reasons to panic. They are exactly why an experienced crew does a thorough inspection before quoting and why access during demolition matters. Addressing each issue before the new tub goes in is far less expensive than fixing them after installation.
How Bathtub Replacement Fits Into Your Overall Bathroom Timeline
A standalone bathtub replacement typically takes two to four days depending on plumbing complexity and whether wall tile is part of the scope. If you are replacing tile surround, adding a new valve or shower fixture, or repairing the subfloor, budget a few extra days. Projects that combine a tub replacement with a full bathroom refresh, including new flooring, vanity, and paint, run longer but allow all the disruption to happen in one coordinated sequence rather than spread across multiple separate projects.
One thing we emphasize to every homeowner: do not rush the mortar bed or the waterproofing membrane. These are the foundation of a long-lasting installation. A tub set in a properly mixed mortar bed with complete coverage will not flex, creak, or crack the surrounding grout. A tub set without one often develops hairline grout fractures within a year, which let moisture migrate behind the tile.
Step 4: Substrate Preparation and Waterproofing
Once demolition is complete and any subfloor repairs are finished, the space is ready for substrate installation. In a tub surround, this means replacing any moisture-damaged backer with cement board, which is a rigid, non-organic panel that does not rot or support mold growth. Cement board is fastened with appropriate screws, seams are taped with alkali-resistant mesh tape, and corners are treated with a waterproofing membrane before tile ever goes up.
The tub ledge, where the tile meets the tub flange, is one of the most failure-prone points in any installation. Our team pays close attention to this transition because it is where grout cracks first appear and where water finds a path into the wall cavity. A properly detailed tub flange, covered by the first row of tile and caulked (not grouted) at the joint, is the difference between a surround that lasts a decade and one that needs remediation in three years.
Waterproofing is also applied at all penetrations: the faucet valve, the spout, and the showerhead stub-out if the tub is part of a shower configuration. These are small details that a rushed installation skips and that a careful crew never does.
Step 5: Tub Installation and Plumbing Connections
With the substrate ready, the new tub is set into place. Alcove tubs are leveled, shimmed if needed, and secured to the wall studs through the nailing flange. This anchoring prevents the tub from shifting over time. A properly mixed mortar bed is spread across the subfloor, and the tub is pressed into it before it sets. This creates full, even support under the tub floor so the surface does not flex underfoot.
Plumbing connections come next. The drain assembly, including the drain shoe, overflow plate, and the trip lever or push-pull stopper mechanism, is fitted and sealed with plumber’s putty and silicone at the drain flange. Supply lines are connected to the new valve body, and the showerhead arm is installed if applicable. All connections are tested for leaks before any tile goes up, because diagnosing a dripping drain after the wall is tiled means tearing into finished work.
Step 6: Tile Surround, Caulking, and Final Finish Work
Once the tub is in, plumbing is tested, and the substrate is confirmed dry and plumb, tile installation begins. Layout lines are snapped to ensure the tile pattern is centered and level on all three walls. Field tile goes up first, followed by any accent or border tile, and finally trim pieces at the top edge and corners.
Grout is applied after the tile adhesive cures fully, which typically means waiting 24 hours at minimum depending on the product used. After grout is sealed, the tub-to-tile joint at the ledge is filled with flexible silicone caulk in a matching color. This joint must never be grouted because grout is rigid and will crack as the tub flexes slightly under the weight of water and a person bathing.
Final touches include installing the faucet trim kit, the spout, the shower arm and head if applicable, and any accessories like a built-in soap dish or grab bar blocking. Our team does a final walkthrough with every homeowner to review the completed work, confirm the drain functions correctly, and go over care instructions for the new grout and caulk joints.
For homeowners planning a more extensive update, our bathroom remodeling team can fold the tub replacement into a broader project that includes new flooring, a vanity upgrade, or a full layout change. You can also browse our completed projects to see examples of work we have done across the Austin area.
Frequently Asked Questions About Bathtub Replacement
How long will I be without a working bathtub?
For a straightforward replacement in an alcove configuration, most homeowners are without tub access for two to four days. If subfloor repairs or plumbing modifications are needed, that window may extend. We work to minimize downtime and will give you a realistic daily schedule before work starts.
Can I keep my existing tile surround?
Occasionally, yes, but it is uncommon. Removing the old tub almost always disturbs the lower rows of tile, and the nailing flange of a new tub needs to be covered by the first row of wall tile. In most cases, replacing the surround alongside the tub produces a cleaner, better-sealed result and avoids the patchwork look of mismatched tile repairs.
What is the difference between a tub liner and a full replacement?
A tub liner is a custom-molded acrylic shell that fits over your existing tub. It can be installed quickly and covers cosmetic damage like staining or chips. However, it does not address the substrate, plumbing, or underlying structural conditions. A full replacement removes everything, lets the crew inspect and correct what is underneath, and installs a brand-new fixture from the floor up. For homeowners whose tubs have structural cracks, plumbing issues, or who want a different tub style, a full replacement is the more thorough option.
Do I need grab bars installed?
Grab bars are a smart addition during any tub replacement because the walls are already open, making it straightforward to install solid blocking between studs. Retrofit grab bar installation into finished tile walls requires locating studs carefully or adding reinforcement, which is a more involved process. If accessibility matters now or in the future, this is the right time to add blocking or full grab bars.
Is B&H Remodeling licensed and insured for this work?
Yes. B&H Remodeling is a licensed and insured contractor serving Austin, Round Rock, Cedar Park, Pflugerville, Georgetown, and Lakeway. We carry appropriate coverage so your home and our crew are protected throughout the project.
Ready to Plan Your Bathtub Replacement?
A bathtub replacement done properly is one of those projects that pays off every single day: a clean, dry, functional bathroom that holds up for years without grout cracks or water damage behind the walls. Our team at B&H Remodeling approaches every replacement the same way we approach every project, following our guiding principle: First We Listen. Then We Build.
If you are ready to talk through your specific situation, whether you have a tub that is cracked, a surround that is deteriorating, or you simply want to update an outdated bathroom, we are glad to take a look and walk you through the options. Visit our contact page to get in touch with our team and schedule a conversation about your project.
Photo by Max Vakhtbovych on Pexels.