
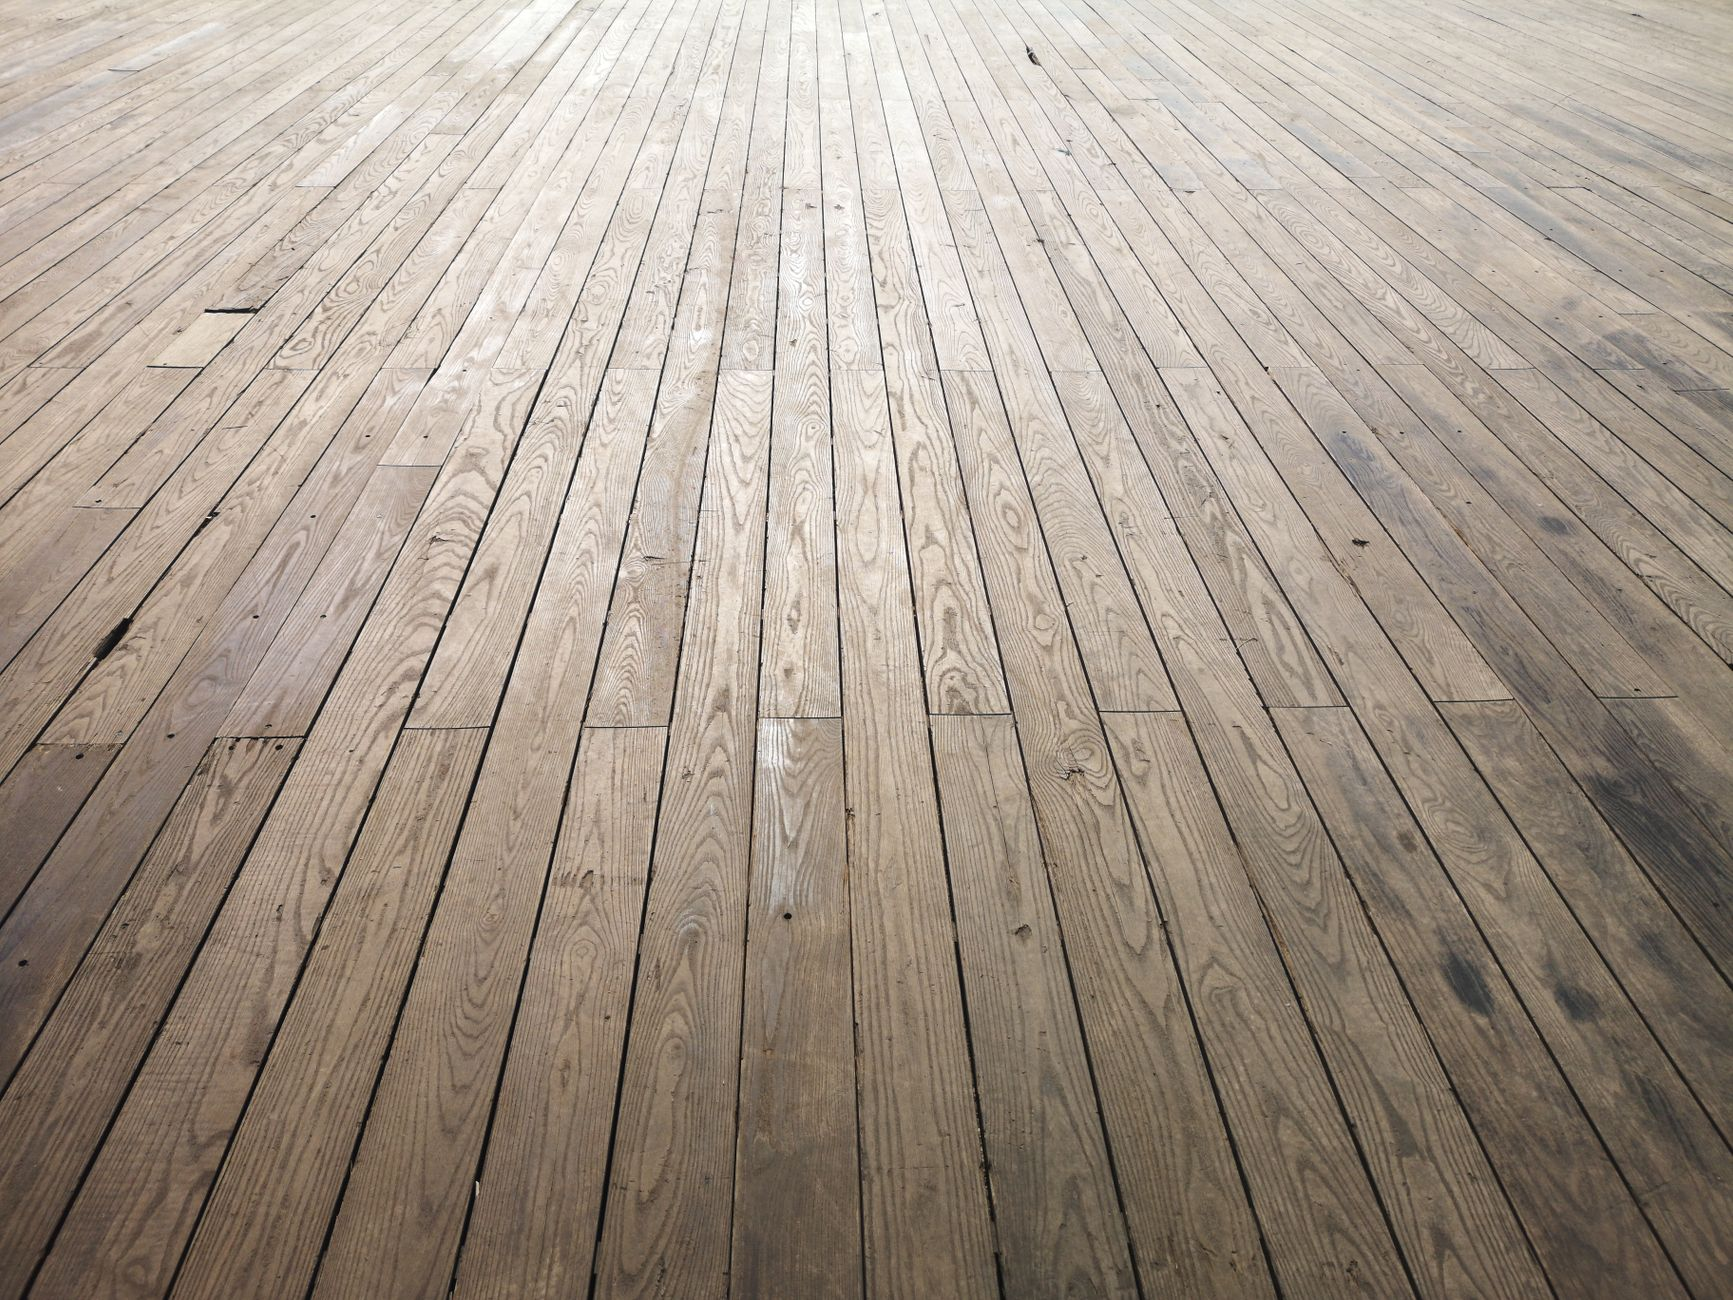
Flooring installation is one of those projects that looks straightforward until you’re halfway through it. After working on homes across Austin, Round Rock, Cedar Park, and the surrounding communities, we’ve watched the same mistakes show up job after job. Getting flooring installation wrong rarely means the floor looks bad on day one. It means it looks bad, buckles, or creaks by year two. This post covers the mistakes we see most often and what actually needs to happen instead.
Key Takeaways
- Skipping acclimation causes expansion and contraction issues that no amount of correction can fix later.
- Subfloor condition matters more than the flooring product you choose.
- Transition strips and expansion gaps are structural necessities, not cosmetic afterthoughts.
- Moisture is the leading cause of flooring failure, and it must be measured before installation begins.
- Layout decisions made in the first hour determine how the whole floor looks from every doorway.
Skipping Acclimation Before Flooring Installation
Wood, luxury vinyl plank, laminate, and even some engineered products respond to the temperature and humidity of the space they live in. Acclimation is the process of letting the material sit in the room, unboxed or in open stacks, until it reaches equilibrium with the indoor environment. For solid hardwood, this can take several days. For engineered wood and laminate, the timeframe is shorter but still matters.
What happens when you skip it? The material expands or contracts after installation. Boards buckle. Gaps open between planks. Seams that looked tight on day one develop visible separations. Austin’s climate, with its swings between humid summers and drier stretches in fall, makes acclimation especially important here. We always check the manufacturer’s specific guidance on acclimation time before we start laying any board-based product, because rushing this step means the floor will move no matter how carefully the installation was done.
Underestimating Subfloor Prep
The single most common mistake we see homeowners make, and sometimes inexperienced contractors too, is treating the subfloor as a background detail. The subfloor is the foundation. Any flex, unevenness, moisture intrusion, or damage in the subfloor transfers directly into the finished floor above it.
A subfloor that is not flat to within the tolerance the flooring manufacturer specifies will cause tile to crack along grout lines, laminate to flex and click underfoot, and hardwood boards to develop high and low spots that catch your eye from across the room. Before any new flooring goes down, we check the entire subfloor for:
- High spots that need to be sanded or ground down
- Low spots or dips that need to be filled with floor leveling compound
- Soft or spongy areas that signal moisture damage or rot
- Protruding fasteners or old adhesive residue
- Squeaks that indicate the subfloor is not fully fastened to the joists below
Fixing these problems before laying the new floor takes time. Skipping them costs far more in callbacks and repairs. If you are exploring flooring installation in Austin, ask any contractor you interview how they handle subfloor assessment and what their standard prep process looks like. The answer tells you a lot about how the job will go.
Ignoring Moisture Before and During Flooring Installation
Moisture is the leading reason floors fail. It damages wood and engineered products from below, it weakens adhesive bonds in glue-down installations, and it causes laminate to swell and separate at the edges. The critical error most people make is assuming that because the space looks dry, moisture is not a problem.
Concrete slabs are especially deceptive. A slab can feel dry to the touch and still emit enough moisture vapor to damage flooring installed directly over it. The correct approach is to use a moisture meter on the subfloor and, in the case of concrete, a calcium chloride test or relative humidity probe to get an accurate reading. Industry guidance recommends that moisture levels fall within the flooring manufacturer’s specified range before installation begins. If they do not, a vapor barrier or moisture mitigation product is required, not optional.
In Pflugerville, Georgetown, and other parts of the greater Austin area, we frequently encounter homes where the original flooring was pulled up and the slab underneath was noticeably damp. Installing new flooring over that without addressing the source is a decision that will haunt the homeowner within a year or two.
Getting the Layout Wrong From the Start
Layout planning sounds like a minor step. It is not. The placement of your first row of planks or tiles determines everything that follows. Poor layout decisions lead to floors that look off-center, that have thin slivers of material at the most visible edges, or that draw the eye to odd angles rather than the room itself.
A few specific layout errors we see often:
Not finding the true center of the room. Rooms are rarely perfectly square. If you snap your first line without accounting for out-of-square walls, the floor will look increasingly crooked toward the far end of the space.
Running planks in the wrong direction. For most rooms, planks should run parallel to the longest wall or perpendicular to the floor joists. Running them diagonally or perpendicular to the longest dimension can make a room feel narrower. Hardwood installed perpendicular to the joists also has better structural support.
Ignoring sight lines from doorways. Stand in every entry point before you commit to a direction. The first thing someone sees when they walk into a room is the edge line of the flooring nearest to them. That line needs to look intentional, not accidental.
Ending with slivers. If your layout math results in a cut strip of less than half a plank’s width at the far wall, shift the entire layout by half a plank width from the start. This is a standard practice that prevents visually awkward thin strips at room edges.
Undervaluing Expansion Gaps and Transitions
Every floating floor, whether laminate, engineered wood, or luxury vinyl plank, needs expansion gaps around the perimeter of the room. This is not a suggestion from the installation guide; it is a physical requirement. Flooring moves with changes in temperature and humidity. Without space to expand into, it has nowhere to go except up, which produces buckling, lifting at seams, and pressure damage along baseboards.
The required gap size varies by product, but for most board-based floating floors it falls in the range of a quarter inch to three-eighths of an inch along every wall and fixed object. Baseboards and quarter-round molding cover the gap visually, so it is invisible in the finished space. Installers who skip the gap to save time are making a decision that belongs to the homeowner, not to them.
Transition strips between different flooring materials or between rooms also serve a functional role. They manage the height difference between materials, protect exposed edges from chipping and wear, and allow each section of flooring to expand and contract independently. Skipping them is a cosmetic and structural shortcut that will show its damage quickly in a high-traffic household.
Our team always walks homeowners through transition placement during planning, particularly in open-concept layouts where flooring moves between a kitchen, a hallway, and a living area. Getting these details right is part of what we mean when we say First We Listen. Then We Build. Understanding the whole layout before the first board goes down prevents problems that are genuinely difficult to fix after the fact.
Choosing Product Without Thinking About the Specific Room
Flooring is not a one-size-fits-all category. Solid hardwood is beautiful in a dining room but unsuitable in a bathroom or laundry room. Polished porcelain tile is elegant in an entryway and a slip hazard in a shower surround unless rated appropriately. Laminate tolerates moderate humidity but deteriorates in spaces with consistent moisture exposure.
The questions we ask before recommending a product to any homeowner include: Who lives in this home? How much foot traffic does this room see? Are there pets with claws? Is the room on a slab or over a crawl space? Does this space connect to outdoor areas where tracked-in moisture is common? The answers change the product category, the thickness, the finish, and sometimes the installation method entirely.
If you are planning a bathroom renovation that includes new flooring, the product decision is closely tied to your overall design plan. Our bathroom remodeling work in Austin always addresses flooring as part of the whole room rather than as a separate line item, because the wrong product in a wet environment creates problems that go well beyond the floor itself.
Similarly, in a kitchen where water exposure near the sink and dishwasher is constant, we steer most homeowners toward tile or a highly water-resistant luxury vinyl product rather than wood or laminate. Our kitchen remodeling clients in Austin often come to us after a previous floor failed precisely because product selection did not account for real-world use.
Frequently Asked Questions About Flooring Installation
How long does flooring installation typically take?
It depends on the room size, the material, and the condition of the subfloor. A single bedroom with a solid subfloor might take one day. A whole-home flooring project that requires significant subfloor work and multiple transitions can take several days or more. Rushing the timeline to finish faster almost always produces the mistakes described in this post.
Can I install new flooring over old flooring?
Sometimes, but with real caution. The main concerns are added height, which affects door clearance and transitions, and whether the existing floor is sound enough to serve as a stable base. Tile over tile requires the original tile to be fully bonded, with no hollow spots. Installing hardwood or laminate over existing hardwood is generally not recommended. We always assess what is underneath before advising on this question.
What is the best flooring for Austin’s climate?
Engineered hardwood, porcelain tile, and high-quality luxury vinyl plank are all well-suited to Central Texas. Each handles humidity swings better than solid hardwood or laminate. The best choice still depends on the specific room, the household’s lifestyle, and the aesthetic you are going for. There is no single right answer, but there are products that perform reliably in this climate and products that do not.
Do I need to remove furniture from the whole house?
For whole-home flooring projects, yes, it makes the job faster and reduces the risk of damage to your belongings. For single rooms, the furniture in that room needs to come out before work begins. We coordinate timing with homeowners so disruption is as short as possible.
Ready to Get Your Flooring Done Right
If you are planning a flooring project in Austin, Cedar Park, Georgetown, Round Rock, or anywhere in the surrounding area, we would be glad to walk through your space and give you an honest assessment of what the job actually requires. That means looking at the subfloor, measuring moisture, and talking through product options that fit your room and your life before anything is purchased or installed.
B&H Remodeling is a licensed, insured, family-owned contractor serving the greater Austin area. We handle everything from single-room flooring replacements to whole home remodeling projects that include flooring throughout. You can also browse our completed work on the projects page to see the kind of finishes we consistently deliver. Reach out when you are ready to start planning, and we will take it from there.
Photo by Engin Akyurt on Pexels.