
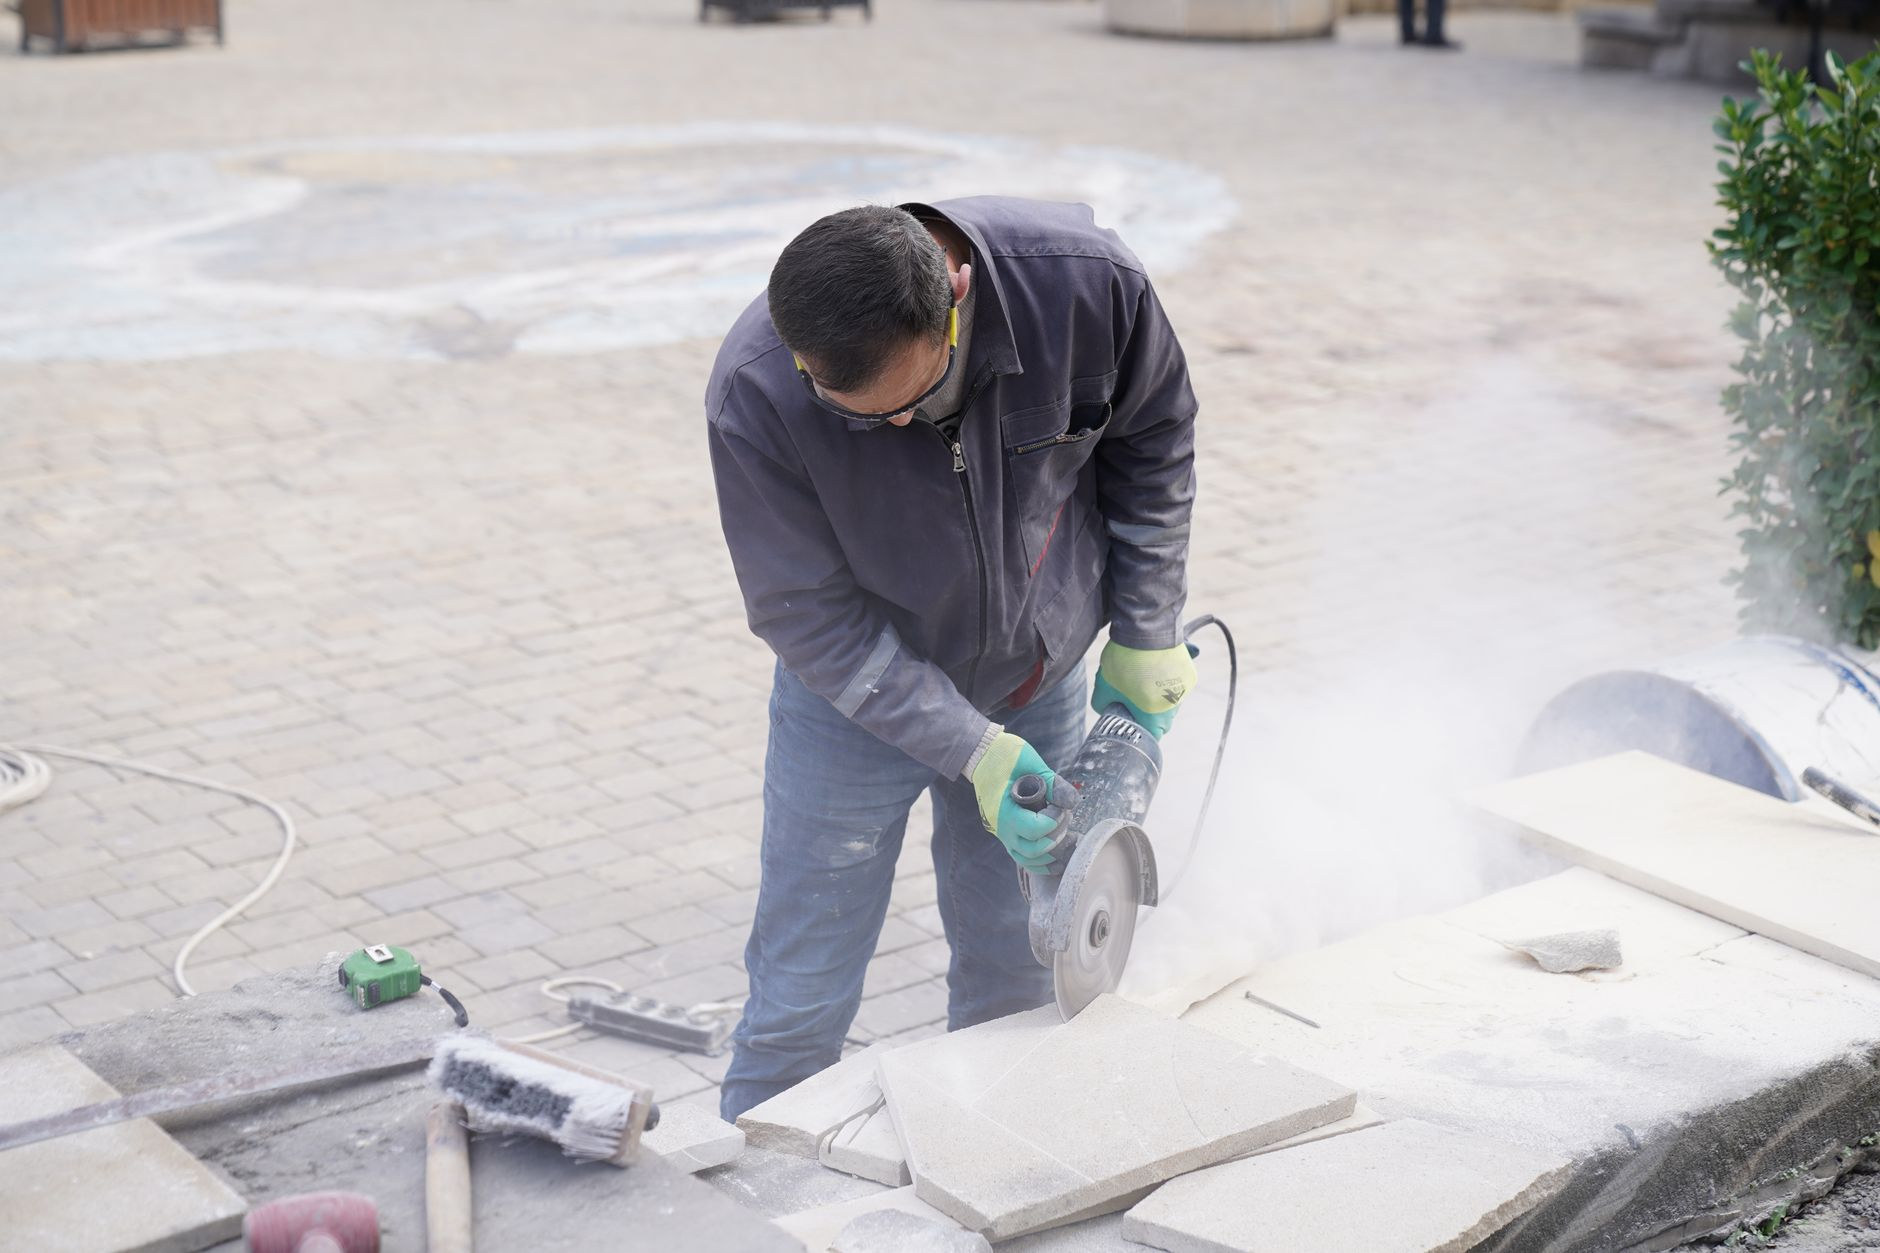
Tile installation safety is one of the most overlooked parts of any remodeling project, and that gap can create real problems for homeowners and crews alike. At B&H Remodeling, we work in kitchens, bathrooms, and living spaces across Austin, Round Rock, Cedar Park, Pflugerville, Georgetown, and Lakeway, and the question we hear far too rarely is: “What are the safety risks I should know about before tile work begins?” This post answers that question directly, covering everything from substrate hazards to proper ventilation and waterproofing requirements. Key Takeaways Old tile and adhesive materials in homes built before 1980 may contain asbestos or lead, and must be tested before any demo begins. Waterproofing is not optional. Skipping it creates hidden moisture damage that becomes a structural and mold problem over time. Tile saws generate silica dust, which is a serious respiratory hazard without the right controls in place. Proper substrate preparation prevents cracked tile, uneven surfaces, and long-term structural failure. Slip resistance matters as much as aesthetics, especially in wet areas like showers and bathroom floors. Licensed, insured contractors follow safety protocols that protect both the crew and your home. Tile Installation Safety and the Hazards in Older Homes If your home was built before 1980, tile removal requires extra caution before a single pry bar touches the wall or floor. Older vinyl floor tiles, the adhesive mastic used to bond them, and some older ceramic tile grouts were commonly manufactured with asbestos-containing materials. Asbestos fibers, once airborne, are a confirmed carcinogen with no safe exposure threshold. Lead-based paint can also be present on surrounding walls, which becomes a concern whenever demo work disturbs the surface. The right approach is straightforward: have a licensed environmental inspector test suspect materials before demo begins. If asbestos or lead is found, removal must follow federal and state handling protocols, which includes containment, personal protective equipment, and proper disposal. This is not a step to skip in order to save time on a schedule. We take this seriously on every project we do in older Austin neighborhoods where mid-century construction is common. Even in newer homes, adhesives and grout sealers contain chemical compounds that release volatile organic compounds (VOCs) during application. Adequate ventilation during and after installation reduces inhalation risk for everyone in the home, not just the crew. Silica Dust: The Hidden Respiratory Risk During Tile Cutting Cutting ceramic, porcelain, or natural stone tile generates respirable crystalline silica dust. Silica is a mineral that makes up a large share of most tile materials, and when cut with a dry grinder or saw, the fine particles become airborne and can lodge deep in the lungs. Prolonged or repeated exposure is linked to silicosis, a progressive and incurable lung disease, as well as other serious respiratory conditions. Professional tile installation crews should use wet-cutting saws that suppress dust at the source, combined with appropriate respirators rated for silica (N95 at a minimum, P100 for higher-risk cutting). Homeowners nearby during active cutting should stay out of the work area until dust has settled and the space has been ventilated. If you are considering any DIY tile cutting, a basic dust mask is not sufficient protection. This is one of the clearest reasons why tile work benefits from trained professionals who already have the right equipment and habits. Our crews at B&H Remodeling follow industry-standard dust control practices on every job. It protects our people, and it protects your home and family. Waterproofing: The Safety Detail That Protects Your Home’s Structure Waterproofing is often thought of as a quality issue, but it is also a structural safety issue. In wet areas like showers, tub surrounds, and bathroom floors, water that penetrates behind tile and into the substrate will eventually reach the framing. Over time, that moisture causes wood rot, weakens load-bearing structures, and creates conditions ideal for mold growth. Mold is not just an aesthetic problem. Certain mold species produce mycotoxins that degrade indoor air quality and cause health effects ranging from chronic sinus irritation to more serious respiratory symptoms, particularly for people with asthma or weakened immune systems. By the time mold is visible on a wall surface, the contamination behind the tile is usually already significant. Proper waterproofing in a tile installation involves a membrane or liquid-applied barrier over the substrate before any tile is set. In showers, this typically means a bonded waterproof membrane (such as a sheet membrane or a foam backer board with a waterproofing layer) that covers the floor pan, the curb, and extends up the walls behind the tile field. Grout alone is not waterproof, and neither is cement board without a dedicated moisture barrier applied over it. Our tile installation process always includes a waterproofing stage before any tile is placed in wet areas. It adds time to the project, but the alternative is a callback within a few years and a far more expensive remediation. Substrate Preparation and Structural Integrity Tile is a rigid material. It bonds to its substrate and does not flex. If the surface beneath it moves, shifts, or is not flat and stable, the tile will crack and grout joints will fail. This creates sharp edges and loose sections that are a real physical hazard, especially on floors and in showers where people are barefoot and the surface is wet. Safe tile installation starts with a substrate that is: Structurally sound. Subfloors must be inspected for rot, soft spots, or excessive deflection before tile is laid. The standard allowable deflection for a tile floor substrate is L/360 (length of the span divided by 360). If a floor is too springy, additional blocking or a layer of cement board may be needed to stiffen it. Flat and level. Low spots and high spots both cause problems. A low spot creates a hollow beneath the tile that cracks under foot traffic. A high spot creates a lip that becomes a trip hazard. Properly prepared. Old adhesive, paint, and contamination must be removed so the new thinset
Red Flags to Watch for When Shopping for Flooring Installation
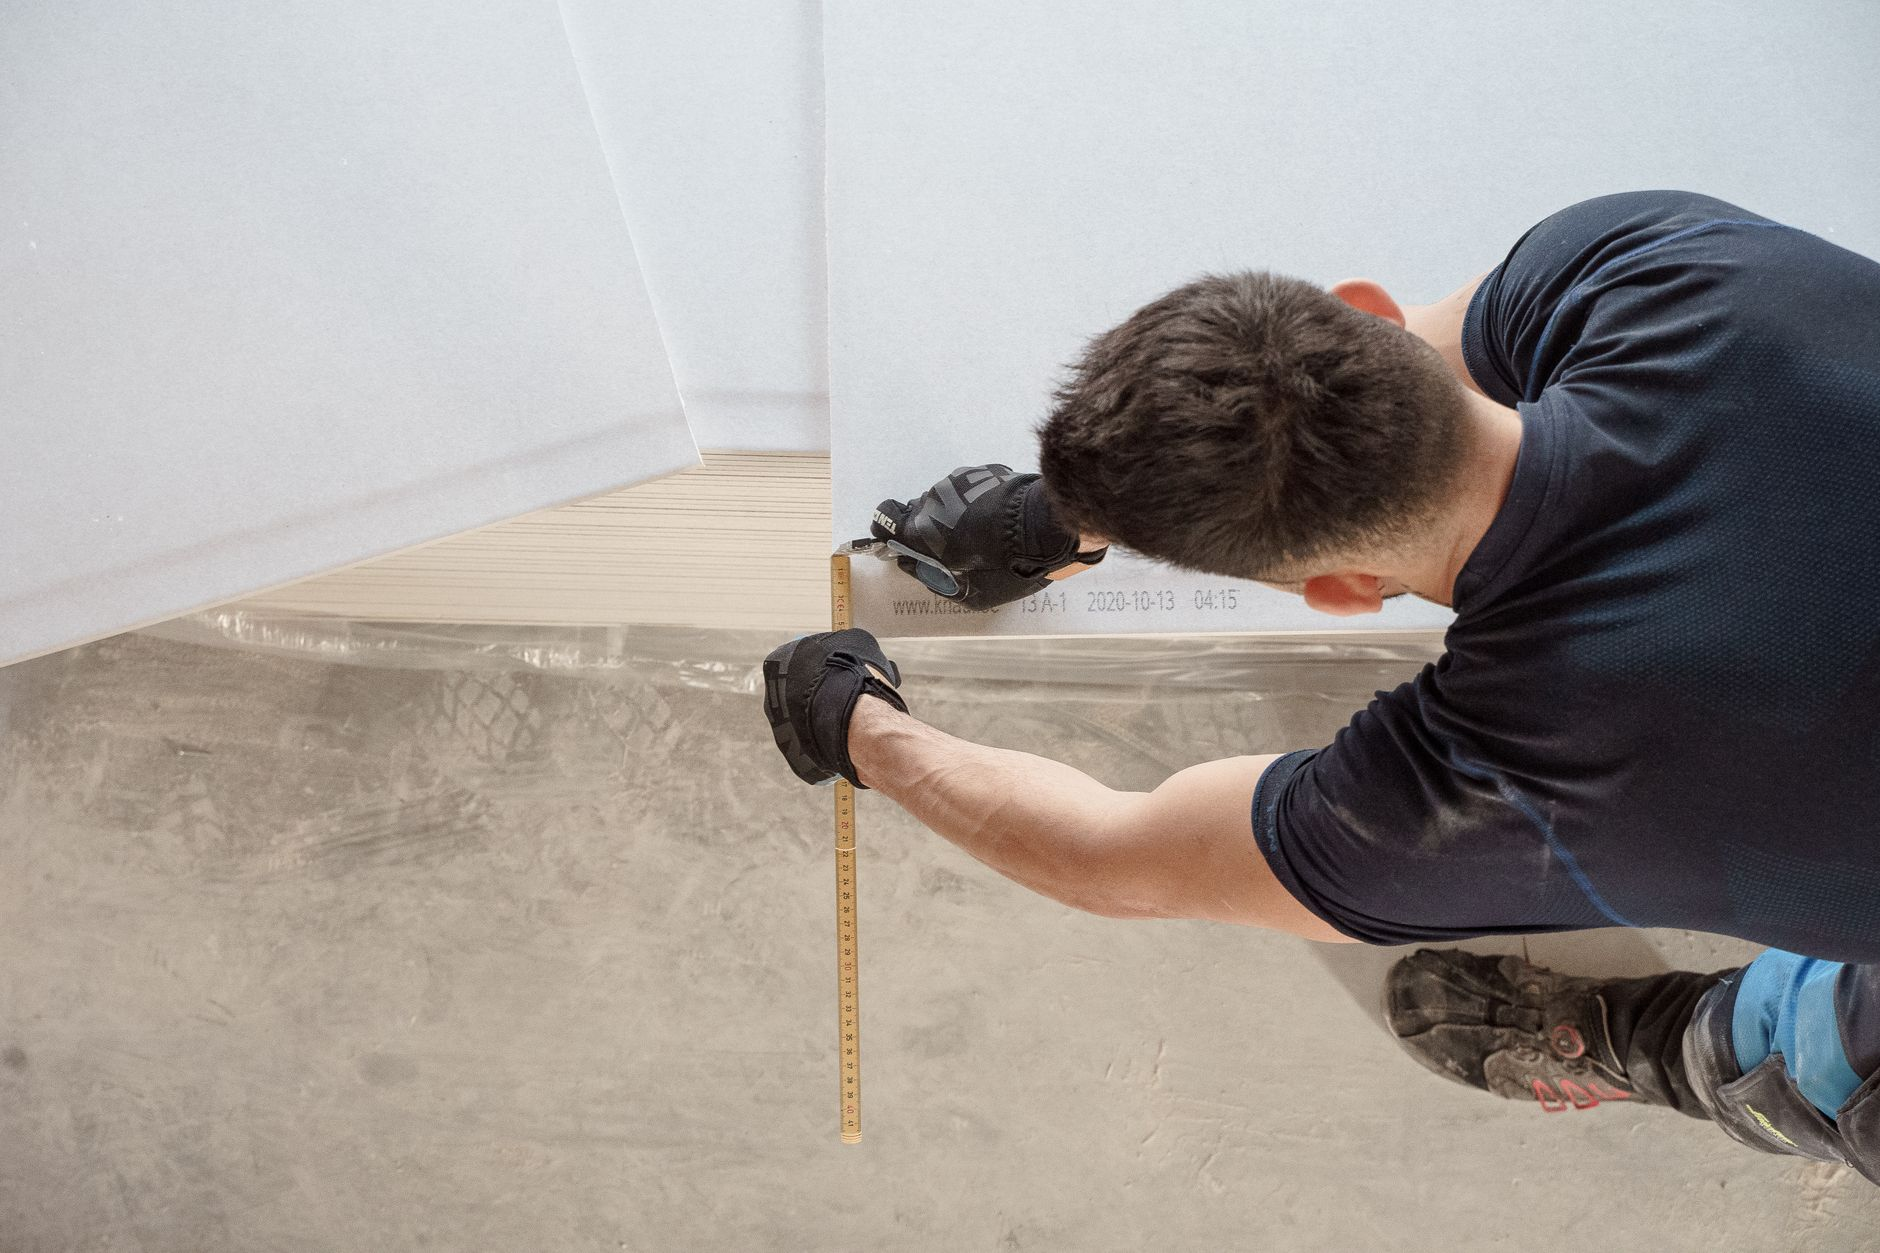
Shopping for flooring installation is one of those decisions that looks straightforward until you start getting quotes and realize how much varies from one contractor to the next. After working with Austin homeowners across Cedar Park, Round Rock, Pflugerville, Georgetown, and Lakeway, we have seen the same patterns show up when a project goes sideways. This post covers the red flags that deserve your attention before you sign anything or hand over a deposit. Key Takeaways Vague or verbal-only estimates are a warning sign worth taking seriously. Skipping the subfloor conversation is one of the most common ways flooring projects fail early. A contractor who cannot explain moisture testing should not be installing hardwood or engineered plank in an Austin home. Unusually low bids often signal corner-cutting on materials, prep, or labor standards. Licensing, insurance, and a clear written contract are non-negotiable before any crew enters your home. Red Flags to Watch for When Shopping for Flooring Installation The shopping phase is where most problems actually originate. By the time installation is done and something goes wrong, the choices that caused the issue were made weeks earlier. Here is what to watch for at each stage of the selection process. No Site Visit Before the Estimate A flooring installer who quotes you a firm price over the phone, or from a photo you texted them, has not done the work needed to give you a real number. Every space has variables: doorway transitions, existing flooring that needs to come up, subfloor condition, room geometry with non-standard angles, or moisture readings that will affect which products can even be used. Skipping the site visit is not efficiency. It is a signal that the contractor plans to fill in the blanks later, usually through change orders or upcharges after the work begins. Estimates That Are Verbal or Vague A professional flooring contractor provides written estimates that break out labor and materials separately, identify the specific product being installed (including brand, product line, and dimensions when applicable), and outline what prep work is included. If an estimate says something like “supply and install flooring” with a single dollar amount attached, you have no way to compare it to another bid or hold the contractor accountable if the result does not match what you discussed. Always ask for line-item detail before agreeing to anything. No Discussion of Subfloor Preparation The subfloor is the foundation everything sits on. Warped, squeaky, or uneven subfloor panels must be addressed before any finish flooring goes down. An installer who does not bring up subfloor prep either plans to skip it and hope for the best, or has not considered it at all. Neither scenario ends well. Ask directly: what happens if the subfloor needs repairs? What is the standard they are working to for levelness? These are basic questions any experienced installer should answer without hesitation. Moisture and Acclimation: Where Shortcuts Show Up Fast Austin’s climate creates real challenges for flooring installation. Humidity swings between seasons, and the transition from a hot exterior to an air-conditioned interior can stress wood-based products significantly if they are not handled correctly. No Mention of Moisture Testing Before hardwood, engineered hardwood, or laminate goes down over a concrete slab or crawl space subfloor, moisture levels need to be measured and documented. Installers who skip this step may be setting you up for cupping, gapping, or buckling within the first year. Ask whether they use a pin-type or pinless moisture meter, and ask what readings they consider acceptable for the specific product being installed. A vague answer is a red flag. A specific answer tied to the manufacturer’s installation guidelines is what you want to hear. No Acclimation Period Built Into the Schedule Most hardwood and engineered products need time to acclimate to the temperature and humidity of your home before installation begins. The amount of time varies by product and season, but skipping it entirely is not acceptable. If a contractor schedules delivery and installation on the same day, or tells you acclimation is not necessary for the product you chose, push back. Read the manufacturer’s installation instructions yourself. They will almost always specify an acclimation period, and ignoring it can void the product warranty. Licensing, Insurance, and the Paper Trail This section may feel like legal housekeeping, but it is where homeowners get burned most often. A flooring crew working inside your home without proper coverage is a liability risk you are absorbing without knowing it. No Proof of Licensing or Insurance In Texas, contractors performing home improvement work are required to follow applicable licensing regulations. Ask any flooring contractor you are considering for proof of general liability insurance and, where required, a valid license. A reputable company provides these without hesitation. If a contractor deflects, gets defensive, or offers verbal reassurances instead of documentation, that is a hard stop. At B&H Remodeling, we are licensed and insured, and we are glad to share documentation because we know it is one of the first things a serious homeowner needs to see. No Written Contract Before Work Begins A written contract protects both parties. It should spell out the scope of work, the materials being used (with enough specificity to be meaningful), the payment schedule, the project timeline, and what happens if unforeseen issues arise. Handshake deals and informal text agreements are not substitutes. If a contractor resists putting things in writing, treat that as disqualifying. No reputable installer should have any hesitation about committing to the agreed terms in a signed document. Bid Gaps That Do Not Add Up Getting multiple quotes is smart practice. But what you do with those quotes matters as much as gathering them. A bid that comes in dramatically lower than the others is not automatically a better deal. When we review projects that came to us after a failed installation, the pattern is consistent: the lowest bidder cut corners somewhere. Sometimes it was thinner underlayment. Sometimes it was a lower-grade adhesive for tile or
How to Plan and Execute Small Home Renovations Step by Step
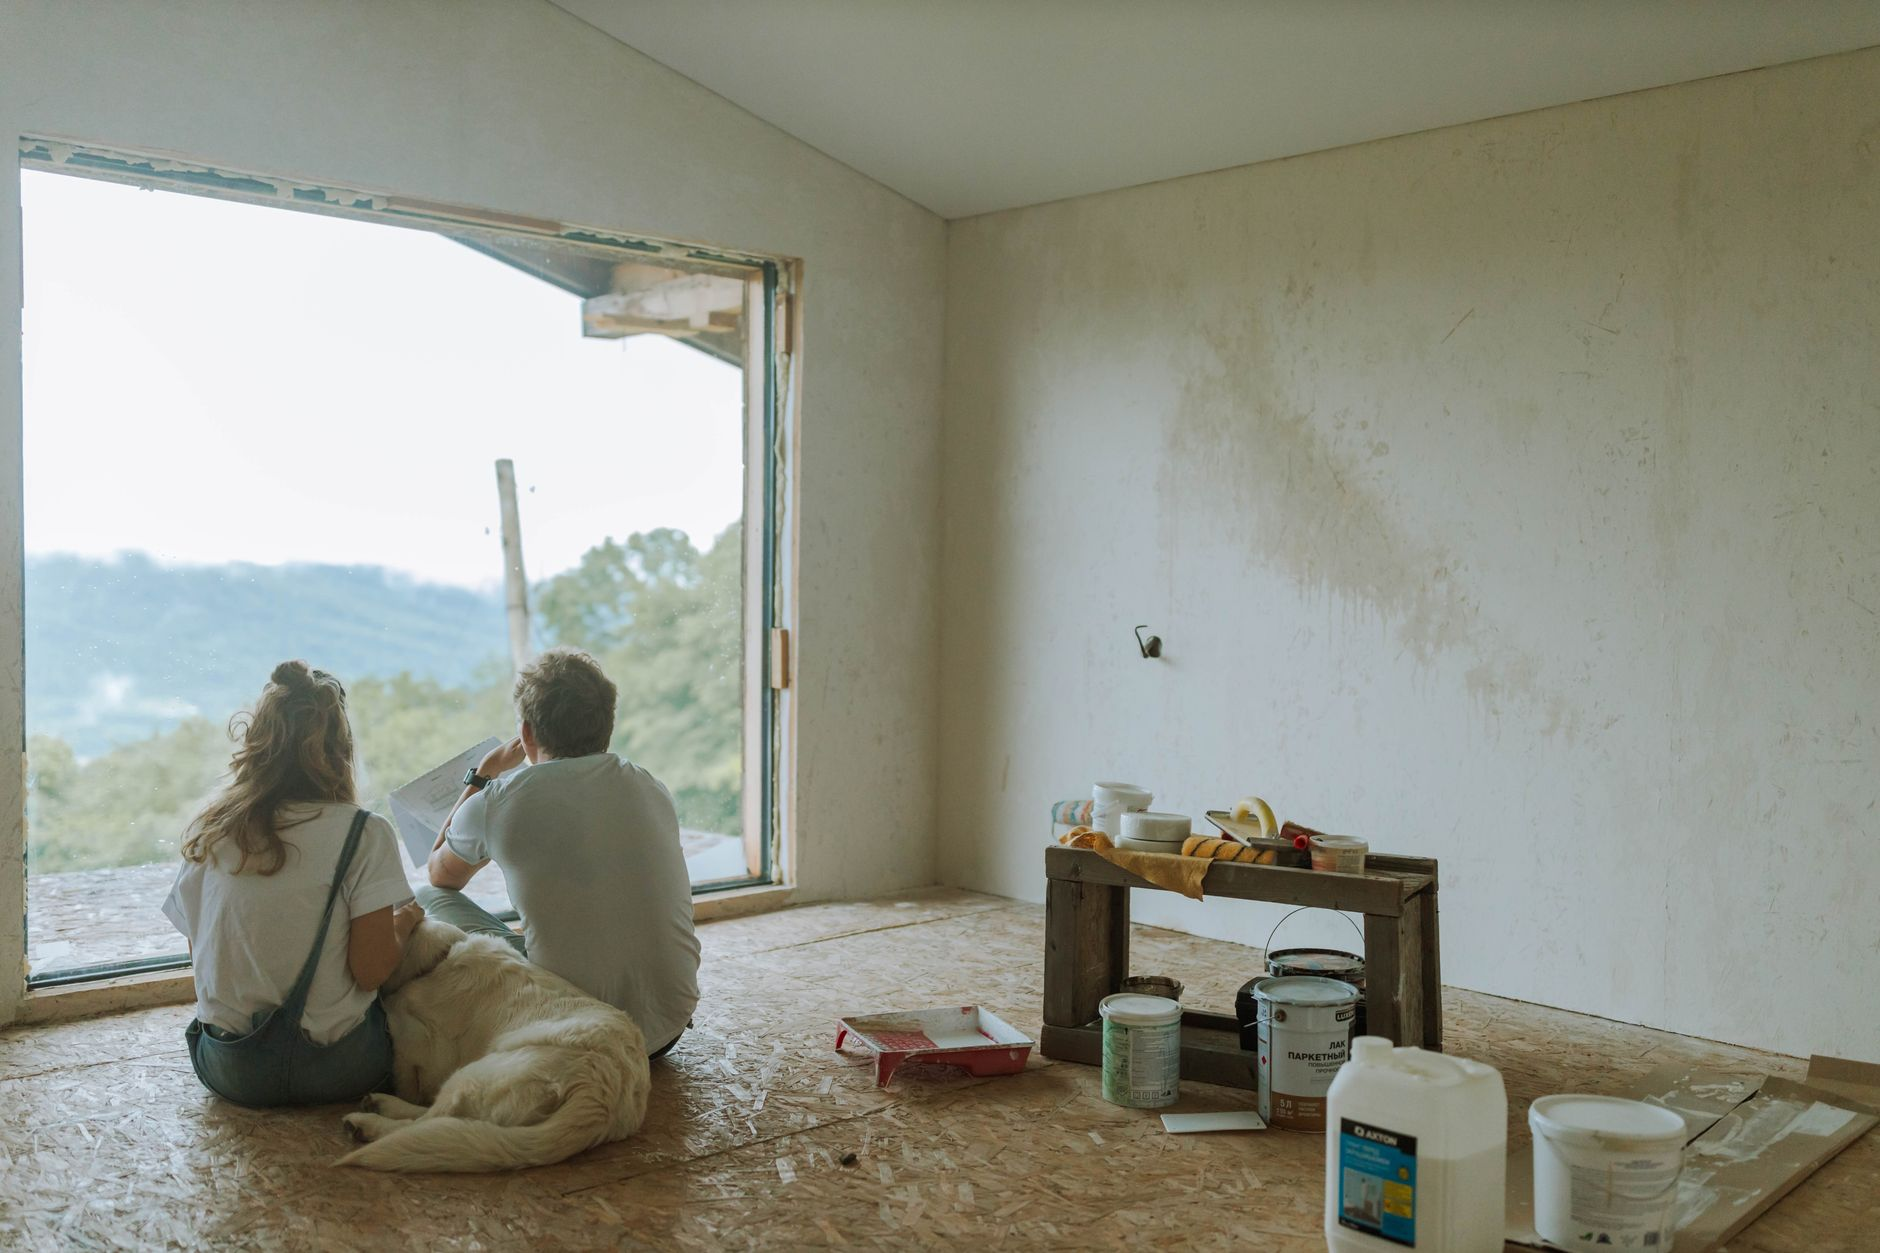
Small home renovations are one of the most practical ways Austin homeowners can raise their property’s value, improve daily comfort, and avoid the disruption of a full-scale remodel. Whether you are refreshing a tired bathroom vanity, replacing worn flooring in a hallway, or giving your kitchen a cabinet facelift, the process follows a predictable sequence that separates smooth projects from stressful ones. Our team at BH Remodeling has worked through hundreds of these projects across Austin, Round Rock, Cedar Park, and the surrounding communities, and the homeowners who come out happiest are almost always the ones who planned carefully before the first tool was picked up. Key Takeaways Define a clear scope before you contact any contractor. Vague goals lead to scope creep and overspending. Even small renovations can trigger permit requirements in Austin. Know which ones apply before work begins. Material lead times vary and can stall a project. Order selections early. A well-documented punch list at the end protects you from incomplete work slipping through. Small, targeted upgrades often deliver stronger returns per dollar than larger renovations when done strategically. Step 1: Define Your Scope and Set Realistic Expectations The single biggest mistake homeowners make is starting with a general feeling rather than a specific plan. “Update the bathroom” is not a scope. “Replace the vanity, install new tile around the tub surround, and repaint the walls” is a scope. The difference matters because it determines your timeline, your material list, who you need to hire, and whether a permit is required. Start by walking through the space and writing down every change you want. Then sort that list into two columns: what you need (things that affect function, safety, or structural integrity) and what you want (aesthetic upgrades). This exercise almost always reveals which items are true priorities and which can wait for a future phase. Once you have a working list, research rough lead times for your key materials. Tile, custom cabinetry, and specialty fixtures can take several weeks to arrive. If you set a project start date before your materials are confirmed, you will likely face delays mid-project, which costs everyone time and disrupts your household longer than necessary. Step 2: Research Permit Requirements for Small Home Renovations in Austin A common misconception is that permits only matter for large additions or structural changes. In reality, the City of Austin requires permits for a wider range of work than many homeowners expect, including certain electrical updates, plumbing relocations, and even some mechanical changes associated with a bathroom renovation. Skipping a required permit is not just a technical violation. It can create serious problems when you sell the home, complicate your homeowner’s insurance, and require you to undo finished work for an inspection. For most cosmetic small renovations, such as replacing flooring, painting walls, swapping fixtures like-for-like, or installing a new vanity in the same location, permits are typically not required. But if you are moving a drain, adding a new circuit, or changing the layout in any meaningful way, check with the City of Austin Development Services Department before work begins. Our team is familiar with what triggers a permit in Austin, Round Rock, Cedar Park, Georgetown, Pflugerville, and Lakeway, and we walk homeowners through this step as part of our initial planning conversation. For a deeper look at how Austin’s permit process works, see our post on home remodeling in Austin for context on local requirements. Step 3: Select Materials and Finalize Your Decisions Before Work Starts This step sounds simple but is where many small renovation timelines collapse. Changing your tile selection after demolition has already happened is expensive, not because the labor cost of switching is high, but because it creates idle days while you wait for the new material to arrive and the contractor’s schedule realigns. Every day a bathroom is out of commission is a day your household is disrupted. A practical approach is to make all selections, receive physical samples, and confirm availability before the project start date is locked. For tile work specifically, always order slightly more square footage than your measurements require. Tile comes in dye lots, and if you run short or need to patch a repair down the road, matching a discontinued lot is nearly impossible. Finish coordination matters too. If your new vanity has brushed nickel hardware, your faucet, towel bars, and light fixture should ideally match or complement it. It sounds like a small detail, but finishes that clash visually make even high-quality renovations feel unfinished. Our tile installation and cabinet installation teams regularly help homeowners work through exactly these decisions before we break ground. Step 4: Prepare Your Home and Set Up for Clean, Efficient Work Good contractors will protect your home during a renovation, but there is preparation on the homeowner’s side that makes the process smoother for everyone. Clear the work area of furniture, personal items, and anything fragile within a reasonable radius of the project zone. If you are renovating a bathroom, make sure the household has an alternate facility available and that access to the work area is unobstructed. Establish a clear communication plan with your contractor before work begins. Who is the point of contact if a question comes up mid-project? What hours will the crew be on site? Where can materials be staged? These conversations take ten minutes and prevent a dozen small frustrations over the course of a project. At BH Remodeling, we believe that respect for your home and your daily routine is not optional. It is part of the job. Our crews are expected to leave job sites clean at the end of each day, and we treat your home the way we would want our own treated. Step 5: Manage the Active Renovation Phase Once work begins, your primary role is to stay informed without micromanaging. A well-run renovation crew has a rhythm, and constant interruptions slow progress. That said, you should expect regular updates, and if something looks different from
DIY vs Hiring a Pro for Interior Painting: When Each Makes Sense
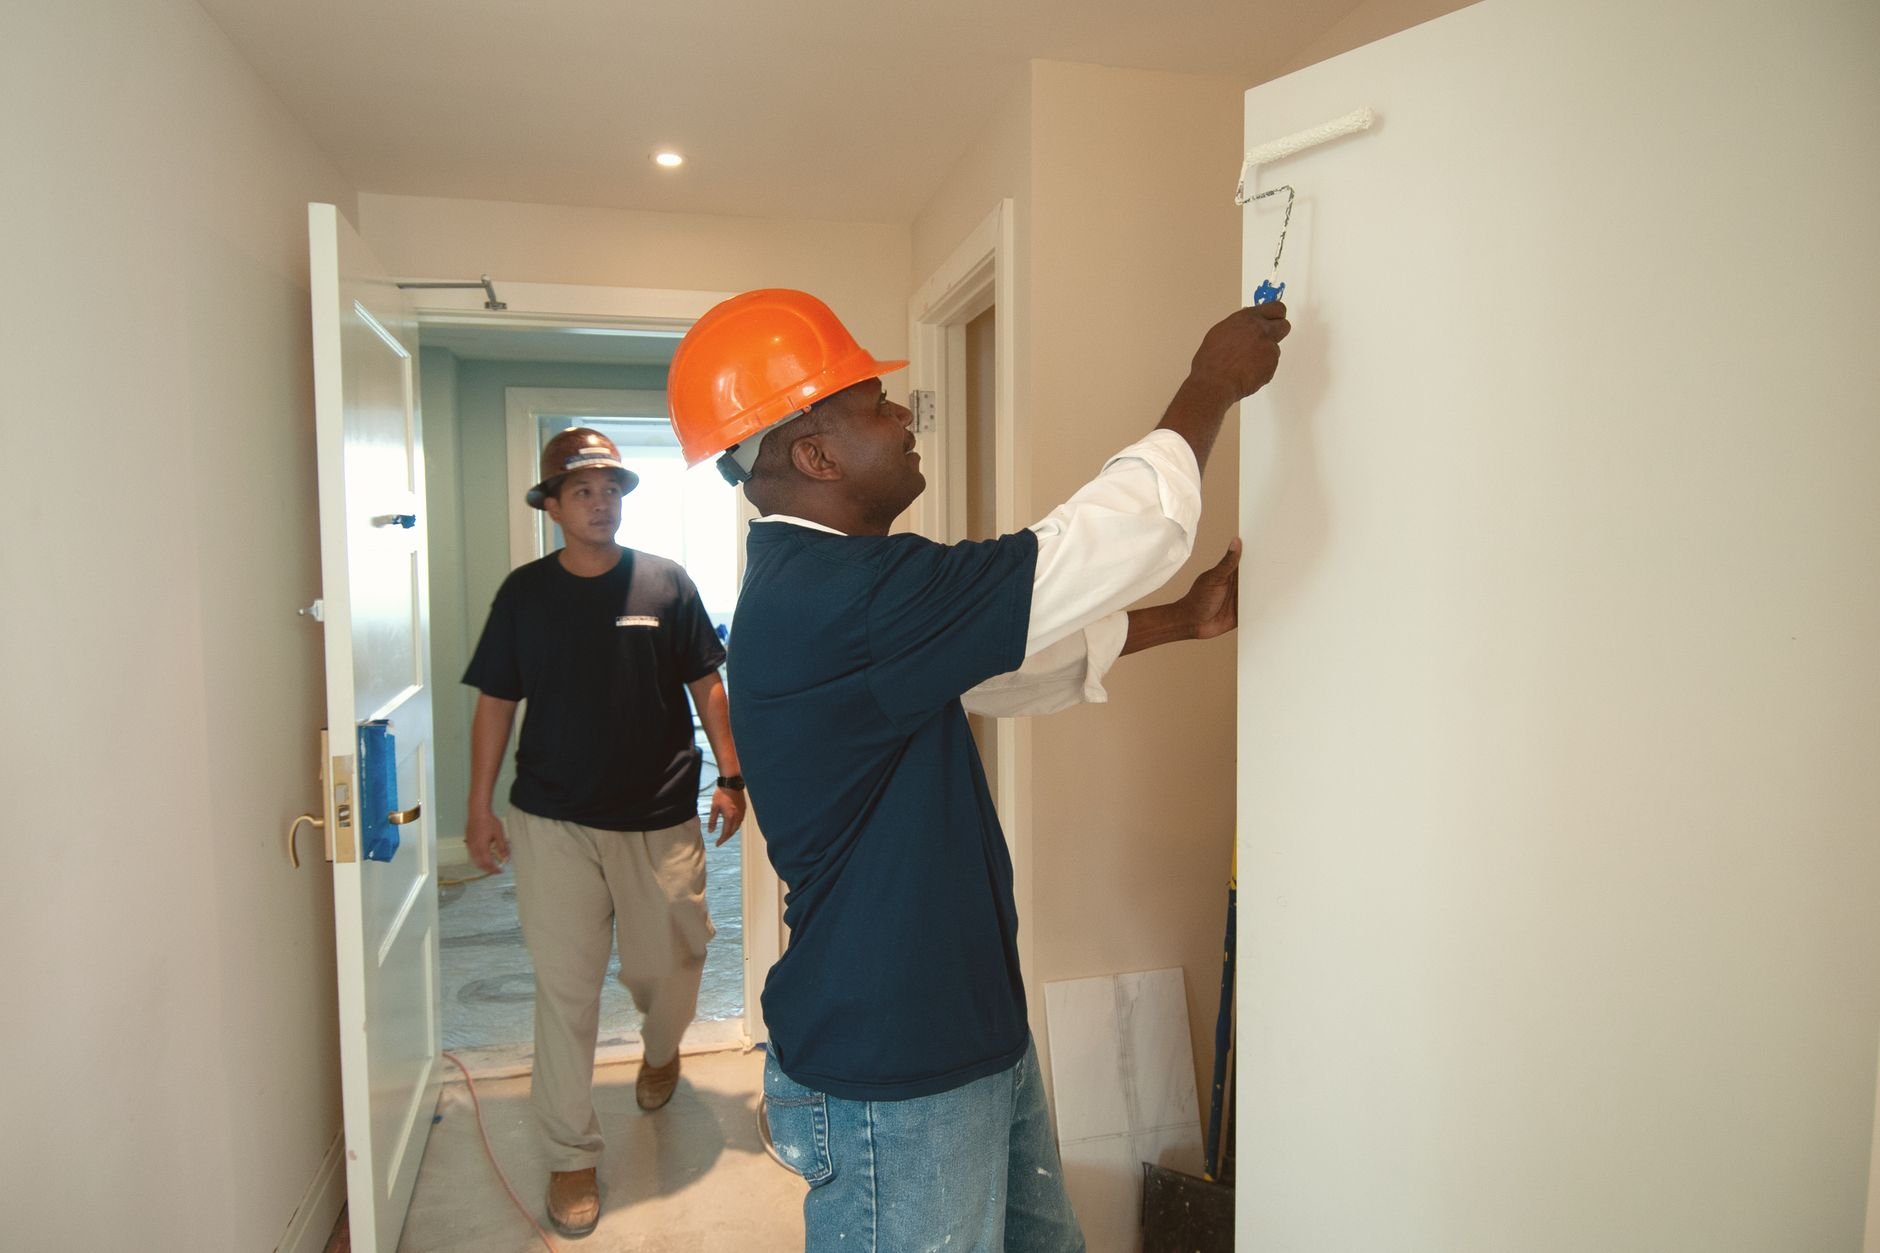
Deciding between DIY and hiring a pro for interior painting is one of the most common questions we hear from Austin homeowners before a renovation. The honest answer is that neither option wins every time. The right choice depends on the scope of the project, the condition of your walls, your available time, and how finished you need the result to look. We have helped homeowners across Austin, Round Rock, Cedar Park, and Pflugerville sort through exactly this decision, and the breakdown below reflects what we see play out in real homes. Key Takeaways Small, low-visibility rooms with good existing walls are the best candidates for DIY painting. Any room with high ceilings, damaged drywall, or dark existing colors almost always benefits from professional work. Prep work determines roughly two-thirds of the final result. Skipping it is the most common DIY mistake. Professionals bring spray equipment, commercial-grade materials, and experience that produce results difficult to replicate by hand. Your time has real value. Factor it honestly before deciding DIY is the simpler path. A hybrid approach, where you prep and professionals apply the finish coats, often gets the best of both worlds. What DIY Interior Painting Actually Requires Paint is the most visible surface finish in any room. A brush stroke left by a tired arm at 10 p.m. on day two of a weekend project is something you will look at every morning. That is not a reason to avoid DIY painting entirely, but it is a reason to go in with realistic expectations about what the work involves. A genuine DIY paint job requires more than a roller and a can of paint. You need to fill nail holes and skim small dents with spackling compound, sand those repairs smooth, apply painter’s tape to every edge you want crisp, and prime any spot where the surface has been cut back to bare drywall. Skipping those steps shows in the final coat. The walls may look fine in artificial light and look noticeably rough the moment morning sun hits them at an angle. You also need the right tools. A quality roller with the correct nap thickness for your wall texture, an angled sash brush for cutting in along trim and ceilings, a sturdy extension pole for reaching the upper wall without a ladder shuffle, and adequate drop cloths to protect your floors and furniture. Cheap rollers leave lint in the finish. Cheap brushes leave bristle lines. None of this is impossible for a capable homeowner. It just takes longer and costs more in materials than most people budget for upfront. When DIY Interior Painting Makes Sense There are genuine situations where doing the painting yourself is a reasonable and rewarding choice. Single-Room Projects in Good Condition If you are painting a bedroom, a laundry room, or a small home office where the existing walls are in good shape, the ceiling height is standard, and you are going from one neutral color to another similar one, DIY is very manageable. The room is contained, the surface prep is light, and a weekend is usually enough time to do it properly. Accent Walls and Touch-Ups Painting a single accent wall is a project where the limited scope keeps the risk low. Similarly, touching up scuffs and marks in a room you painted a year ago is exactly the kind of maintenance task that does not require a professional. When You Genuinely Have the Time This one matters more than most people acknowledge. If a room takes a professional crew half a day, it will typically take a solo homeowner two full days when you add proper prep, drying time between coats, and cleanup. If you have that time, enjoy the process, and are comfortable on a step ladder, DIY can be satisfying and produce a solid result. When Hiring a Pro for Interior Painting Makes More Sense There are equally real situations where attempting to DIY will cost you more in the long run, either in time, materials, or having to hire someone to fix the outcome. High Ceilings and Open Stairwells Painting a vaulted ceiling, a two-story entryway, or the wall along an open staircase requires more than a step ladder. Professional painters use commercial-grade scaffolding or pump jacks to reach these areas safely and efficiently. Working at that height without proper equipment is genuinely dangerous and rarely produces the clean result you want even if you manage it safely. Extensive Drywall Damage or Texture Work If the walls have significant cracking, water staining, or need texture matching before paint can go on, the prep work crosses into drywall repair territory. Our team handles home remodeling in Austin that regularly combines drywall repair and painting as one continuous scope of work, because the two trades are tightly connected. Separating them or skipping the repair step produces a result that looks worse after paint than before. Going from Dark to Light Colors If your current walls are a deep charcoal, navy, or saturated red and you want to go to a soft white or cream, plan on three or more coats of paint. Professionals know this, use the appropriate primer, and factor it into their process. Most DIYers underestimate it, apply two coats, and end up with a room that looks streaky or still shows the original color through in certain light. Whole-House or Multi-Room Projects Painting an entire house interior, or even four or five rooms at once, is a significant undertaking. The sheer volume of wall area, the number of rooms to protect and move furniture in, and the amount of edge work along trim, windows, and doors adds up fast. A professional crew can complete what would take you several weekends in a day or two, and do it with consistent quality room to room. If you are already doing a broader renovation, it makes sense to fold the painting into the same project scope. DIY vs Hiring a Pro for Interior Painting: An Honest Side-by-Side
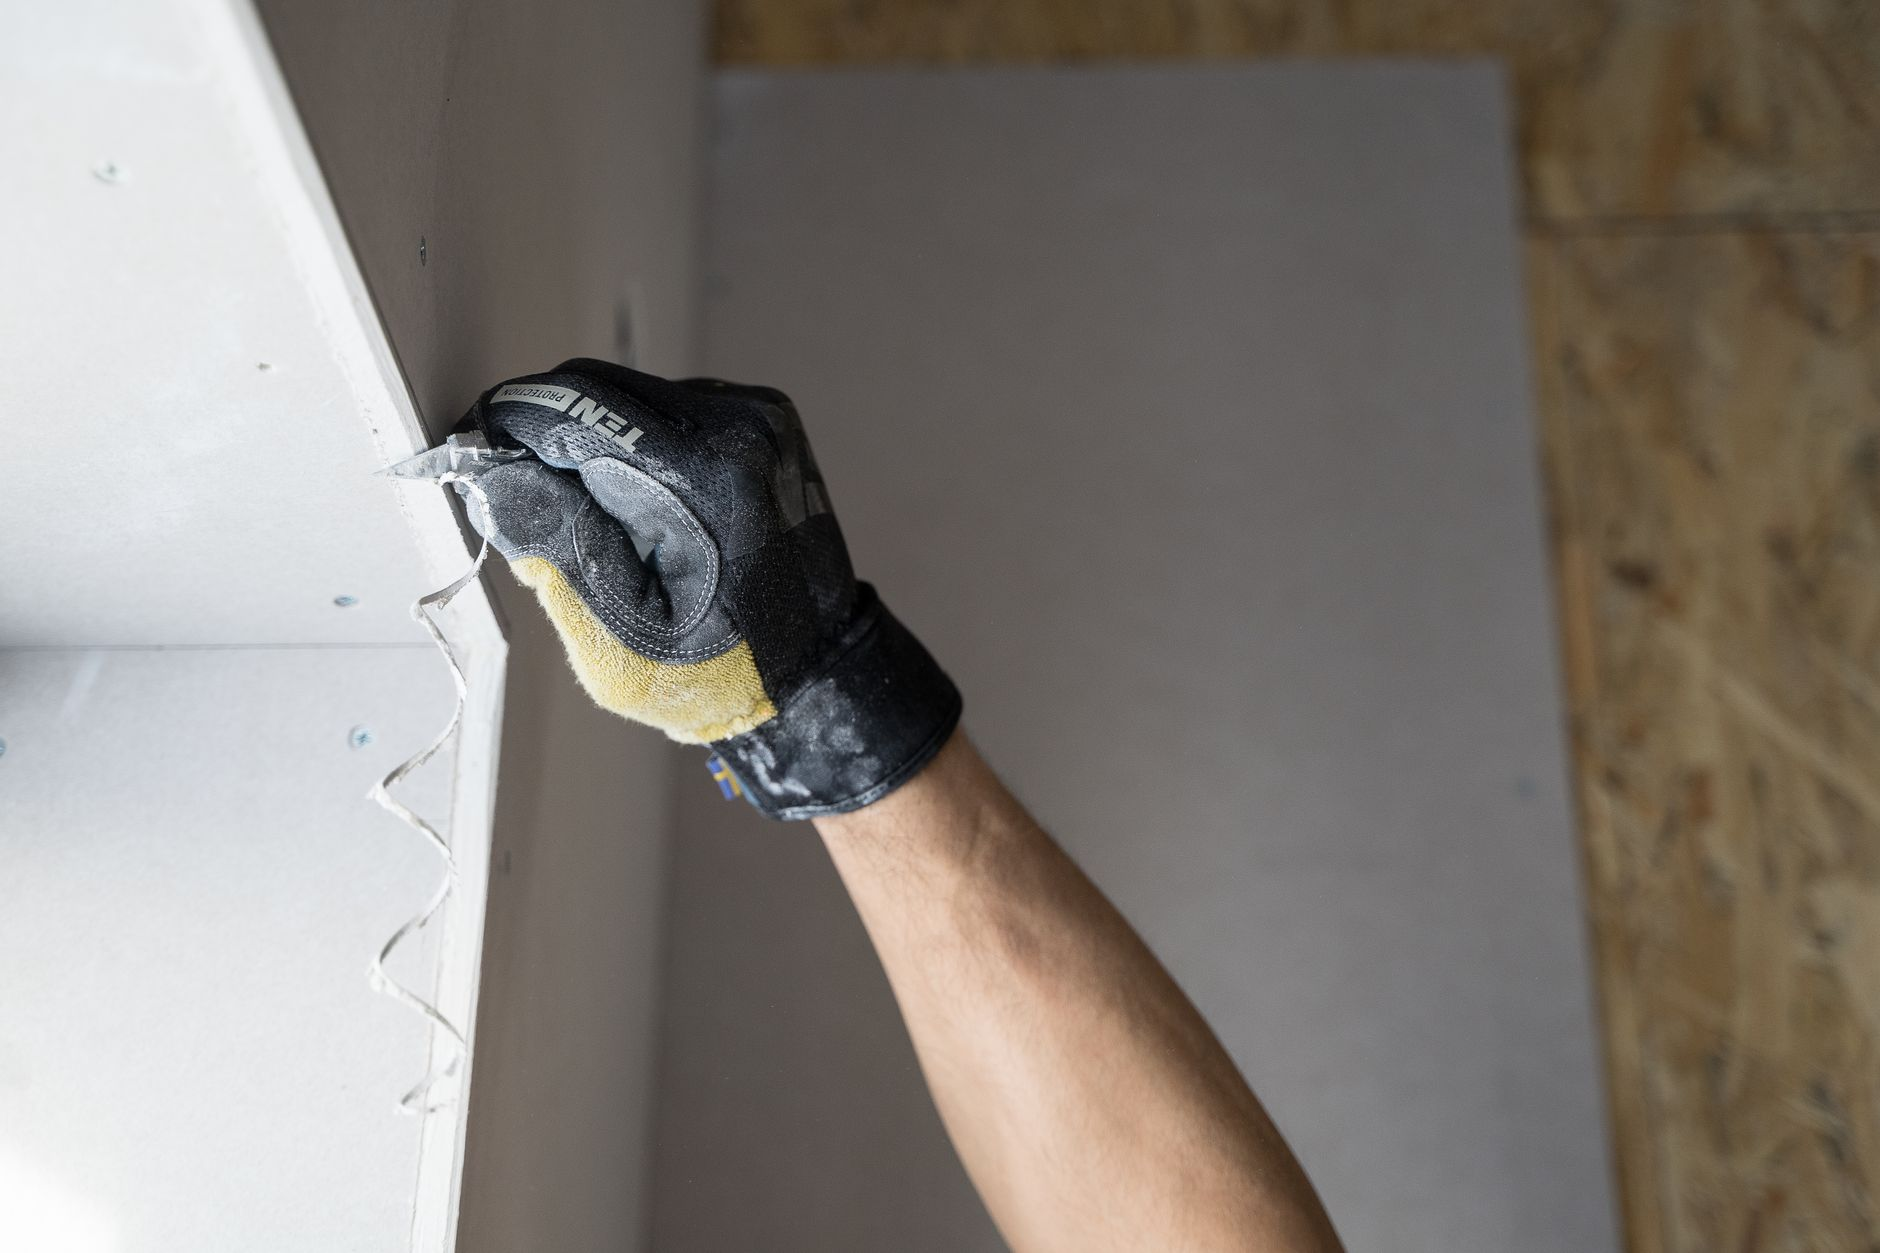
Drywall Repair Safety: What Every Austin Homeowner Should Know
When a wall gets damaged, drywall repair safety is the part most homeowners skip over entirely. They see a hole or a crack, grab a patch kit, and get to work without thinking twice about what might be hiding behind that surface. After working on homes across Austin, Round Rock, Cedar Park, Pflugerville, Georgetown, and Lakeway, our team at B&H Remodeling has seen firsthand how quickly a simple repair can become a serious hazard when the right precautions are not taken. This post covers what you genuinely need to know before you touch a damaged wall. Key Takeaways Drywall in homes built before 1980 may contain asbestos. Do not sand or cut it until you know what you are dealing with. Lead paint can be present on older walls and becomes dangerous dust the moment you start grinding or sanding. Electrical wiring and plumbing run inside walls. Cutting without checking first is a genuine risk. Mold is often the hidden reason a patch is needed. Covering it without fixing the moisture source makes the problem worse. Proper respiratory protection, eye protection, and dust containment are not optional on any drywall job. A professional repair is not just about aesthetics. It is also about making sure the wall is structurally sound and the home is safe. What Makes Drywall Repair Safety So Important Drywall looks inert. It is essentially gypsum pressed between two sheets of paper, and on the surface that sounds pretty harmless. The issue is that drywall does not exist in isolation. It sits inside a wall system that carries electrical wiring, plumbing lines, and sometimes HVAC ductwork. The material itself may have been manufactured or painted during an era when materials we now know to be hazardous were commonplace. The physical act of cutting, sanding, or breaking drywall releases fine particulate dust into the air. Gypsum dust on its own is an irritant that can aggravate the eyes, nose, and respiratory tract with enough exposure. When that dust is mixed with older materials or disturbed finishes, the health stakes go up significantly. This is why protective equipment and a basic hazard assessment should come before any tool touches the wall. Asbestos and Lead: The Two Hazards That Change Everything If your home was built before 1980, these two words should be at the front of your mind before any repair work begins. Asbestos in Older Drywall Asbestos was used in a variety of building materials through much of the twentieth century, including in some drywall joint compounds, textures, and insulation products. When materials containing asbestos are left undisturbed, they are generally considered stable. The danger comes when those materials are cut, sanded, broken, or otherwise disturbed, releasing microscopic fibers into the air that can cause serious lung disease years after exposure. You cannot identify asbestos by looking at it. If your home predates the early 1980s and you are planning to cut into or sand existing drywall or texture, the responsible step is to have a licensed asbestos inspector collect a sample and send it to an accredited laboratory before you do anything else. This is not overcaution. It is the kind of step that prevents a costly mistake with permanent health consequences. Lead Paint on Drywall Surfaces Lead paint was banned for residential use in 1978, but many homes across the Austin area were built well before that cutoff. Lead paint on walls is stable when it is intact and undisturbed. The moment you sand, scrape, or cut through it, you generate fine lead dust that settles on every surface in the room and can be inhaled or ingested, particularly by children and pregnant women. Before sanding any painted surface in an older home, test for lead with an EPA-recognized lead test kit available at most hardware stores, or hire a certified lead inspector. If lead paint is confirmed, the repair should follow EPA Renovation, Repair and Painting (RRP) guidelines, which require certified contractors and specific containment and cleanup procedures. Our team is licensed and insured to handle these situations correctly. Hidden Hazards Inside the Wall Cavity One of the most preventable injuries we hear about in home repair involves cutting into a wall without checking what is behind it. Electrical wiring runs horizontally and vertically through wall cavities to reach outlets, switches, and fixtures. Plumbing supply and drain lines pass through walls to reach sinks, showers, and appliances. In some cases, gas lines do too. Cutting into an energized electrical wire is a shock and fire hazard. Cutting into a water supply line means immediate flooding. Nicking a gas line is a potential emergency. Before making any cut larger than a very small patch, use a quality stud finder with AC wire detection capability to scan the area. These tools are inexpensive and widely available. Better yet, turn off the circuit breaker for the room before cutting, and know where your water shutoff is in case of an unexpected plumbing encounter. If you are uncertain about what is in the wall, this is the right time to call a professional rather than find out the hard way. Our team uses this kind of methodical approach on every home remodeling project in Austin and across our service area. Checking before cutting is not extra work. It is just how careful repairs get done. Mold Behind the Damage: The Problem That Hides in Plain Sight A soft, stained, or bubbling section of drywall is frequently a sign of a moisture problem, not just wear and tear. Water infiltration from a leaking pipe, a roof issue, window condensation, or a shower that was not properly waterproofed can saturate drywall and create conditions where mold takes hold on the paper facing and the gypsum itself. Patching over moldy drywall without addressing the moisture source is one of the most common mistakes we see. The new patch looks fine for a while, but the mold continues to grow behind it, eventually showing up again, often worse than before. In the

The Best Time of Year to Schedule Flooring Installation in Austin
If you are planning a flooring installation in Austin and wondering whether timing actually matters, the short answer is yes, it matters more than most homeowners expect. Humidity, temperature swings, and the rhythm of home life all affect how well a new floor performs once it is installed. After years of flooring work across Austin, Round Rock, Cedar Park, Pflugerville, Georgetown, and Lakeway, our team at BH Remodeling has seen firsthand how the right scheduling decision can mean the difference between a floor that settles in beautifully and one that warps, gaps, or buckles within months. Key Takeaways Central Texas humidity levels directly affect how wood and engineered flooring acclimate before installation. Fall and early spring are generally the most forgiving seasons for flooring installation in Austin. Indoor climate control matters more than the calendar month, especially if you run your HVAC system year-round. Acclimation time varies by material: hardwood needs longer than luxury vinyl plank (LVP) or tile. Planning around your household schedule reduces disruption and protects the finished floor during the critical first days. Why Seasonal Timing Affects Flooring Installation in Austin Austin sits in a climate zone where summer humidity can climb well into the 80 to 90 percent range, and winters, while mild, can deliver dry cold snaps that push indoor humidity down sharply. Wood and engineered wood floors are hygroscopic, meaning they absorb and release moisture in response to the air around them. If planks are installed while they are carrying too much or too little moisture relative to your home’s normal indoor conditions, they will continue to expand or contract after the job is done, and that movement can crack finishes, open joints, or cause cupping along plank edges. This is not a hypothetical risk. We see it regularly on jobs where a previous installer skipped the acclimation step or worked in a home that had not yet reached its typical seasonal interior climate. The floor looked fine on installation day and started showing problems four to six weeks later when the season shifted. Getting the timing right is one of the simplest ways to protect a significant home investment. Fall: The Sweet Spot for Most Flooring Projects October through early December is, in our experience, the most reliable window for flooring installation across the Austin area. Here is why that window works so well. By late fall, Austin’s brutal summer humidity has started to taper off, but the truly dry winter air has not yet arrived. Indoor relative humidity tends to hover in a range that is close to what most homes maintain year-round with their HVAC systems running. That stable middle ground means hardwood and engineered planks acclimate faster and more predictably. Tile and LVP are less sensitive to humidity, but fall still offers comfortable working conditions that help crews maintain tight lines and clean adhesive bonds. Contractor schedules also tend to open up slightly in fall compared to the busy spring renovation season, which can give you more flexibility on start dates and sequencing if you are doing flooring as part of a larger project like a whole home renovation in Austin. Spring: A Strong Second Choice With One Caveat March through May brings mild temperatures and manageable humidity levels, making spring another excellent window for flooring work. The caveat is that spring is peak remodeling season in Austin. Homeowners who have been planning all winter tend to book in February and March, so popular contractors fill up fast. If you are targeting spring, start your conversations with a remodeling company at least six to eight weeks ahead of when you want work to begin. Spring is particularly well-suited if you are pairing flooring with other interior work such as interior painting or cabinet updates, since you want painting to finish before flooring goes in to avoid drips and scuffs on a brand new surface. Summer Installation: What You Need to Know Summer is not off-limits, but it requires careful management. Central Texas summers push outdoor humidity high, and every time a door opens on a job site, that moisture-laden air enters the home. If your HVAC system is running and maintaining a stable interior temperature and humidity level, the risk is manageable. If the home is vacant or the HVAC is off, summer installation becomes genuinely risky for wood and engineered products. For summer flooring projects, we recommend a few practical steps. First, run the HVAC at the humidity and temperature settings the home will normally see once occupied. Second, allow extra acclimation time, typically a few additional days beyond what the manufacturer recommends, since the differential between outdoor and indoor conditions is larger. Third, avoid scheduling delivery and installation on days when thunderstorm activity is expected to keep doors open for long stretches. Porcelain tile and quality LVP handle summer conditions better than natural wood because they are dimensionally stable. If you have flexibility on material and want to install in summer, those options carry less timing risk. Winter Installation: Drier Than You Think Austin winters are short and mild, but they can produce dry indoor air, especially in homes that run forced-air heating for weeks at a time. When indoor relative humidity drops below roughly 35 percent, wood flooring can develop small gaps between planks as the wood shrinks. This is a normal seasonal response, not a defect, but installing during the driest stretch of the year means the floor will be at its narrowest point at installation and may show more movement as spring humidity returns. Winter is a reasonable time to install tile, LVP, or other dimensionally stable products. For solid hardwood, we generally advise waiting until indoor conditions stabilize a bit more unless you have a whole-home humidifier maintaining consistent levels. If you are curious how flooring fits into a broader winter renovation, our flooring installation page covers the materials we work with and the process we follow. Acclimation: The Step That Matters More Than the Month Across all seasons, the single most important

Do You Need a Permit to Remodel in Austin?
Do you need remodeling permits in Austin? See which projects require a permit in 2026, which do not, and how to keep your remodel fully compliant.