
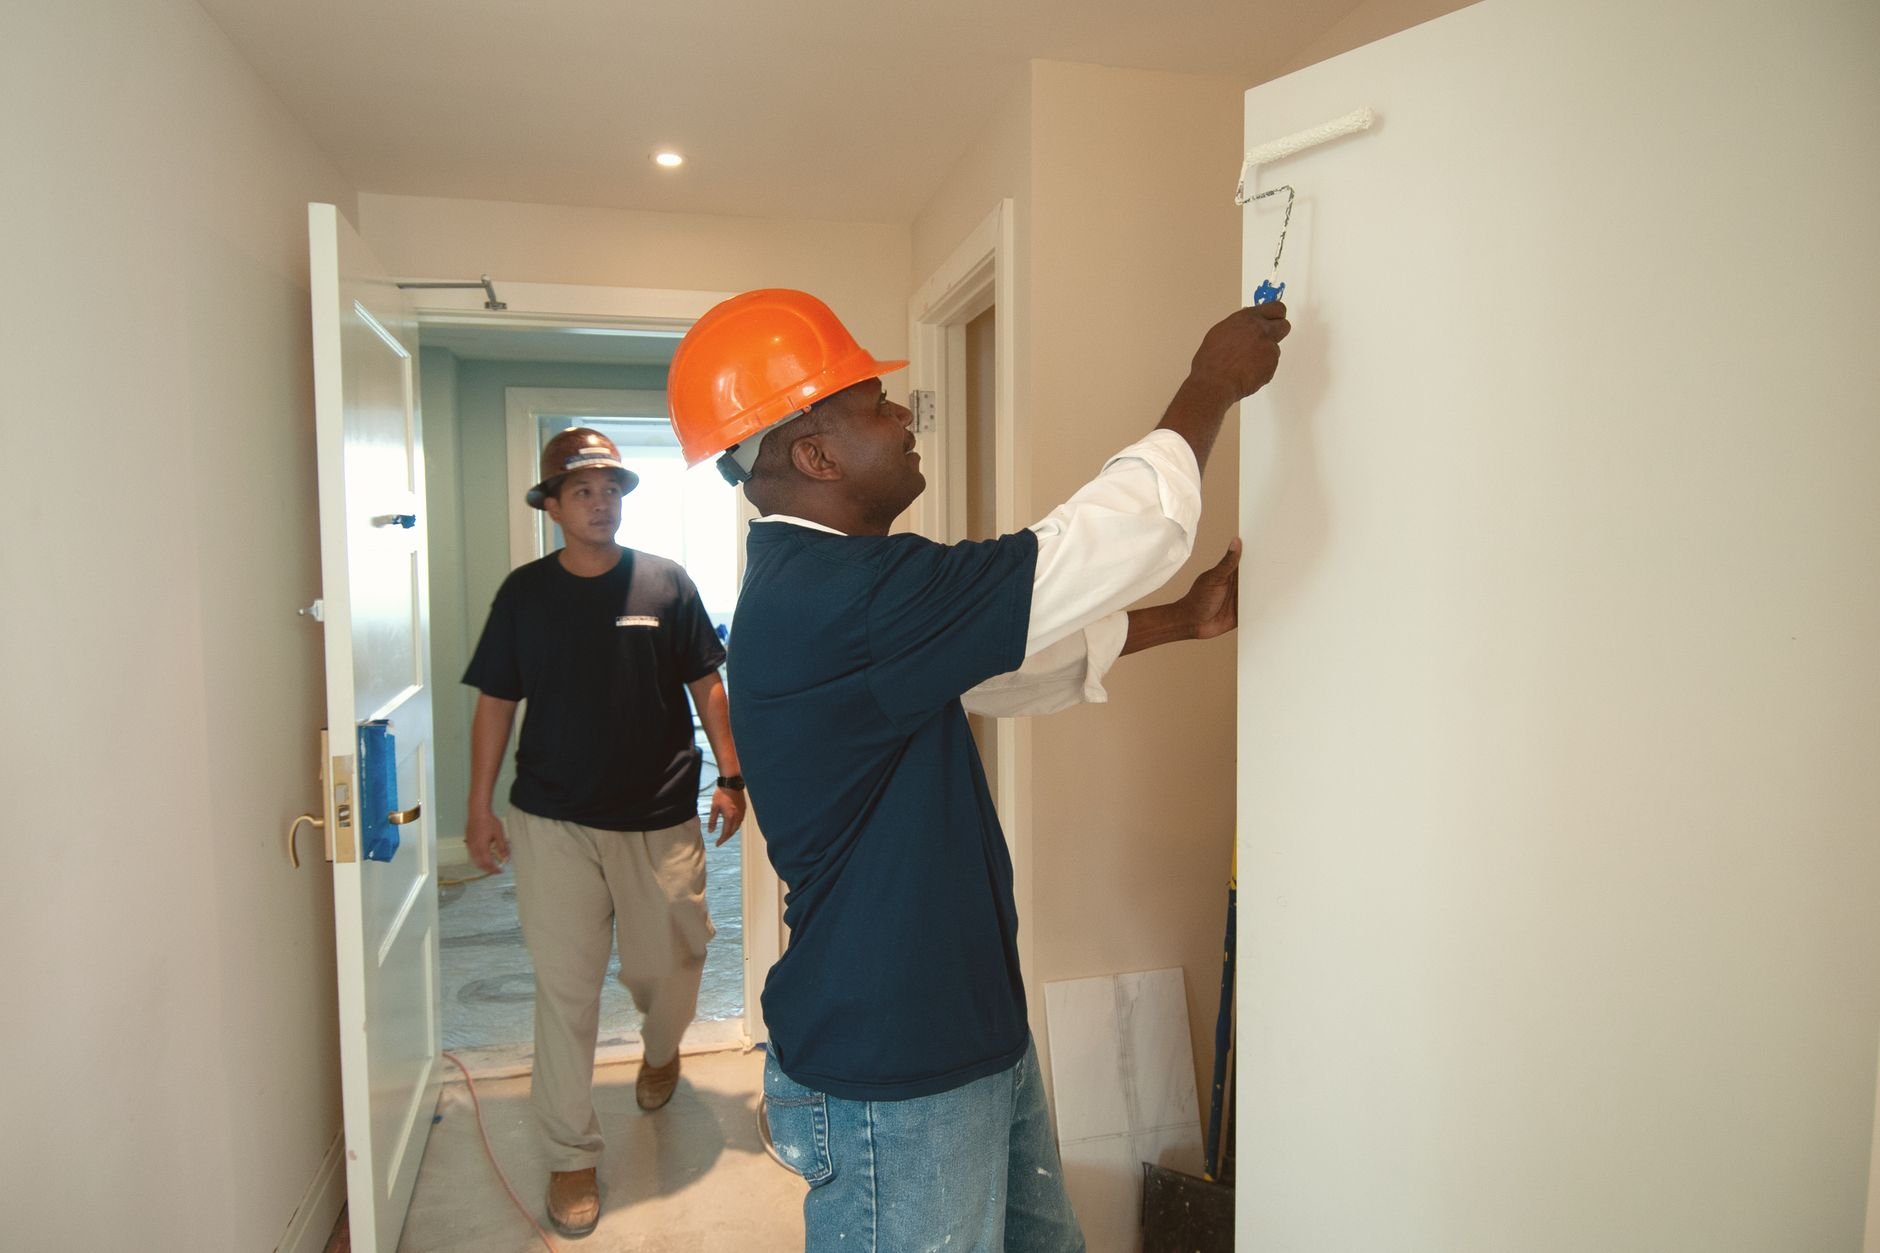
Deciding between DIY and hiring a pro for interior painting is one of the most common questions we hear from Austin homeowners before a renovation. The honest answer is that neither option wins every time. The right choice depends on the scope of the project, the condition of your walls, your available time, and how finished you need the result to look. We have helped homeowners across Austin, Round Rock, Cedar Park, and Pflugerville sort through exactly this decision, and the breakdown below reflects what we see play out in real homes.
Key Takeaways
- Small, low-visibility rooms with good existing walls are the best candidates for DIY painting.
- Any room with high ceilings, damaged drywall, or dark existing colors almost always benefits from professional work.
- Prep work determines roughly two-thirds of the final result. Skipping it is the most common DIY mistake.
- Professionals bring spray equipment, commercial-grade materials, and experience that produce results difficult to replicate by hand.
- Your time has real value. Factor it honestly before deciding DIY is the simpler path.
- A hybrid approach, where you prep and professionals apply the finish coats, often gets the best of both worlds.
What DIY Interior Painting Actually Requires
Paint is the most visible surface finish in any room. A brush stroke left by a tired arm at 10 p.m. on day two of a weekend project is something you will look at every morning. That is not a reason to avoid DIY painting entirely, but it is a reason to go in with realistic expectations about what the work involves.
A genuine DIY paint job requires more than a roller and a can of paint. You need to fill nail holes and skim small dents with spackling compound, sand those repairs smooth, apply painter’s tape to every edge you want crisp, and prime any spot where the surface has been cut back to bare drywall. Skipping those steps shows in the final coat. The walls may look fine in artificial light and look noticeably rough the moment morning sun hits them at an angle.
You also need the right tools. A quality roller with the correct nap thickness for your wall texture, an angled sash brush for cutting in along trim and ceilings, a sturdy extension pole for reaching the upper wall without a ladder shuffle, and adequate drop cloths to protect your floors and furniture. Cheap rollers leave lint in the finish. Cheap brushes leave bristle lines.
None of this is impossible for a capable homeowner. It just takes longer and costs more in materials than most people budget for upfront.
When DIY Interior Painting Makes Sense
There are genuine situations where doing the painting yourself is a reasonable and rewarding choice.
Single-Room Projects in Good Condition
If you are painting a bedroom, a laundry room, or a small home office where the existing walls are in good shape, the ceiling height is standard, and you are going from one neutral color to another similar one, DIY is very manageable. The room is contained, the surface prep is light, and a weekend is usually enough time to do it properly.
Accent Walls and Touch-Ups
Painting a single accent wall is a project where the limited scope keeps the risk low. Similarly, touching up scuffs and marks in a room you painted a year ago is exactly the kind of maintenance task that does not require a professional.
When You Genuinely Have the Time
This one matters more than most people acknowledge. If a room takes a professional crew half a day, it will typically take a solo homeowner two full days when you add proper prep, drying time between coats, and cleanup. If you have that time, enjoy the process, and are comfortable on a step ladder, DIY can be satisfying and produce a solid result.
When Hiring a Pro for Interior Painting Makes More Sense
There are equally real situations where attempting to DIY will cost you more in the long run, either in time, materials, or having to hire someone to fix the outcome.
High Ceilings and Open Stairwells
Painting a vaulted ceiling, a two-story entryway, or the wall along an open staircase requires more than a step ladder. Professional painters use commercial-grade scaffolding or pump jacks to reach these areas safely and efficiently. Working at that height without proper equipment is genuinely dangerous and rarely produces the clean result you want even if you manage it safely.
Extensive Drywall Damage or Texture Work
If the walls have significant cracking, water staining, or need texture matching before paint can go on, the prep work crosses into drywall repair territory. Our team handles home remodeling in Austin that regularly combines drywall repair and painting as one continuous scope of work, because the two trades are tightly connected. Separating them or skipping the repair step produces a result that looks worse after paint than before.
Going from Dark to Light Colors
If your current walls are a deep charcoal, navy, or saturated red and you want to go to a soft white or cream, plan on three or more coats of paint. Professionals know this, use the appropriate primer, and factor it into their process. Most DIYers underestimate it, apply two coats, and end up with a room that looks streaky or still shows the original color through in certain light.
Whole-House or Multi-Room Projects
Painting an entire house interior, or even four or five rooms at once, is a significant undertaking. The sheer volume of wall area, the number of rooms to protect and move furniture in, and the amount of edge work along trim, windows, and doors adds up fast. A professional crew can complete what would take you several weekends in a day or two, and do it with consistent quality room to room. If you are already doing a broader renovation, it makes sense to fold the painting into the same project scope.
DIY vs Hiring a Pro for Interior Painting: An Honest Side-by-Side
Rather than a vague list of pros and cons, here is how the two approaches actually differ across the factors that matter most to homeowners.
Finish Quality
A skilled painter using a fine-finish sprayer or a high-density roller produces a level of smoothness that is very difficult to match with standard DIY tools. The difference is most visible in semi-gloss or gloss sheens, on trim work, and in rooms with direct or angled natural light. In flat-painted ceilings or low-traffic rooms, the gap is smaller.
Surface Preparation
Professional painters typically spend as much time on prep as on painting itself. That means sanding all repair spots to feather them flush with the surrounding wall, spot-priming as needed, and caulking gaps along trim and corners. This step is where most DIY results fall short, not because homeowners are incapable but because prep is time-consuming and unglamorous and it is tempting to shortcut it when you are eager to see the color go on.
Speed and Disruption
A two-person professional crew can repaint a standard bedroom, including prep, cut-in, and two finish coats, in a single day. The room is back in service quickly. A solo DIY project in the same room over a weekend means two days of displaced furniture, painter’s tape everywhere, and the lingering smell of paint. For families with kids or anyone running a home office, the disruption timeline matters.
Materials
Professional painters have access to commercial-grade paints and primers that are not always available at retail. These products typically have better hide, better durability, and better coverage per gallon than many consumer lines. The difference in coverage means fewer coats and a more even result.
The Hybrid Approach Worth Considering
One option that works well for budget-conscious homeowners is splitting the work intentionally. You handle the prep: filling holes, sanding repairs, cleaning walls, and moving furniture. A professional crew comes in for the actual painting. You save on labor for the time-consuming setup work, and you get a professional finish on the coats that actually show. If you are doing a larger renovation project, this can also be coordinated through a single contractor so the painting phase fits cleanly into the overall timeline.
If you are curious about what a full interior painting project in Austin looks like when it is part of a broader remodel, we are happy to walk you through how we typically sequence it with flooring, cabinet work, or any other trades on the same job.
A Few Practical Tips If You Decide to DIY
- Buy more paint than you think you need. Running out mid-wall and buying a second can from a different batch can produce a visible color difference.
- Roll in a W or M pattern and maintain a wet edge. This keeps lap marks from forming as the paint begins to dry.
- Cut in before rolling, not after. Cutting in first and then rolling while the edge is still slightly wet blends the two applications and eliminates the halo effect you sometimes see around the perimeter of a DIY room.
- Let each coat dry fully before applying the next. Most paints need at least two hours between coats in normal conditions. Rushing this step leaves marks and streaks.
- Remove painter’s tape while the final coat is still slightly tacky. Waiting until it is fully dry can pull the paint film with the tape.
Frequently Asked Questions
How many coats of paint does a typical room need?
Most rooms need two finish coats over a proper primer, especially when changing colors. Going from a dark color to a significantly lighter one may require three coats to achieve full coverage. A single coat almost never gives you an even result regardless of how good the paint is.
Do I need to prime before painting?
Yes, in most situations. Any area where you have repaired drywall, exposed the paper face of the drywall, or are making a significant color change needs primer before the finish coat. Skipping primer over repairs is one of the most reliable ways to end up with visible patches through the finished paint.
What sheen level should I use in different rooms?
Flat and matte sheens hide surface imperfections well and are good for ceilings and low-traffic bedroom walls. Eggshell and satin are the most common choices for living areas and bedrooms because they are easy to wipe clean. Semi-gloss is standard for trim, doors, and bathrooms where moisture resistance matters. High-gloss is used sparingly on trim and cabinetry when you want a very hard, reflective surface.
Can a professional painter match an existing paint color?
Yes. Most paint suppliers can color-match using a small chip of the existing paint or even a photograph in good lighting. The result is rarely a perfect match under all lighting conditions, which is why painting a full wall or a full room rather than just touching up a spot almost always looks better.
Is interior painting part of a larger remodel?
It very often is. We regularly include painting as part of whole home remodeling projects in Austin and smaller renovations alike. Sequencing painting after flooring installation, tile work, and cabinet installation, but before final trim installation, keeps the job site clean and gives the best result overall. If you are planning a larger project, it is worth discussing how painting fits the overall sequence with whoever is managing the work.
Ready to Talk Through Your Painting Project?
At B&H Remodeling, our approach starts with listening. We will ask about the rooms, the condition of the walls, what you have already tried or are considering, and what result you are aiming for. If a DIY approach genuinely makes sense for your situation, we will say so. If the scope is beyond what makes sense to take on yourself, we can put together a clear plan and a straightforward estimate.
We serve homeowners across Austin, Round Rock, Cedar Park, Georgetown, Pflugerville, and Lakeway. Take a look at our full list of services or reach out directly to schedule a conversation. First We Listen. Then We Build.
Photo by DΛVΞ GΛRCIΛ on Pexels.