
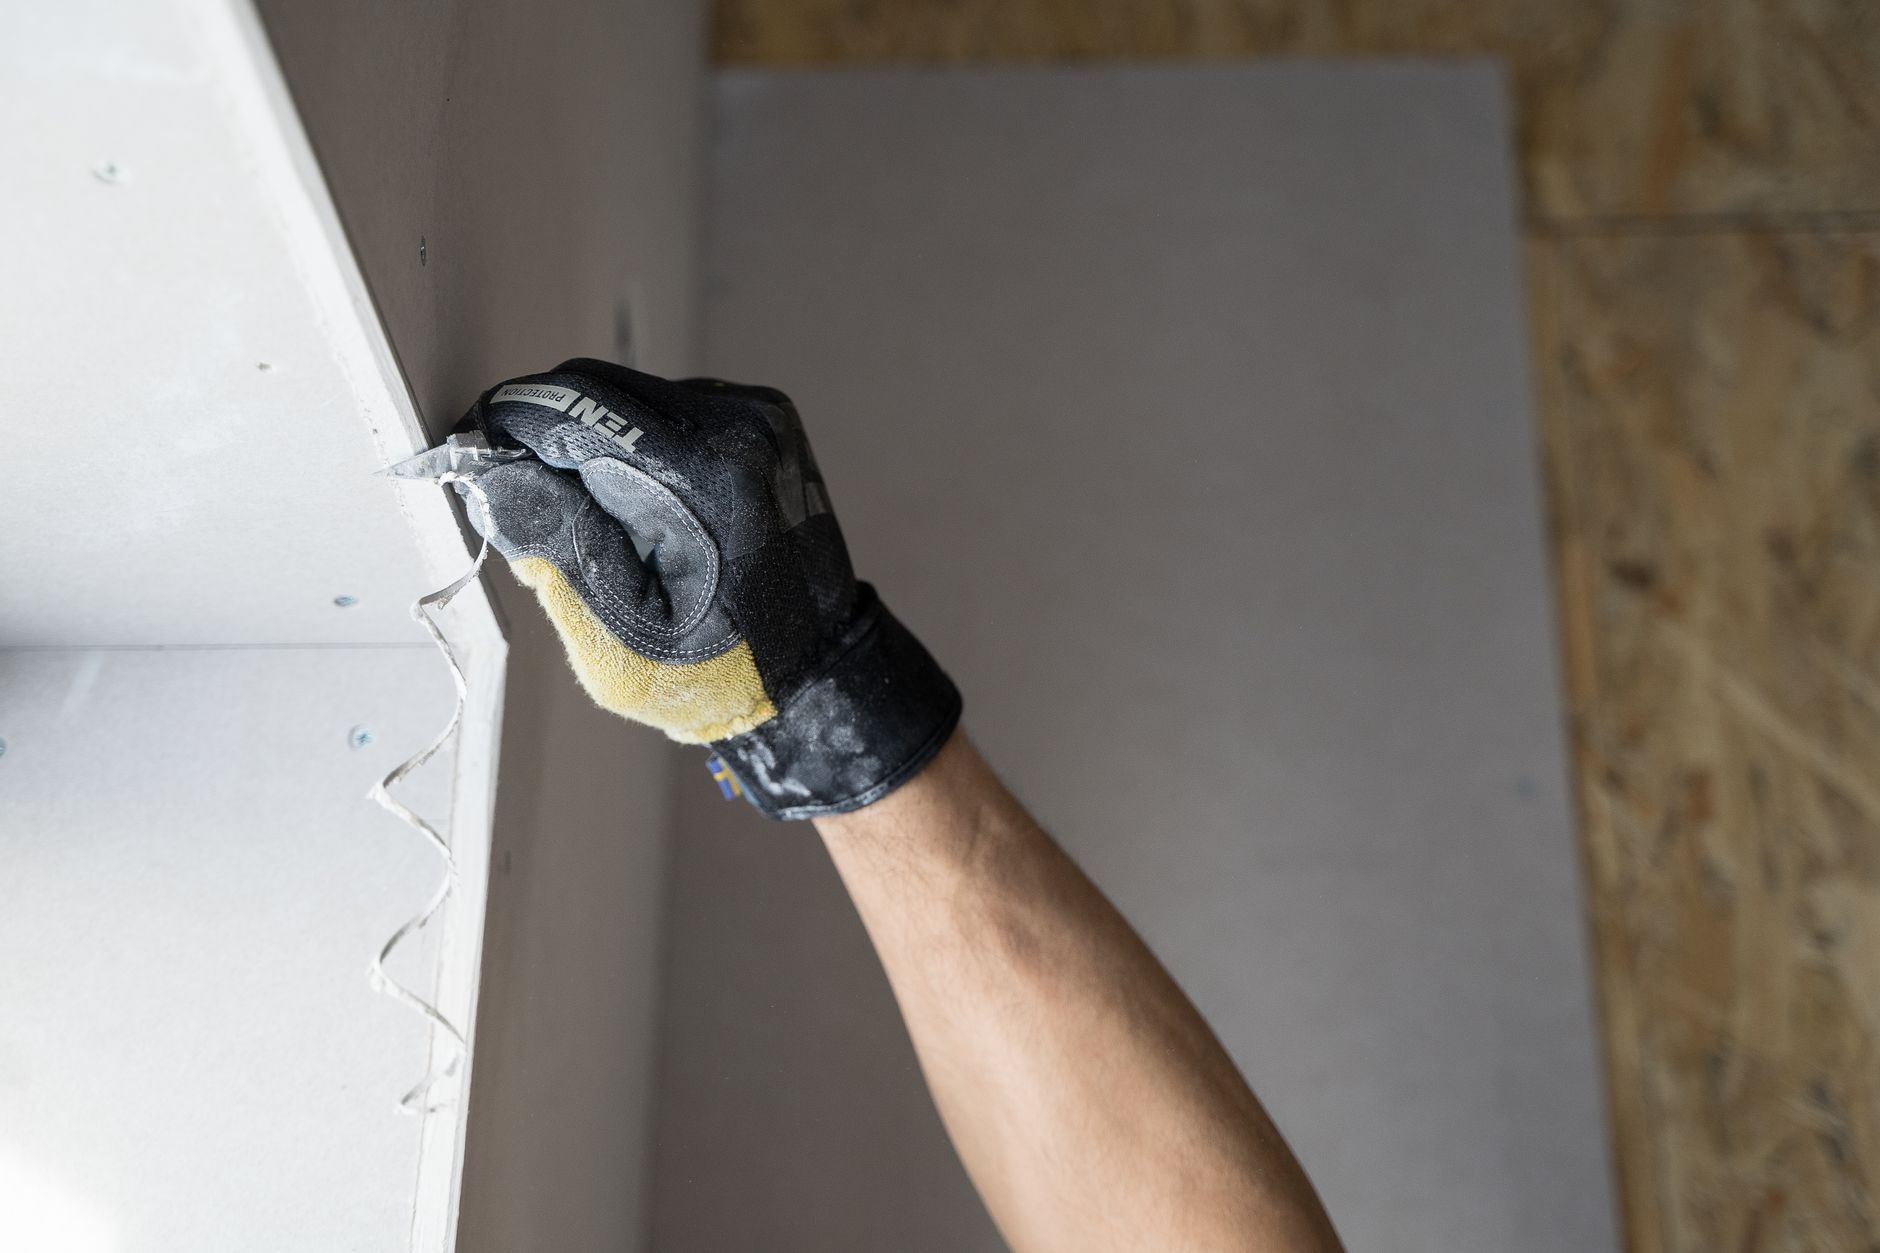
Drywall repair approaches compared side by side is exactly what most homeowners need before they pick up a putty knife or call a contractor. The right method depends on the size of the damage, the finish already on the wall, and how much disruption you can tolerate. At B&H Remodeling, we handle drywall repair across Austin, Round Rock, Cedar Park, Pflugerville, Georgetown, and Lakeway, and we see the same pattern repeatedly: homeowners choose a method that does not match the scope of the damage and end up redoing the work twice.
Key Takeaways
- Small holes and surface dings call for joint compound and sanding, not full patches.
- Medium holes need a backing method so the filler has something solid to grip.
- Large or structurally compromised sections require a proper drywall patch cut to fit.
- Texture matching is often the hardest step, regardless of repair size.
- A professional finish is almost always necessary when the damaged area sits near natural light or in a high-visibility room.
- Skipping the primer coat before painting is the most common reason a repair stays visible after the job is done.
Drywall Repair Approaches Compared: The Core Methods
There are three principal repair approaches used on residential walls and ceilings: the joint compound fill, the California patch (also called the butterfly patch), and the full drywall patch. Each serves a different damage profile. Choosing the wrong one does not just waste time and materials; it can leave a repair that looks worse than the original damage once the paint goes on.
Joint Compound Fill
Joint compound fill is the right call for surface-level damage: nail pops, small dents, hairline cracks, and holes smaller than about a half inch. The process involves cleaning the edges of the damage, pressing joint compound into the void in thin coats, letting each coat dry fully, sanding smooth between coats, and then priming before painting.
The trade-off here is patience. Joint compound shrinks as it dries, which means one thick coat will crack or leave a visible depression. Two or three thin coats applied over a day or two produce a flat, invisible result. Rushing it is the leading cause of repairs that look fine in the morning and develop a ring or a shadow once the paint dries.
This method requires very little skill for small imperfections, which is why it is a reasonable DIY option for minor touch-ups. The difficulty scales quickly, though, as the hole gets larger or as the existing wall surface has a heavy texture that needs to be replicated.
California Patch
The California patch, sometimes called the hot patch or butterfly patch, is the preferred approach for holes roughly the size of a doorknob up to about six inches. Instead of using a separate backer board, this method uses the paper face of a slightly larger piece of drywall as the feathering surface, which helps blend the repair into the surrounding wall without visible seams.
Here is how it works: cut a piece of drywall a few inches larger than the hole on all sides, then score and snap away the gypsum core from the border, leaving just the paper facing. That paper border becomes the tape layer that feathers out onto the existing wall surface. Set the patch into the hole, press the paper borders flat with joint compound, and coat in the same thin-coat sequence used for a joint compound fill.
The advantage of this approach is speed and minimal disruption. No backer boards to screw in, no stud hunting. The trade-off is that it works best when the existing wall surface is relatively flat. If the wall has a heavy knockdown or orange-peel texture, matching that texture over the feathered paper edges takes real skill. Without careful texture work, the patch boundary will telegraph through the paint as a circular shadow.
Full Drywall Patch
For holes larger than six inches, damage near a corner bead, water-damaged sections that have lost structural integrity, or any area where the drywall has separated from the studs, the full patch is the only approach that holds up over time. A section of the damaged drywall is cut back to the nearest studs on both sides, a new piece of drywall is measured and cut to fit, and the seams are taped and mudded with joint compound before sanding and finishing.
This method produces the most durable result and the smoothest foundation for painting, but it requires more tools and more steps. The seams need mesh or paper tape bedded in joint compound, followed by at least two finish coats, feathered wide enough to hide the tape edges. On ceilings or in areas with raking light, even a well-executed patch can show if the feathering is not wide enough or the texture does not match precisely.
The full patch is also the appropriate method when the damage is caused by moisture. Cutting back to dry, sound drywall and addressing the source of the moisture before patching is the only way to prevent the repair from failing again within months. We see this frequently in homes across the Austin area, where plumbing leaks behind walls or roof intrusions can saturate drywall over a wide area before anyone notices.
The Variable That Changes Everything: Texture Matching
All three methods converge on the same final challenge: making the repaired area look like it was never touched. In a room with flat-painted walls and consistent lighting, this is manageable. In a room with orange-peel texture, heavy knockdown, or skip-trowel finish, it is genuinely difficult.
Texture is applied during construction using specific spray equipment, specific compound mixes, and specific timing. Replicating that by hand or with a consumer spray can almost always produces a slightly different result that becomes obvious once the paint goes on. Professionals match texture by testing on scrap board first, adjusting compound viscosity, and sometimes blending the textured area into a wider zone to make the transition less abrupt.
If texture matching is the step that concerns you most, that is usually the right signal that the repair has moved past DIY territory. A patch that is structurally sound but visually obvious in a main living area is often more frustrating than the original damage.
When DIY Makes Sense and When It Does Not
We are honest with homeowners about this distinction because getting it wrong in either direction costs time and money. Small nail holes, minor dents, and hairline surface cracks are reasonable DIY projects if you have patience for multiple thin coats and a willingness to prime before painting. The materials are inexpensive and the technique is forgiving at that scale.
Where DIY commonly breaks down is the middle range: holes between three and eight inches, damage near inside or outside corners, and any area where the existing texture is not flat. These repairs look straightforward but require technique that comes from repetition. We also see a lot of DIY repairs that were done correctly but then painted without primer, which leaves the patched area visibly different in sheen and color even after multiple paint coats.
Water damage is the clearest case for calling a professional. Beyond the repair itself, someone needs to confirm that the source of the moisture is resolved and that the surrounding framing is sound. Patching over wet or compromised framing is a problem that compounds quietly until it becomes a much larger repair.
For homeowners in Cedar Park, Georgetown, or Pflugerville with older homes that have multiple layers of paint, there is also the question of lead paint in homes built before the late 1970s. Disturbing those surfaces requires specific handling. It is worth asking your contractor how they approach this before any sanding begins.
How Professionals Produce a Finish You Cannot See
The difference between a professional drywall repair and a competent DIY attempt usually comes down to three things: feathering, primer, and patience with drying time. Professional finishers feather joint compound out far beyond the edge of the damage, sometimes twelve to eighteen inches on each side, so the transition from repaired to original wall is gradual enough to disappear under paint. They prime the patch with a drywall-specific primer that seals the joint compound and prevents flashing, which is the difference in sheen between repaired and original surfaces. And they do not skip the drying time between coats, even when the schedule is tight.
At B&H Remodeling, our crews treat drywall repair as finish work, not a fill-and-paint job. That means the same attention to feathering and texture consistency that we apply to new construction seams. If the repair is in a room that will be freshly painted anyway, we coordinate the scope so the patch area is not visible as a separate zone once the paint is applied.
Our home remodeling work in Austin frequently involves drywall repair as part of a larger renovation, and we also handle standalone repairs across the region. You can see the range of what we work on in our completed projects.
Questions We Hear Most Often About Drywall Repair
Can I paint over a patch the same day?
Not without risking a visible result. Joint compound needs to be fully dry, which can take anywhere from several hours to a full day depending on humidity, coat thickness, and room ventilation. Painting over compound that is still releasing moisture causes the paint to sag or crack and often produces a different sheen over the patch. Prime first, then paint.
Does the hole size really determine the method?
Size is a useful starting point but not the only factor. Location matters too. A three-inch hole in a low-traffic utility area and a three-inch hole on a focal wall in a main living room may call for different levels of finish effort even if the structural approach is the same.
How do I know if my drywall damage is from moisture?
Look for soft or crumbling edges around the damage, staining that is yellowish or brownish, or a musty smell in the area. Any of those signs means the repair needs to include investigating the moisture source, not just patching the visible damage.
Is drywall repair a good DIY project for first-timers?
For very small holes and surface dings, yes. For anything larger than a half inch or any damage near a corner or ceiling junction, we would suggest watching a few professional repairs first to understand the feathering and texture steps before attempting it yourself.
Will a repaired area always show if I look closely enough?
A properly executed repair by an experienced crew should be invisible under normal lighting conditions. Under raking light or a bare bulb directly above the repair, even expert work can sometimes show slight variations. This is why room lighting conditions should factor into how much finish effort you invest.
Ready to Stop Looking at That Damage on Your Wall?
If you have a drywall repair that needs to disappear rather than just be filled, we would be glad to take a look. Whether it is a single hole from a doorknob or a section damaged by a slow plumbing leak, getting the approach right from the start saves a second round of repair and repainting. B&H Remodeling serves homeowners across Austin, Round Rock, Cedar Park, Pflugerville, Georgetown, and Lakeway. First We Listen. Then We Build.
Reach out through our contact page to describe what you are dealing with, or browse our full list of services to see how drywall repair fits into a larger renovation plan.
Photo by Jimmy Nilsson Masth on Pexels.