
Tile installation safety is one of the most overlooked parts of any remodeling project, and that gap can create real problems for homeowners and crews alike. At B&H Remodeling, we work in kitchens, bathrooms, and living spaces across Austin, Round Rock, Cedar Park, Pflugerville, Georgetown, and Lakeway, and the question we hear far too rarely is: “What are the safety risks I should know about before tile work begins?” This post answers that question directly, covering everything from substrate hazards to proper ventilation and waterproofing requirements.
Key Takeaways
- Old tile and adhesive materials in homes built before 1980 may contain asbestos or lead, and must be tested before any demo begins.
- Waterproofing is not optional. Skipping it creates hidden moisture damage that becomes a structural and mold problem over time.
- Tile saws generate silica dust, which is a serious respiratory hazard without the right controls in place.
- Proper substrate preparation prevents cracked tile, uneven surfaces, and long-term structural failure.
- Slip resistance matters as much as aesthetics, especially in wet areas like showers and bathroom floors.
- Licensed, insured contractors follow safety protocols that protect both the crew and your home.
Tile Installation Safety and the Hazards in Older Homes
If your home was built before 1980, tile removal requires extra caution before a single pry bar touches the wall or floor. Older vinyl floor tiles, the adhesive mastic used to bond them, and some older ceramic tile grouts were commonly manufactured with asbestos-containing materials. Asbestos fibers, once airborne, are a confirmed carcinogen with no safe exposure threshold. Lead-based paint can also be present on surrounding walls, which becomes a concern whenever demo work disturbs the surface.
The right approach is straightforward: have a licensed environmental inspector test suspect materials before demo begins. If asbestos or lead is found, removal must follow federal and state handling protocols, which includes containment, personal protective equipment, and proper disposal. This is not a step to skip in order to save time on a schedule. We take this seriously on every project we do in older Austin neighborhoods where mid-century construction is common.
Even in newer homes, adhesives and grout sealers contain chemical compounds that release volatile organic compounds (VOCs) during application. Adequate ventilation during and after installation reduces inhalation risk for everyone in the home, not just the crew.
Silica Dust: The Hidden Respiratory Risk During Tile Cutting
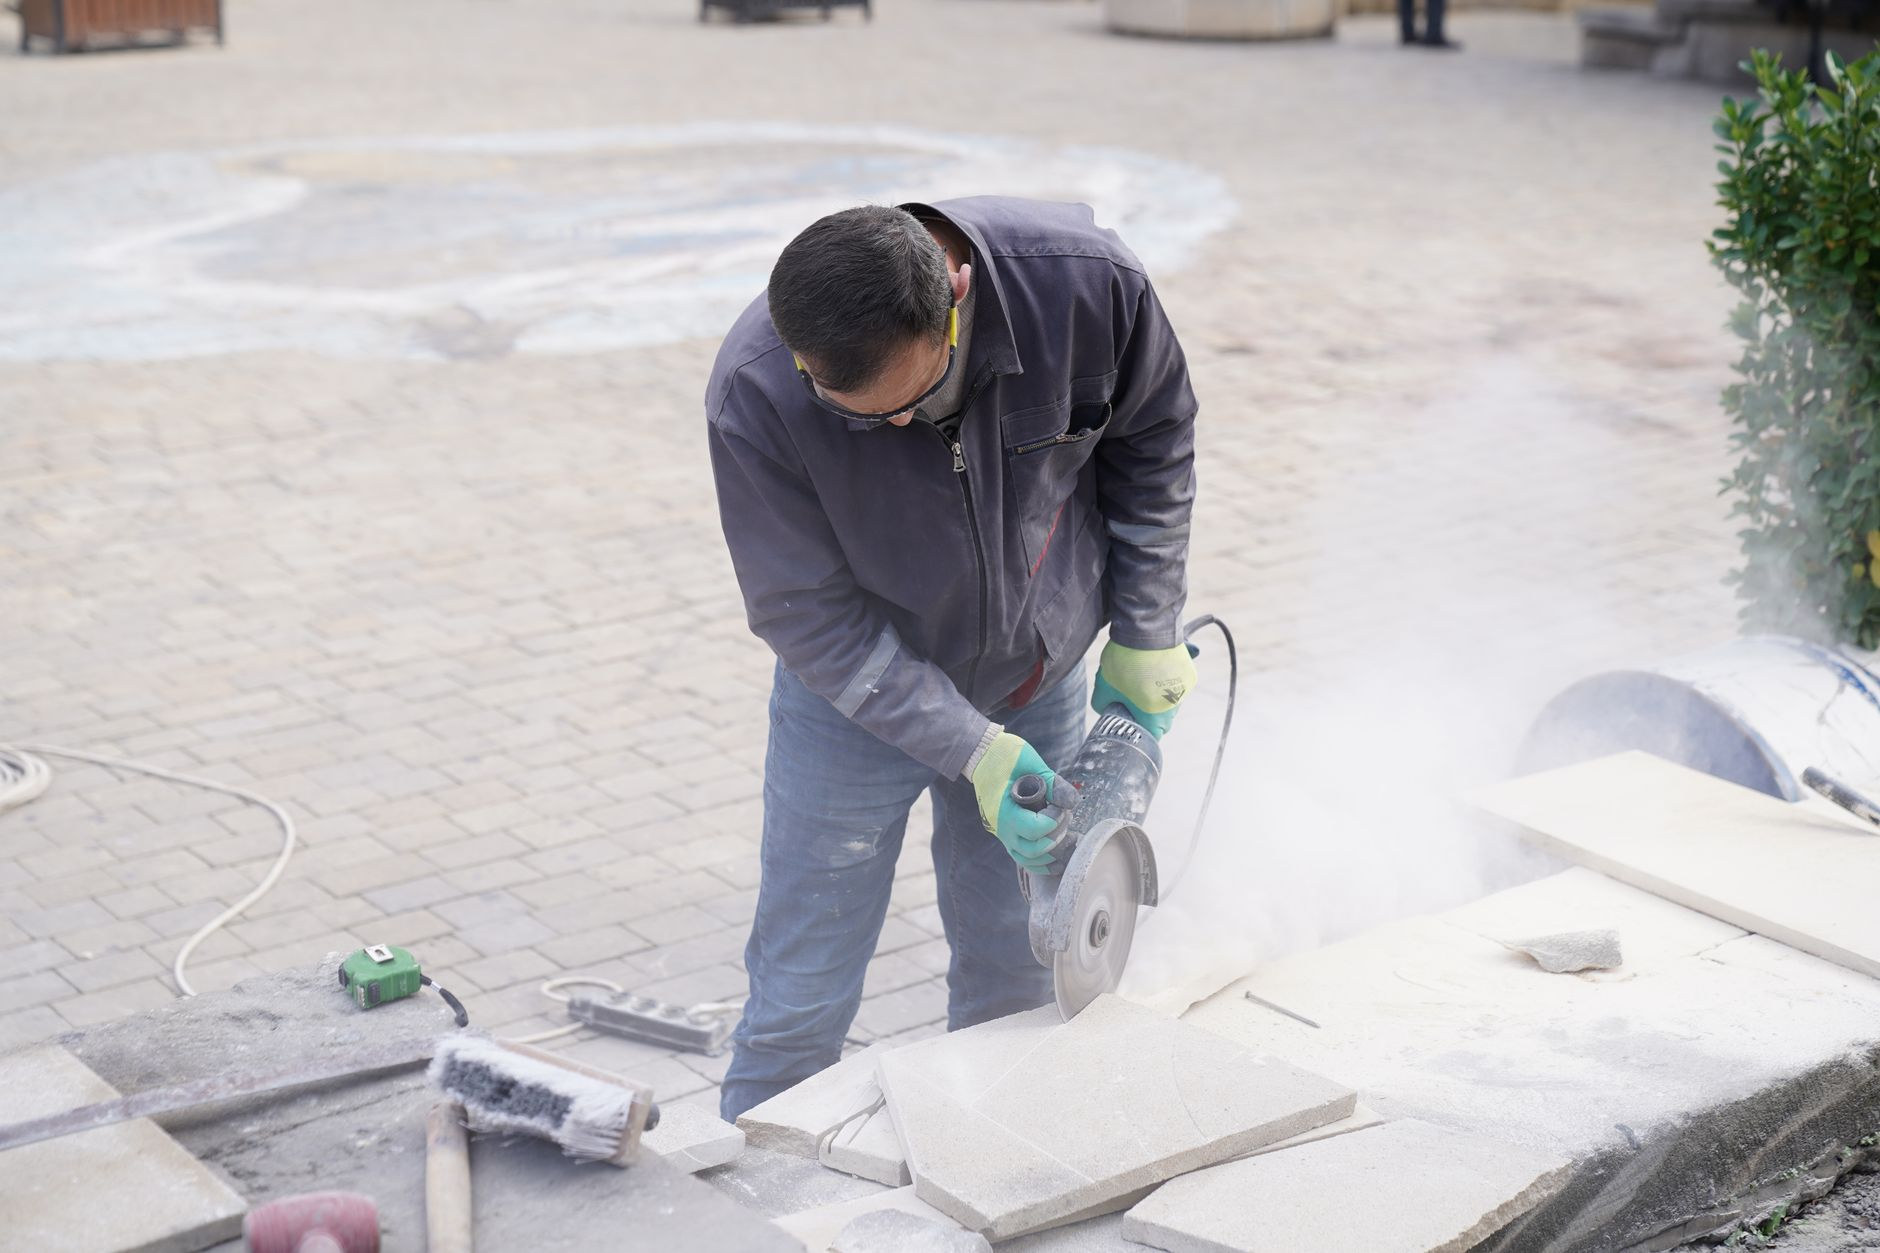
Cutting ceramic, porcelain, or natural stone tile generates respirable crystalline silica dust. Silica is a mineral that makes up a large share of most tile materials, and when cut with a dry grinder or saw, the fine particles become airborne and can lodge deep in the lungs. Prolonged or repeated exposure is linked to silicosis, a progressive and incurable lung disease, as well as other serious respiratory conditions.
Professional tile installation crews should use wet-cutting saws that suppress dust at the source, combined with appropriate respirators rated for silica (N95 at a minimum, P100 for higher-risk cutting). Homeowners nearby during active cutting should stay out of the work area until dust has settled and the space has been ventilated. If you are considering any DIY tile cutting, a basic dust mask is not sufficient protection. This is one of the clearest reasons why tile work benefits from trained professionals who already have the right equipment and habits.
Our crews at B&H Remodeling follow industry-standard dust control practices on every job. It protects our people, and it protects your home and family.
Waterproofing: The Safety Detail That Protects Your Home’s Structure
Waterproofing is often thought of as a quality issue, but it is also a structural safety issue. In wet areas like showers, tub surrounds, and bathroom floors, water that penetrates behind tile and into the substrate will eventually reach the framing. Over time, that moisture causes wood rot, weakens load-bearing structures, and creates conditions ideal for mold growth.
Mold is not just an aesthetic problem. Certain mold species produce mycotoxins that degrade indoor air quality and cause health effects ranging from chronic sinus irritation to more serious respiratory symptoms, particularly for people with asthma or weakened immune systems. By the time mold is visible on a wall surface, the contamination behind the tile is usually already significant.
Proper waterproofing in a tile installation involves a membrane or liquid-applied barrier over the substrate before any tile is set. In showers, this typically means a bonded waterproof membrane (such as a sheet membrane or a foam backer board with a waterproofing layer) that covers the floor pan, the curb, and extends up the walls behind the tile field. Grout alone is not waterproof, and neither is cement board without a dedicated moisture barrier applied over it.
Our tile installation process always includes a waterproofing stage before any tile is placed in wet areas. It adds time to the project, but the alternative is a callback within a few years and a far more expensive remediation.
Substrate Preparation and Structural Integrity
Tile is a rigid material. It bonds to its substrate and does not flex. If the surface beneath it moves, shifts, or is not flat and stable, the tile will crack and grout joints will fail. This creates sharp edges and loose sections that are a real physical hazard, especially on floors and in showers where people are barefoot and the surface is wet.
Safe tile installation starts with a substrate that is:
- Structurally sound. Subfloors must be inspected for rot, soft spots, or excessive deflection before tile is laid. The standard allowable deflection for a tile floor substrate is L/360 (length of the span divided by 360). If a floor is too springy, additional blocking or a layer of cement board may be needed to stiffen it.
- Flat and level. Low spots and high spots both cause problems. A low spot creates a hollow beneath the tile that cracks under foot traffic. A high spot creates a lip that becomes a trip hazard.
- Properly prepared. Old adhesive, paint, and contamination must be removed so the new thinset mortar (the bonding adhesive used in modern tile installation) can achieve a proper mechanical bond.
Skipping or rushing substrate prep is among the most common causes of tile failure we see when we are called in to assess problem installations. The finished surface can look fine for a few months and then develop cracks and loose tiles as seasonal movement works through an inadequately prepared base.
Slip Resistance and Safe Tile Selection in Wet Areas
Choosing the right tile is a safety decision as well as an aesthetic one. The coefficient of friction (COF) is the industry measure of how slip-resistant a tile surface is. For floors in wet areas, industry guidance calls for a minimum COF of 0.42 for level surfaces and a higher rating for ramp or sloped applications. Large-format tiles with minimal grout joints can actually reduce traction in showers, because grout lines provide micro-texture that helps feet grip.
In our experience working on shower remodeling and bathroom remodeling projects across the Austin area, we see homeowners choose tile primarily for its look and then realize afterward that a polished marble or large-format glazed tile is dangerously slick when wet. A honed or textured finish on natural stone, a matte glaze on porcelain, or a smaller mosaic tile with more grout lines are all safer options for shower floors and wet bathroom floors. The visual result can still be beautiful. It just needs to be both.
Also worth noting: the tile layout and slope in a shower floor matter. Water must drain consistently toward the drain without pooling. A shower floor that holds standing water is a slip hazard and creates the moisture conditions that lead to mold and grout failure.
Why Licensed and Insured Contractors Matter for Tile Work
Tile installation looks deceptively manageable as a DIY project. The reality is that the safety-critical steps (hazardous material testing, waterproofing, substrate preparation, dust control) require knowledge, proper tools, and in some cases legally required credentials. A contractor who is licensed and insured is not just a legal formality. It means they carry liability coverage if something goes wrong, and it means they have met the minimum competency requirements set by the state.
At B&H Remodeling, we are a licensed and insured, family-owned company. We have been doing this work in Austin and the surrounding communities long enough to know what the common failure points are, and our crews are trained to address them at every stage of a project. When you hire us, the waterproofing gets done correctly, the substrate gets evaluated, the dust controls go up before the first cut, and the finished floor or shower is both beautiful and built to last.
If you want to see examples of completed tile and bathroom projects before making a decision, our project gallery gives a real look at the work we do.
Frequently Asked Questions About Tile Installation Safety
Do I need to test for asbestos before removing old tile?
If your home was built before 1980, testing is strongly recommended before any tile or flooring demo begins. Older vinyl tiles and the adhesive beneath them frequently contain asbestos. The testing itself is relatively quick and inexpensive compared to the health and legal risks of disturbing asbestos without proper containment.
Is cement board alone enough for a shower?
No. Cement board resists moisture better than drywall, but it is not waterproof on its own. A dedicated waterproof membrane must be applied over cement board in a shower before tile is installed. Skipping that membrane is a common source of hidden water damage behind otherwise attractive tile work.
How long should I stay out of the space during tile installation?
During active tile cutting, staying out of the immediate work area is the safest choice due to silica dust. After grouting and sealer application, ventilation time varies by product. Your contractor should tell you the specific wait time for the materials they are using. As a general rule, a full day of ventilation after sealer application is a reasonable minimum.
What tile finish is safest for a shower floor?
Textured or matte finishes with a higher COF rating are the safest for shower floors. Polished, high-gloss, and large-format smooth tiles are better suited for walls and low-traffic dry areas. Smaller mosaic tiles with more grout coverage are a popular and safe option for shower floors because the additional grout lines add meaningful traction.
Can I tile over existing tile to avoid demo risks?
In some situations, tiling over existing tile is possible, but it depends on the condition of the existing installation, the added height, and whether the substrate can support the additional weight. In wet areas, installing over an existing tile layer without addressing any underlying waterproofing failures will simply trap the problem behind another surface. A thorough evaluation is needed before deciding either way.
Ready to Talk Through Your Tile Project?
If you are planning tile work in your kitchen, bathroom, or anywhere else in your home, it is worth having a conversation with a team that takes the safety steps seriously from the start. B&H Remodeling serves homeowners throughout Austin, Round Rock, Cedar Park, Pflugerville, Georgetown, and Lakeway. We welcome questions before you commit to anything. First we listen. Then we build. Reach out through our contact page and tell us what you are working on.
Photo by Tahir Xəlfəquliyev on Pexels.