
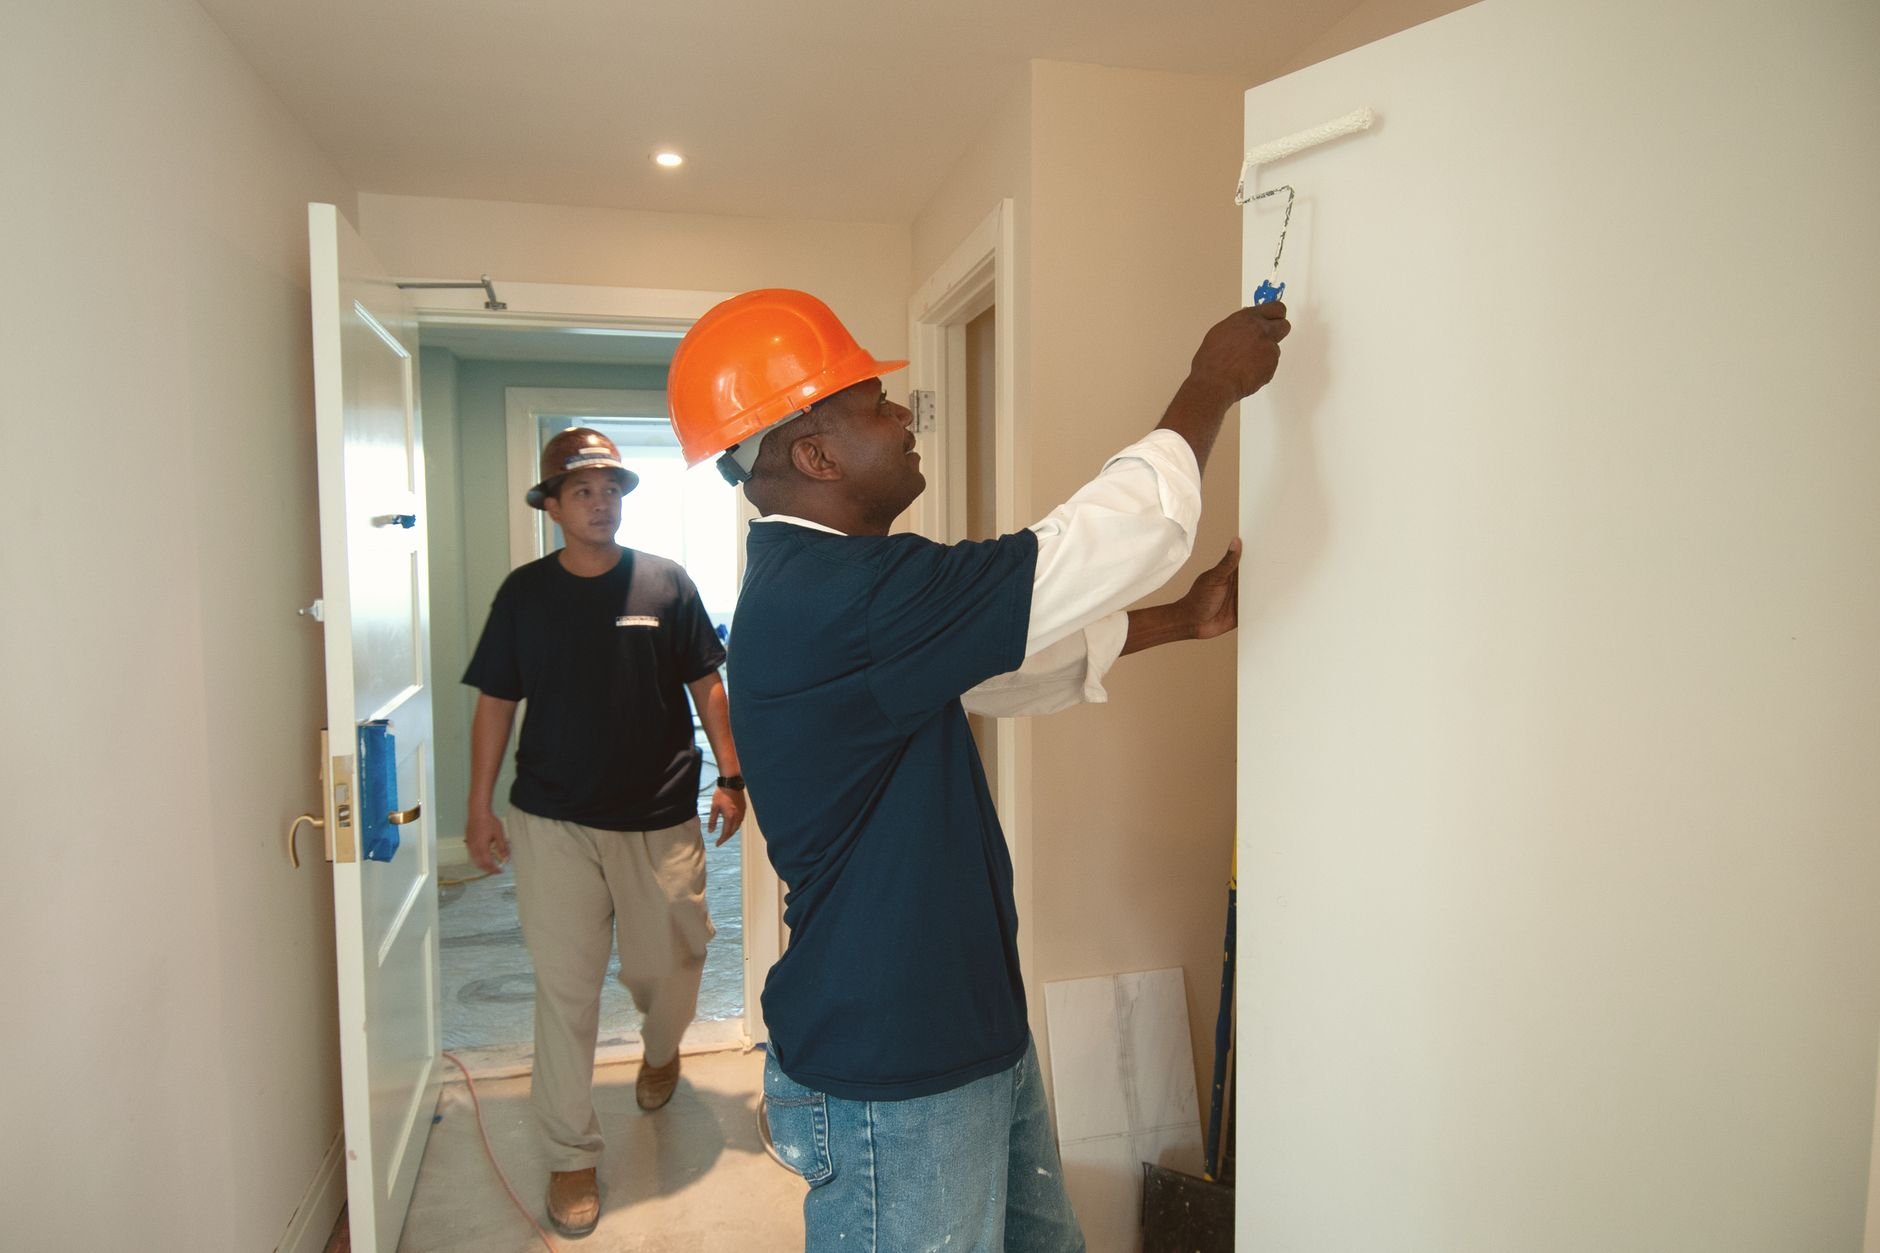
Deciding between DIY and hiring a pro for interior painting is one of the most common questions we hear from Austin homeowners before a renovation. The honest answer is that neither option wins every time. The right choice depends on the scope of the project, the condition of your walls, your available time, and how finished you need the result to look. We have helped homeowners across Austin, Round Rock, Cedar Park, and Pflugerville sort through exactly this decision, and the breakdown below reflects what we see play out in real homes. Key Takeaways Small, low-visibility rooms with good existing walls are the best candidates for DIY painting. Any room with high ceilings, damaged drywall, or dark existing colors almost always benefits from professional work. Prep work determines roughly two-thirds of the final result. Skipping it is the most common DIY mistake. Professionals bring spray equipment, commercial-grade materials, and experience that produce results difficult to replicate by hand. Your time has real value. Factor it honestly before deciding DIY is the simpler path. A hybrid approach, where you prep and professionals apply the finish coats, often gets the best of both worlds. What DIY Interior Painting Actually Requires Paint is the most visible surface finish in any room. A brush stroke left by a tired arm at 10 p.m. on day two of a weekend project is something you will look at every morning. That is not a reason to avoid DIY painting entirely, but it is a reason to go in with realistic expectations about what the work involves. A genuine DIY paint job requires more than a roller and a can of paint. You need to fill nail holes and skim small dents with spackling compound, sand those repairs smooth, apply painter’s tape to every edge you want crisp, and prime any spot where the surface has been cut back to bare drywall. Skipping those steps shows in the final coat. The walls may look fine in artificial light and look noticeably rough the moment morning sun hits them at an angle. You also need the right tools. A quality roller with the correct nap thickness for your wall texture, an angled sash brush for cutting in along trim and ceilings, a sturdy extension pole for reaching the upper wall without a ladder shuffle, and adequate drop cloths to protect your floors and furniture. Cheap rollers leave lint in the finish. Cheap brushes leave bristle lines. None of this is impossible for a capable homeowner. It just takes longer and costs more in materials than most people budget for upfront. When DIY Interior Painting Makes Sense There are genuine situations where doing the painting yourself is a reasonable and rewarding choice. Single-Room Projects in Good Condition If you are painting a bedroom, a laundry room, or a small home office where the existing walls are in good shape, the ceiling height is standard, and you are going from one neutral color to another similar one, DIY is very manageable. The room is contained, the surface prep is light, and a weekend is usually enough time to do it properly. Accent Walls and Touch-Ups Painting a single accent wall is a project where the limited scope keeps the risk low. Similarly, touching up scuffs and marks in a room you painted a year ago is exactly the kind of maintenance task that does not require a professional. When You Genuinely Have the Time This one matters more than most people acknowledge. If a room takes a professional crew half a day, it will typically take a solo homeowner two full days when you add proper prep, drying time between coats, and cleanup. If you have that time, enjoy the process, and are comfortable on a step ladder, DIY can be satisfying and produce a solid result. When Hiring a Pro for Interior Painting Makes More Sense There are equally real situations where attempting to DIY will cost you more in the long run, either in time, materials, or having to hire someone to fix the outcome. High Ceilings and Open Stairwells Painting a vaulted ceiling, a two-story entryway, or the wall along an open staircase requires more than a step ladder. Professional painters use commercial-grade scaffolding or pump jacks to reach these areas safely and efficiently. Working at that height without proper equipment is genuinely dangerous and rarely produces the clean result you want even if you manage it safely. Extensive Drywall Damage or Texture Work If the walls have significant cracking, water staining, or need texture matching before paint can go on, the prep work crosses into drywall repair territory. Our team handles home remodeling in Austin that regularly combines drywall repair and painting as one continuous scope of work, because the two trades are tightly connected. Separating them or skipping the repair step produces a result that looks worse after paint than before. Going from Dark to Light Colors If your current walls are a deep charcoal, navy, or saturated red and you want to go to a soft white or cream, plan on three or more coats of paint. Professionals know this, use the appropriate primer, and factor it into their process. Most DIYers underestimate it, apply two coats, and end up with a room that looks streaky or still shows the original color through in certain light. Whole-House or Multi-Room Projects Painting an entire house interior, or even four or five rooms at once, is a significant undertaking. The sheer volume of wall area, the number of rooms to protect and move furniture in, and the amount of edge work along trim, windows, and doors adds up fast. A professional crew can complete what would take you several weekends in a day or two, and do it with consistent quality room to room. If you are already doing a broader renovation, it makes sense to fold the painting into the same project scope. DIY vs Hiring a Pro for Interior Painting: An Honest Side-by-Side
Drywall Repair Safety: What Every Austin Homeowner Should Know
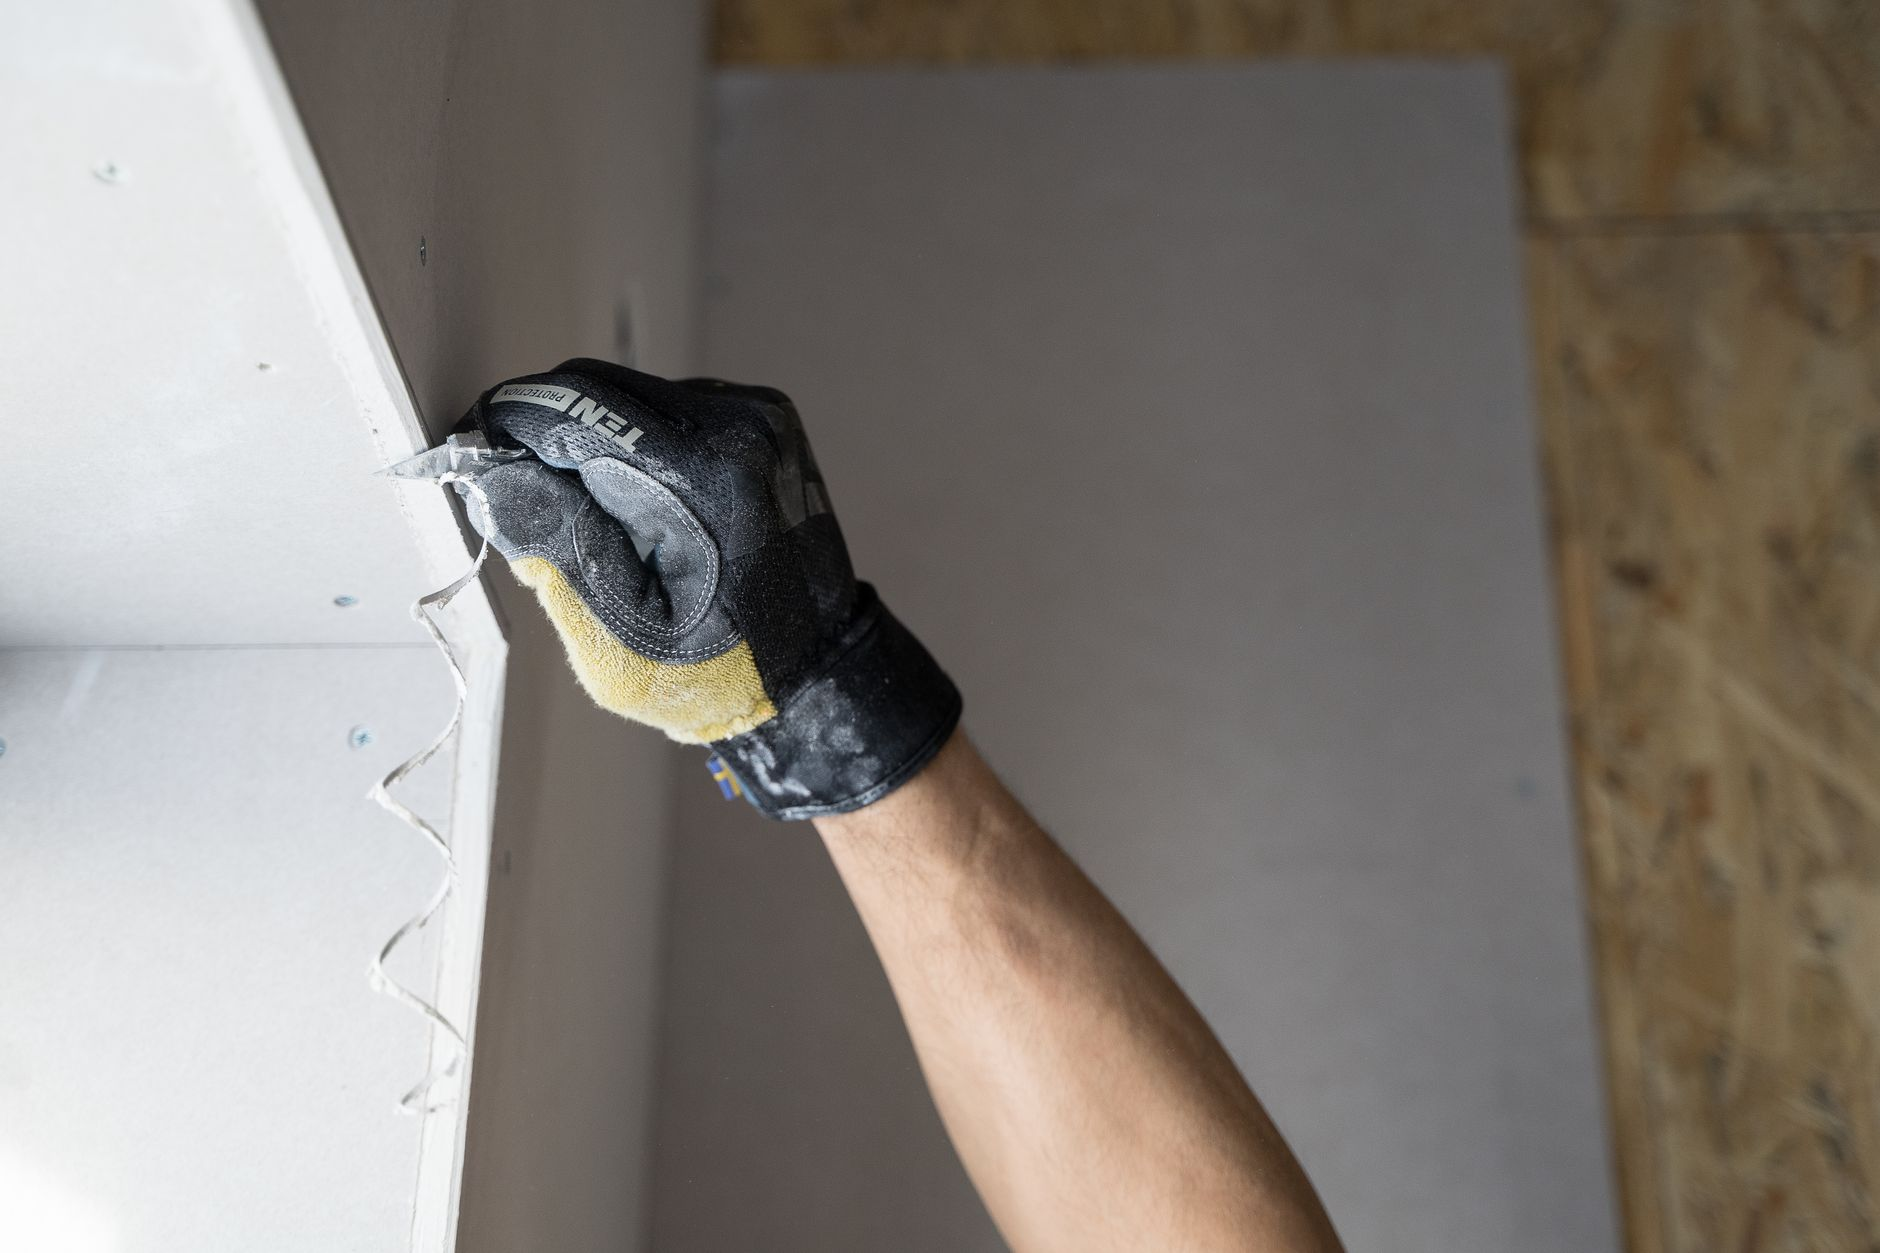
When a wall gets damaged, drywall repair safety is the part most homeowners skip over entirely. They see a hole or a crack, grab a patch kit, and get to work without thinking twice about what might be hiding behind that surface. After working on homes across Austin, Round Rock, Cedar Park, Pflugerville, Georgetown, and Lakeway, our team at B&H Remodeling has seen firsthand how quickly a simple repair can become a serious hazard when the right precautions are not taken. This post covers what you genuinely need to know before you touch a damaged wall. Key Takeaways Drywall in homes built before 1980 may contain asbestos. Do not sand or cut it until you know what you are dealing with. Lead paint can be present on older walls and becomes dangerous dust the moment you start grinding or sanding. Electrical wiring and plumbing run inside walls. Cutting without checking first is a genuine risk. Mold is often the hidden reason a patch is needed. Covering it without fixing the moisture source makes the problem worse. Proper respiratory protection, eye protection, and dust containment are not optional on any drywall job. A professional repair is not just about aesthetics. It is also about making sure the wall is structurally sound and the home is safe. What Makes Drywall Repair Safety So Important Drywall looks inert. It is essentially gypsum pressed between two sheets of paper, and on the surface that sounds pretty harmless. The issue is that drywall does not exist in isolation. It sits inside a wall system that carries electrical wiring, plumbing lines, and sometimes HVAC ductwork. The material itself may have been manufactured or painted during an era when materials we now know to be hazardous were commonplace. The physical act of cutting, sanding, or breaking drywall releases fine particulate dust into the air. Gypsum dust on its own is an irritant that can aggravate the eyes, nose, and respiratory tract with enough exposure. When that dust is mixed with older materials or disturbed finishes, the health stakes go up significantly. This is why protective equipment and a basic hazard assessment should come before any tool touches the wall. Asbestos and Lead: The Two Hazards That Change Everything If your home was built before 1980, these two words should be at the front of your mind before any repair work begins. Asbestos in Older Drywall Asbestos was used in a variety of building materials through much of the twentieth century, including in some drywall joint compounds, textures, and insulation products. When materials containing asbestos are left undisturbed, they are generally considered stable. The danger comes when those materials are cut, sanded, broken, or otherwise disturbed, releasing microscopic fibers into the air that can cause serious lung disease years after exposure. You cannot identify asbestos by looking at it. If your home predates the early 1980s and you are planning to cut into or sand existing drywall or texture, the responsible step is to have a licensed asbestos inspector collect a sample and send it to an accredited laboratory before you do anything else. This is not overcaution. It is the kind of step that prevents a costly mistake with permanent health consequences. Lead Paint on Drywall Surfaces Lead paint was banned for residential use in 1978, but many homes across the Austin area were built well before that cutoff. Lead paint on walls is stable when it is intact and undisturbed. The moment you sand, scrape, or cut through it, you generate fine lead dust that settles on every surface in the room and can be inhaled or ingested, particularly by children and pregnant women. Before sanding any painted surface in an older home, test for lead with an EPA-recognized lead test kit available at most hardware stores, or hire a certified lead inspector. If lead paint is confirmed, the repair should follow EPA Renovation, Repair and Painting (RRP) guidelines, which require certified contractors and specific containment and cleanup procedures. Our team is licensed and insured to handle these situations correctly. Hidden Hazards Inside the Wall Cavity One of the most preventable injuries we hear about in home repair involves cutting into a wall without checking what is behind it. Electrical wiring runs horizontally and vertically through wall cavities to reach outlets, switches, and fixtures. Plumbing supply and drain lines pass through walls to reach sinks, showers, and appliances. In some cases, gas lines do too. Cutting into an energized electrical wire is a shock and fire hazard. Cutting into a water supply line means immediate flooding. Nicking a gas line is a potential emergency. Before making any cut larger than a very small patch, use a quality stud finder with AC wire detection capability to scan the area. These tools are inexpensive and widely available. Better yet, turn off the circuit breaker for the room before cutting, and know where your water shutoff is in case of an unexpected plumbing encounter. If you are uncertain about what is in the wall, this is the right time to call a professional rather than find out the hard way. Our team uses this kind of methodical approach on every home remodeling project in Austin and across our service area. Checking before cutting is not extra work. It is just how careful repairs get done. Mold Behind the Damage: The Problem That Hides in Plain Sight A soft, stained, or bubbling section of drywall is frequently a sign of a moisture problem, not just wear and tear. Water infiltration from a leaking pipe, a roof issue, window condensation, or a shower that was not properly waterproofed can saturate drywall and create conditions where mold takes hold on the paper facing and the gypsum itself. Patching over moldy drywall without addressing the moisture source is one of the most common mistakes we see. The new patch looks fine for a while, but the mold continues to grow behind it, eventually showing up again, often worse than before. In the
The Best Time of Year to Schedule Flooring Installation in Austin
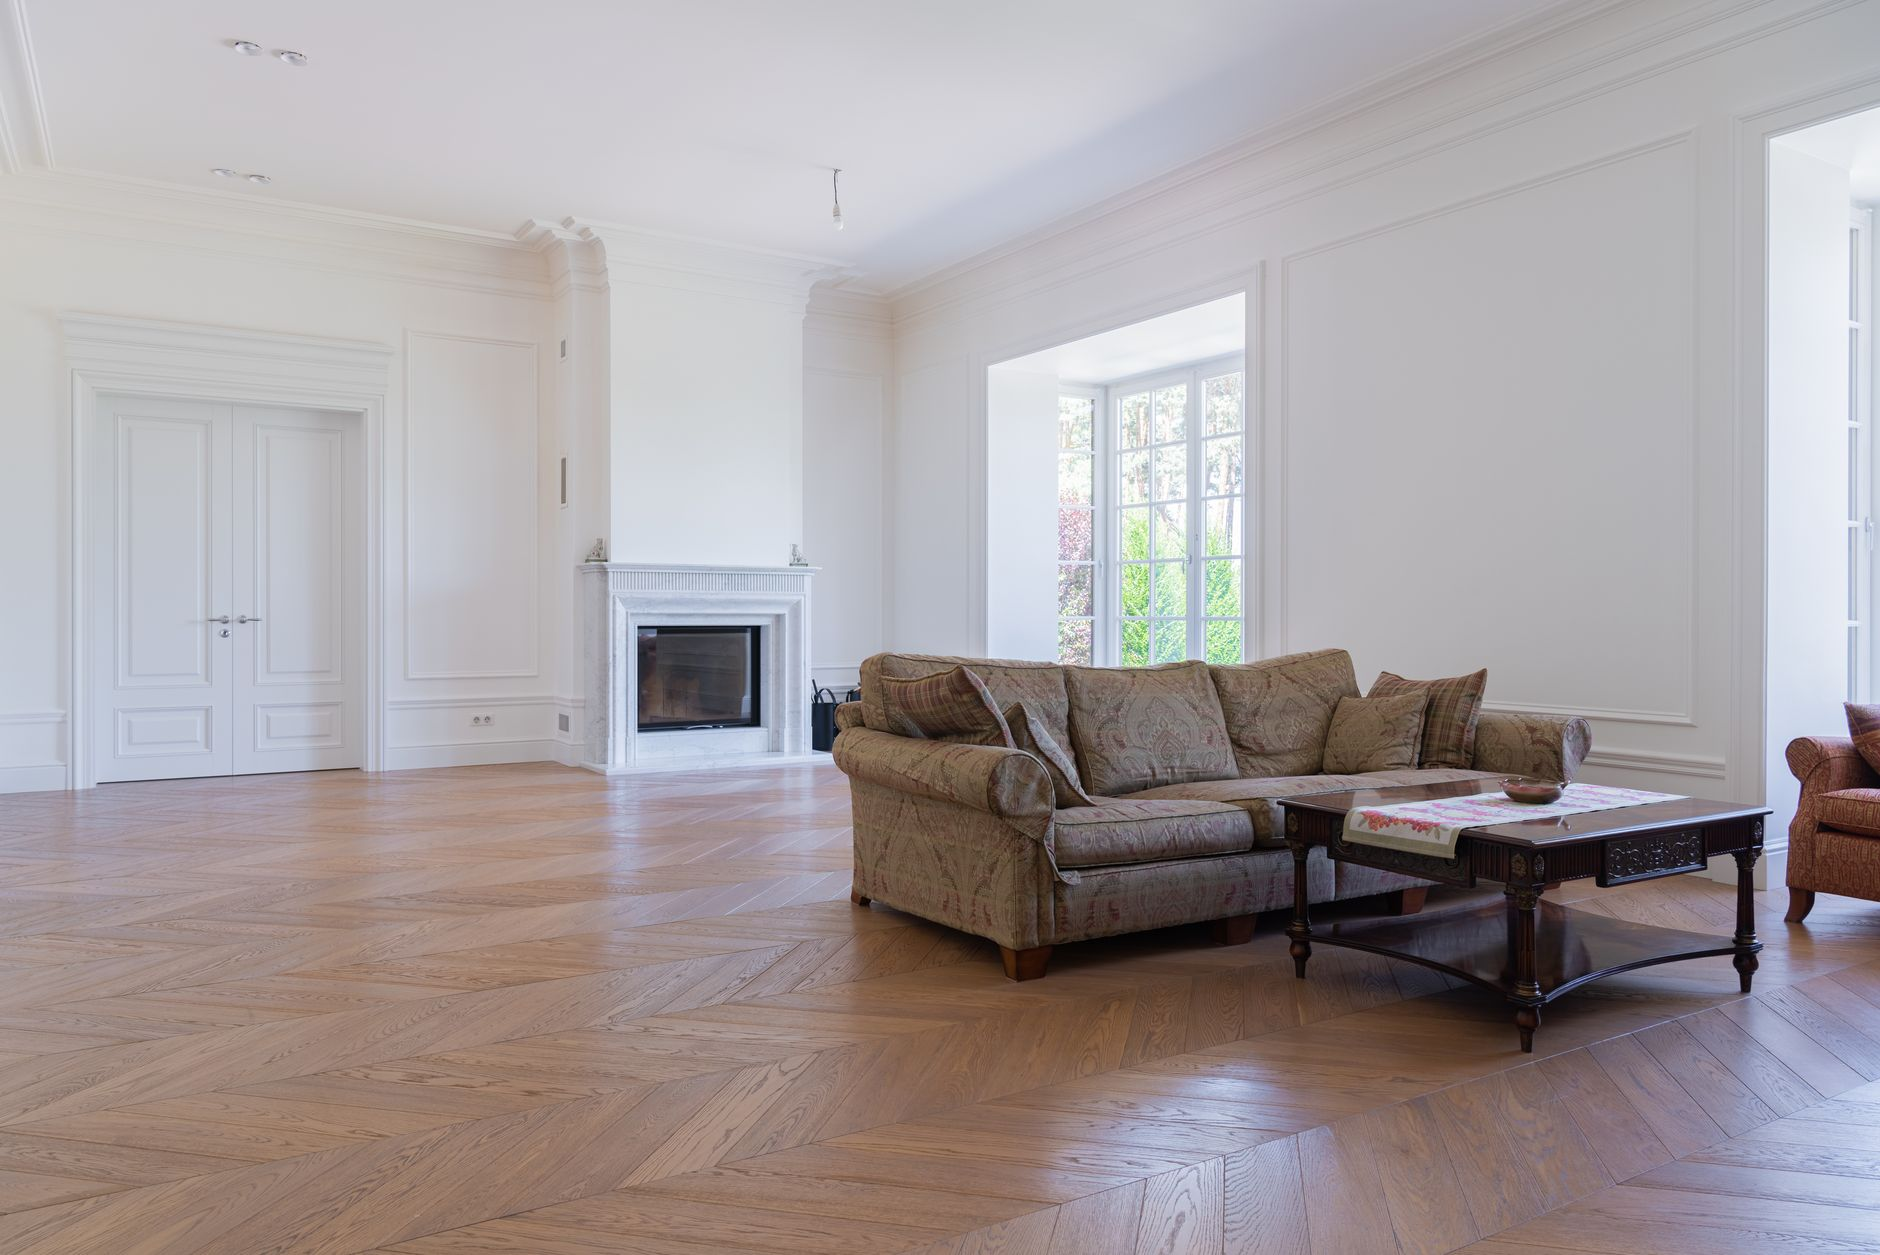
If you are planning a flooring installation in Austin and wondering whether timing actually matters, the short answer is yes, it matters more than most homeowners expect. Humidity, temperature swings, and the rhythm of home life all affect how well a new floor performs once it is installed. After years of flooring work across Austin, Round Rock, Cedar Park, Pflugerville, Georgetown, and Lakeway, our team at BH Remodeling has seen firsthand how the right scheduling decision can mean the difference between a floor that settles in beautifully and one that warps, gaps, or buckles within months. Key Takeaways Central Texas humidity levels directly affect how wood and engineered flooring acclimate before installation. Fall and early spring are generally the most forgiving seasons for flooring installation in Austin. Indoor climate control matters more than the calendar month, especially if you run your HVAC system year-round. Acclimation time varies by material: hardwood needs longer than luxury vinyl plank (LVP) or tile. Planning around your household schedule reduces disruption and protects the finished floor during the critical first days. Why Seasonal Timing Affects Flooring Installation in Austin Austin sits in a climate zone where summer humidity can climb well into the 80 to 90 percent range, and winters, while mild, can deliver dry cold snaps that push indoor humidity down sharply. Wood and engineered wood floors are hygroscopic, meaning they absorb and release moisture in response to the air around them. If planks are installed while they are carrying too much or too little moisture relative to your home’s normal indoor conditions, they will continue to expand or contract after the job is done, and that movement can crack finishes, open joints, or cause cupping along plank edges. This is not a hypothetical risk. We see it regularly on jobs where a previous installer skipped the acclimation step or worked in a home that had not yet reached its typical seasonal interior climate. The floor looked fine on installation day and started showing problems four to six weeks later when the season shifted. Getting the timing right is one of the simplest ways to protect a significant home investment. Fall: The Sweet Spot for Most Flooring Projects October through early December is, in our experience, the most reliable window for flooring installation across the Austin area. Here is why that window works so well. By late fall, Austin’s brutal summer humidity has started to taper off, but the truly dry winter air has not yet arrived. Indoor relative humidity tends to hover in a range that is close to what most homes maintain year-round with their HVAC systems running. That stable middle ground means hardwood and engineered planks acclimate faster and more predictably. Tile and LVP are less sensitive to humidity, but fall still offers comfortable working conditions that help crews maintain tight lines and clean adhesive bonds. Contractor schedules also tend to open up slightly in fall compared to the busy spring renovation season, which can give you more flexibility on start dates and sequencing if you are doing flooring as part of a larger project like a whole home renovation in Austin. Spring: A Strong Second Choice With One Caveat March through May brings mild temperatures and manageable humidity levels, making spring another excellent window for flooring work. The caveat is that spring is peak remodeling season in Austin. Homeowners who have been planning all winter tend to book in February and March, so popular contractors fill up fast. If you are targeting spring, start your conversations with a remodeling company at least six to eight weeks ahead of when you want work to begin. Spring is particularly well-suited if you are pairing flooring with other interior work such as interior painting or cabinet updates, since you want painting to finish before flooring goes in to avoid drips and scuffs on a brand new surface. Summer Installation: What You Need to Know Summer is not off-limits, but it requires careful management. Central Texas summers push outdoor humidity high, and every time a door opens on a job site, that moisture-laden air enters the home. If your HVAC system is running and maintaining a stable interior temperature and humidity level, the risk is manageable. If the home is vacant or the HVAC is off, summer installation becomes genuinely risky for wood and engineered products. For summer flooring projects, we recommend a few practical steps. First, run the HVAC at the humidity and temperature settings the home will normally see once occupied. Second, allow extra acclimation time, typically a few additional days beyond what the manufacturer recommends, since the differential between outdoor and indoor conditions is larger. Third, avoid scheduling delivery and installation on days when thunderstorm activity is expected to keep doors open for long stretches. Porcelain tile and quality LVP handle summer conditions better than natural wood because they are dimensionally stable. If you have flexibility on material and want to install in summer, those options carry less timing risk. Winter Installation: Drier Than You Think Austin winters are short and mild, but they can produce dry indoor air, especially in homes that run forced-air heating for weeks at a time. When indoor relative humidity drops below roughly 35 percent, wood flooring can develop small gaps between planks as the wood shrinks. This is a normal seasonal response, not a defect, but installing during the driest stretch of the year means the floor will be at its narrowest point at installation and may show more movement as spring humidity returns. Winter is a reasonable time to install tile, LVP, or other dimensionally stable products. For solid hardwood, we generally advise waiting until indoor conditions stabilize a bit more unless you have a whole-home humidifier maintaining consistent levels. If you are curious how flooring fits into a broader winter renovation, our flooring installation page covers the materials we work with and the process we follow. Acclimation: The Step That Matters More Than the Month Across all seasons, the single most important

Guest Bathroom Remodel in Pflugerville TX: A Tub and Tile Shower Makeover
When Pamela reached out about the guest bathroom in her Pflugerville home, the room had barely changed since the house was built. The tub was worn, the wall surround was dated, and guests had started to notice. She wanted the space rebuilt around a new tub and fully tiled shower walls. Nothing flashy, just a clean room done correctly. It was exactly the kind of bathroom remodel Pflugerville TX homeowners call us about every week, so we documented the project from the first sheet of floor protection to the final coat of sealer. Here is how it went. Key Takeaways The Scope of the Project Every project we take on starts with a written estimate that spells out exactly what will happen and in what order. Pamela’s covered demolition, site protection, plumbing, waterproofing, tile, and fixtures. It is the same structure we use across our bathroom remodeling service, whether the project is a guest bath or a large primary suite. Here is what each stage looked like in her home. Project Detail Specification Location Pflugerville, TX Project Guest bathroom remodel for our client Pamela Scope New tub with a left side drain and fully tiled shower walls Wall tile Roughly 90 square feet of white tile with Schluter edge profiles Waterproofing Mold block paper, waterproofing board, and liquid membrane Fixtures New shower head, handheld faucet, and shower curtain kit Typical cost range $8,000 to $15,000 for this kind of project in the area Working timeline About 2 to 3 weeks from demolition to final fixtures Demolition and Haul Away The old tub, the surround, and the existing finishes all came out, and we handled the full debris haul away ourselves. Nothing sat in the driveway waiting on a dumpster. We will be honest about this stage because not every contractor is. Demolition is loud and it makes dust. There is no quiet way to break tile off a wall. What a good crew can do is contain the mess, work in focused stretches, and move through it fast. That is what we did here, and the noisy part of the project was over within days. Protecting the Rest of the House Before a single hammer swung, the covering package went in. Ram board protected the floors along the work path. Sticky nylon held down coverage where regular sheeting slips. Moisture resistant paper and 6 mil plastic covered nearby surfaces, and zipper walls held up with tape and painter’s poles sealed the bathroom off from the rest of the home. Pamela lived her normal routine on the other side of that plastic for the entire project. This setup takes a few hours and it earns back every minute. Plumbing Brought Up to Code With the room open to the studs, the plumbing was prepared and adjusted to meet current code. The shower valve was relocated, and the hot and cold supply lines were moved to match the new layout. The new tub then went in with a left side drain to suit the room. Getting rough plumbing right at this stage is what keeps the rest of the project simple. It gets inspected, we photograph it, and it only disappears behind the wall once it is correct. Tile, Grout, and Fixtures Pamela chose a white wall tile herself, and we installed roughly 90 square feet of it across the shower walls. Schluter edge profiles finished the exposed edges, which gives every corner a crisp metal line instead of a row of raw tile cuts. All of it was grouted with mold resistant grout and sealed. For fixtures, she received a new shower head and a handheld faucet, plus a complete shower curtain kit so the bathroom was ready to use the day we wrapped up. Pamela wanted to keep her tub, but a tub to shower conversion follows these same stages if you would rather have a walk in shower. If you are picking fixtures for your own project, the EPA WaterSense program is worth a look. Certified shower heads use about 20 percent less water without feeling weak. Why Shower Waterproofing Matters More Than the Tile Here is something that surprises most homeowners: tile and grout are not waterproof. Water vapor passes through grout lines, and over the years even hairline gaps let moisture reach whatever sits behind the tile. Shower waterproofing is the work that decides whether your new bathroom lasts for decades or fails quietly in a few years, and it is completely invisible the day the project wraps up. That is exactly why we build it in layers and photograph every one of them before tile goes on. The first layer in Pamela’s shower was mold block with moisture resistant paper, applied over the framing. Think of it as defense in depth. If moisture ever gets past everything above it, this layer shields the wood studs and gives mold nothing to feed on. Skip it and any future leak soaks straight into the framing, where it can rot structural lumber for years before anyone notices a smell or a stain. Waterproofing board went on next. It replaces ordinary drywall inside the wet area with a rigid, water resistant surface that tile can bond to for the long haul. Plain drywall behind a shower is one of the most common failures we open up in older homes. It wicks water like a sponge, swells, and slowly releases the tile bond until whole sections crack loose along the grout lines. The final layer was a liquid waterproofing membrane rolled across the entire shower wall area and the shampoo niche. Boards resist water, but the seams, screw heads, and corners between them do not. The membrane ties the whole assembly into one continuous barrier. The niche matters most here. A shampoo niche is a box cut into a wet wall, which makes it the most leak prone spot in the entire shower. When a niche fails, it is almost always because someone treated the membrane over it as optional.
What to Think Through Before Booking a Kitchen Remodel in Austin
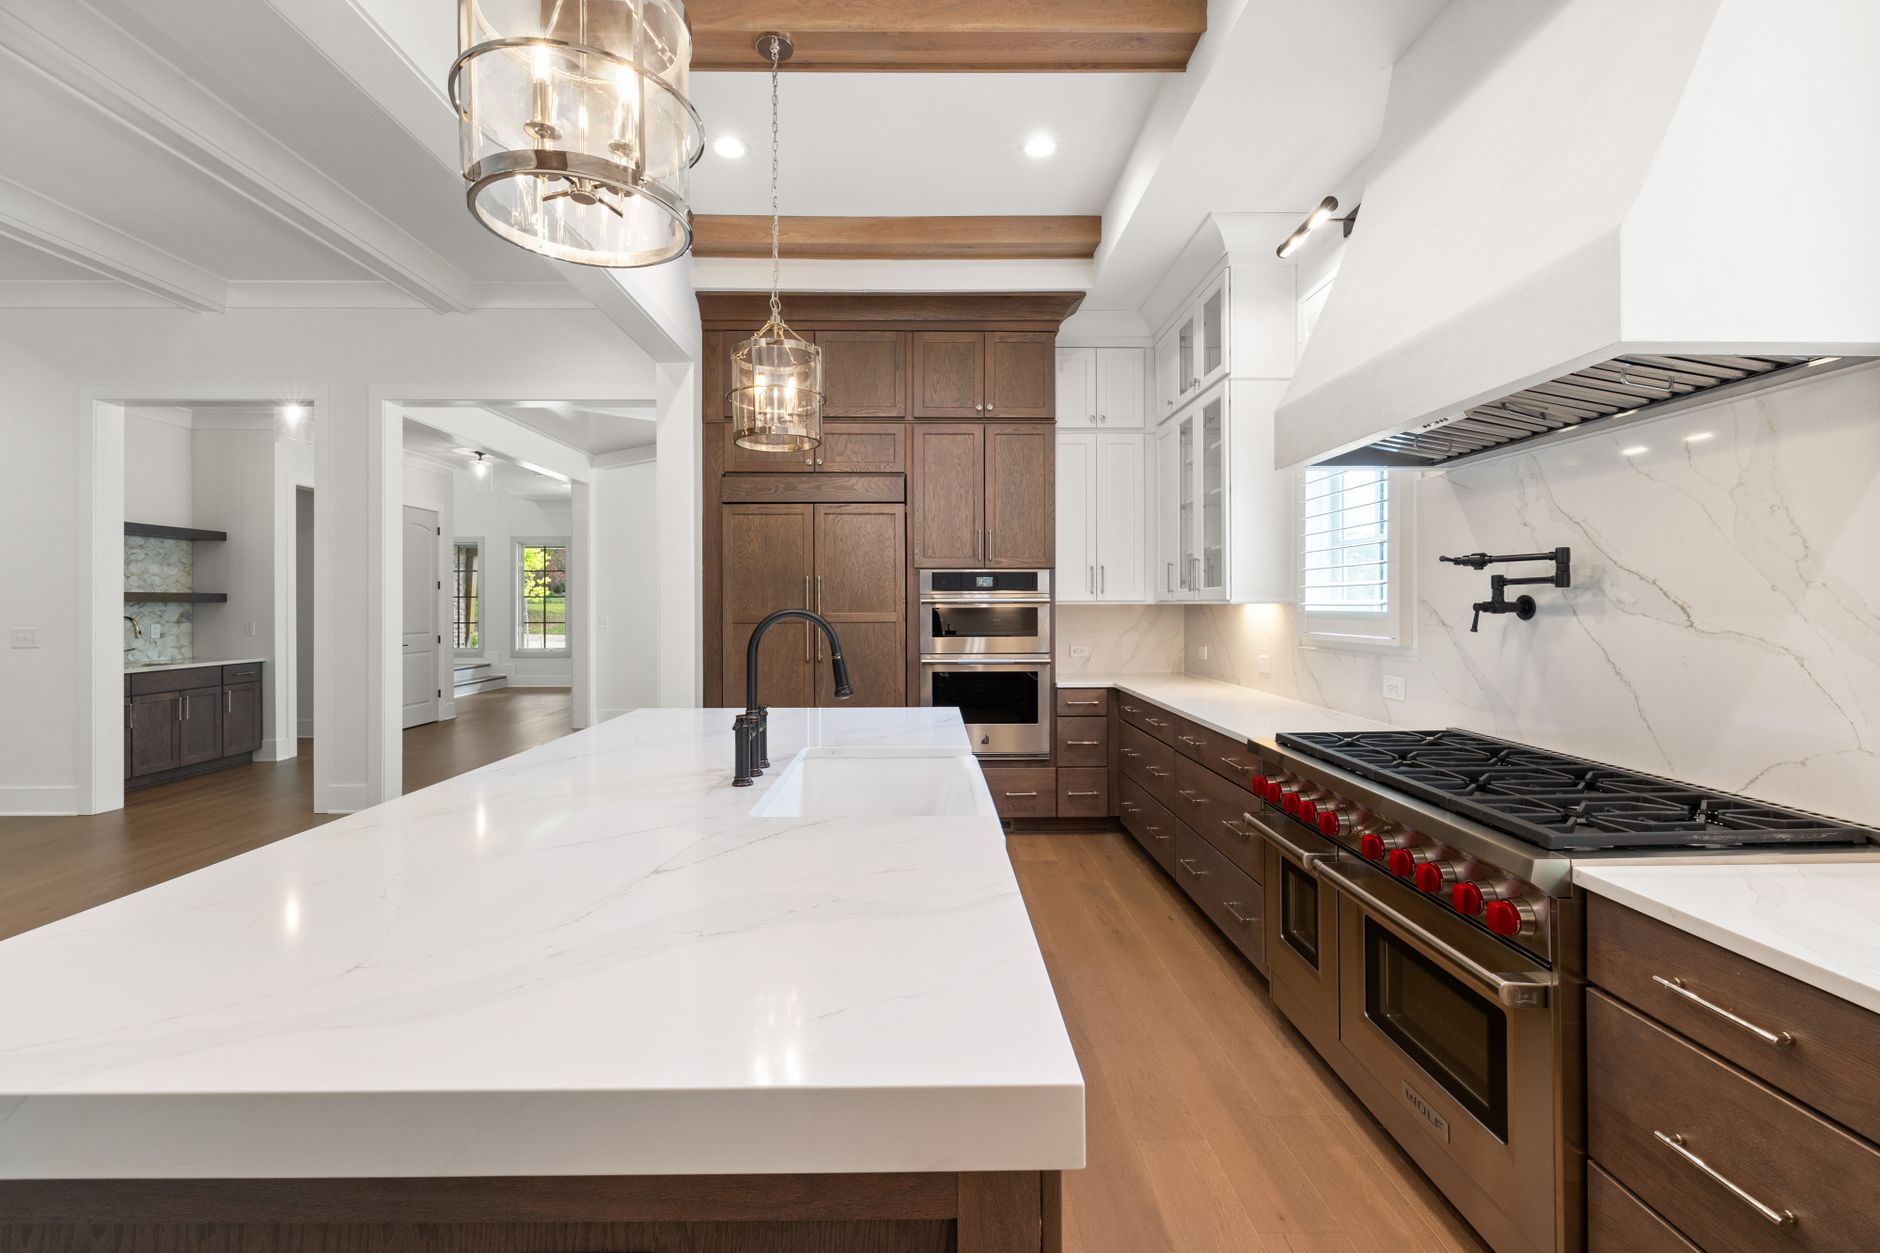
Most homeowners who come to us about kitchen remodeling in Austin have already been thinking about the project for months — sometimes years. They have a rough idea of what they want, a Pinterest board or two, and a strong feeling that something needs to change. What they often haven’t done is work through the practical decisions that determine whether a remodel goes smoothly or turns into a months-long headache. This post walks through everything worth thinking through before you book a contractor. Key Takeaways Scope clarity saves time and money — know what you’re changing before anyone pulls a permit or orders cabinets. Your kitchen’s existing layout (especially plumbing and gas lines) shapes how far your budget will realistically stretch. Cabinet lead times in particular can extend a project timeline significantly — plan for this early. Austin’s permitting requirements apply to most structural, electrical, and plumbing work in a kitchen remodel. Choosing a contractor before finalizing your design often leads to better outcomes than the reverse. Living without a functional kitchen for several weeks is real — plan for it before demolition day. Start With What’s Actually Driving the Remodel Before you look at a single cabinet door style or countertop sample, it helps to be honest about what is actually broken. We ask every homeowner the same question: what does your kitchen make you do or feel that you want to stop? The answers shape everything. Some kitchens lack storage. Some are dark and feel smaller than they are. Some haven’t been updated since the 1990s and have layouts that actively fight the way a modern family cooks. Some are just cosmetically tired — the bones are fine, but the surfaces look worn. Each of those problems has a different solution, and confusing one for another leads to expensive missteps. If your core issue is storage, a cabinet installation or reconfiguration might resolve it without tearing out the whole kitchen. If the layout itself is the problem — a peninsula that blocks traffic flow, a fridge in the wrong corner, no connection to the dining room — you’re probably looking at a more substantial structural change. Knowing which camp you’re in before you call a contractor means you get an accurate estimate, not a ballpark guess. Understand What Your Existing Layout Will and Won’t Allow One of the most common things we explain to homeowners is that their kitchen’s existing infrastructure — plumbing rough-ins, gas lines, load-bearing walls, electrical panel capacity — is the real constraint on the remodel, not their imagination. Moving a sink twenty-four inches sounds simple. It often isn’t, because the drain stack may not cooperate without significant work inside the floor or wall. Here’s what to think through before assuming a layout change is straightforward: Plumbing locations: The further you move a sink or dishwasher from its current drain and supply lines, the more invasive — and time-consuming — the rough plumbing work becomes. Gas lines: If you’re adding or relocating a gas range or cooktop, a licensed plumber or gas fitter needs to extend and pressure-test those lines. This is not a DIY step in Austin, and the city will inspect it. Load-bearing walls: Opening up a kitchen to a living area often means removing a wall. If it’s load-bearing, a structural beam goes in — which affects both scope and timeline. Electrical capacity: Modern kitchens with double ovens, warming drawers, and refrigerators with dual compressors often need panel upgrades or new dedicated circuits, which require permits and inspections. None of these are reasons not to make a change. They’re reasons to know about them before you’ve signed a contract, so you’re not surprised by additional scope halfway through demolition. Think Through Your Design Before You Fall in Love With It Design decisions that look beautiful on a mood board sometimes run into reality on the job site. A few things we consistently see homeowners wish they’d thought through earlier: Cabinet Style and Lead Times Stock cabinets (pre-built in standard sizes) are available quickly, often within days. Semi-custom cabinets — built to non-standard dimensions or with specific finishes — typically take several weeks to arrive. Fully custom cabinetry can take considerably longer. If your timeline matters, your cabinet choice directly controls it. We always tell homeowners: don’t order custom cabinets and then expect a quick start. Countertop Material and Edge Profile Quartz, granite, quartzite, butcher block, and porcelain slabs all have different maintenance profiles. Granite needs periodic sealing. Quartzite (not to be confused with quartz, which is engineered) is a natural stone that’s harder and less porous than marble but still needs care. Quartz is engineered and very low-maintenance but can show seams more visibly on large islands. Think about how you actually use your kitchen, not just how you want it to look. Families with kids often find a matte or honed finish more forgiving than a high-polish surface. Tile Backsplash and Flooring Coordination If you’re also updating your kitchen floor — which many Austin homeowners do at the same time — the tile selection needs to be coordinated before either is ordered. The right sequence is: flooring goes in after cabinets are installed but before toe kicks and appliances. If you’re doing a tile installation, timing the order and delivery correctly prevents delays on the back half of the project. Permits: What Austin Requires for Kitchen Remodels Austin’s Development Services Department requires permits for most work that goes beyond purely cosmetic changes. Replacing cabinet hardware or repainting walls? No permit needed. But if your remodel involves any of the following, expect the permitting process to be part of your timeline: Electrical work — new circuits, panel changes, or moving outlets and switches Plumbing work — moving, adding, or replacing supply and drain lines Gas line work — any extension or relocation of a gas connection Structural changes — removing or modifying walls, especially load-bearing ones HVAC modifications — adding or repositioning range hood ductwork that ties into the building system
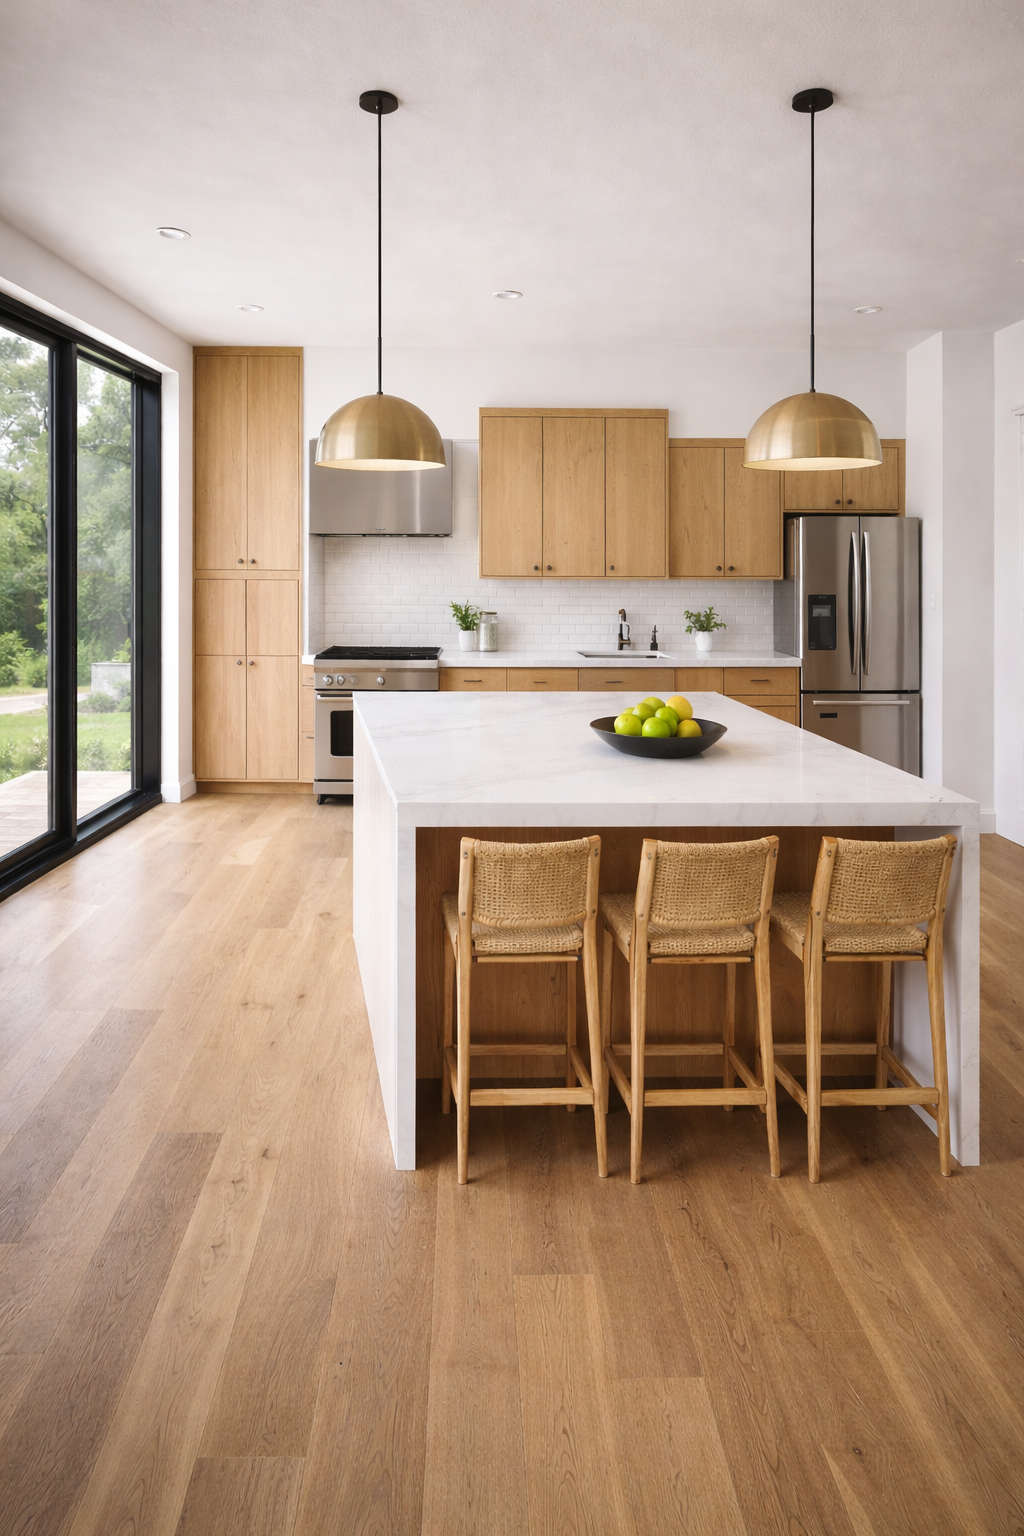
How Long Does a Kitchen or Bathroom Remodel Take in Austin?
Once you decide to remodel, the next question is always how long your kitchen or bathroom will be out of commission. Timelines depend on the scope of work and a few things outside anyone’s control, but here is what to realistically expect for an Austin remodel. At BH Remodeling we have guided Austin families through kitchen and bathroom projects since 2012, and we confirm your timeline at the estimate so you know what to expect each day we are on site. Key Takeaways Most full bathroom remodels take 2 to 4 weeks; full kitchen remodels 4 to 6 weeks. Add a 2 to 6 week design and ordering phase before demolition begins. Custom cabinets can take 4 to 8 weeks to arrive, so order early. Permits, custom materials, and hidden conditions are the most common causes of delay. Typical Remodel Timelines Here is roughly how long a kitchen or bathroom remodel takes in Austin once work begins, by project type. Project Typical timeline Cosmetic bathroom update 1 – 2 weeks Full bathroom remodel 2 – 4 weeks Large or primary bathroom (structural/plumbing changes) 4 – 6 weeks Kitchen refresh (reface, counters, backsplash) 2 – 3 weeks Full kitchen remodel 4 – 6 weeks Layout-changing kitchen (moved walls/plumbing) 6 – 10 weeks Don’t Forget the Planning Phase Before any demolition, there is usually a 2 to 6 week design and ordering phase: finalizing the scope, selecting materials, and ordering cabinets or custom items. Cabinets in particular can take 4 to 8 weeks to arrive, so ordering early keeps the project on schedule. What Causes Delays Custom material lead times — cabinets, special-order tile, and stone. Permits and inspections — required for structural, plumbing, and electrical work. See do you need a permit to remodel in Austin? Hidden conditions — water damage, outdated wiring, or plumbing discovered once walls open. Change orders — adding scope mid-project extends the timeline. A good contractor sets a clear schedule up front and keeps you informed. At BH Remodeling we confirm your timeline at the estimate and tell you what to expect each day we are on site. Plan Your Budget Too Timeline and budget go hand in hand. See our kitchen remodel cost in Austin and bathroom remodel cost in Austin guides, and explore our kitchen remodeling and bathroom remodeling services. Frequently Asked Questions How long does a bathroom remodel take? Most full bathroom remodels in Austin take 2 to 4 weeks; cosmetic updates 1 to 2 weeks. How long does a kitchen remodel take? A full kitchen remodel usually runs 4 to 6 weeks, longer if the layout changes. Can I stay in my home during the remodel? In most cases yes — we keep the rest of your home livable and clean up daily. Why do cabinets take so long? Custom and semi-custom cabinets are built to order, typically 4 to 8 weeks, so we order them early. Get an exact timeline for your project BH Remodeling gives free, fixed-price estimates with a clear schedule across Austin and surrounding cities. Call (512) 827-9426 or request a free estimate online.

Do You Need a Permit to Remodel in Austin?
Do you need remodeling permits in Austin? See which projects require a permit in 2026, which do not, and how to keep your remodel fully compliant.

Whole Home Remodel in Austin: Cost, Timeline, and Tips
Planning a whole home remodel in Austin? Learn the real 2026 cost, how long it takes, and the steps that keep your project calm and on track.

Cost to Build an ADU in Austin: 2026 Homeowner Guide
Thinking about a backyard unit? See the real cost to build an ADU in Austin in 2026, what drives the price, and how to plan a smart budget.

How Much Does a Bathroom Remodel Cost in Austin? (2026)
Curious about bathroom remodel cost in Austin? See real 2026 price ranges, budget tips, and what changes the final number for your project.